In this article, we are going to discuss how we can install and configure Apache on Windows. Apache is the most widely used web server software. Although we can use Xamp or Wamp which is already a package that contains Apache HTTP Server and database that you need on your Web Development. For me, it is still the best that my development environment is as close as I can get to production. So that I can be sure that my website will run when deploying on a live server.
What is a Web Server?
A Web Server store, process and deliver web pages to clients. This software handles all incoming request and serves the responses. A Web Server can have multiple websites.
I. Install and Configure Apache on Windows?
To get started, we need some tools for this tutorials. Downloads all the files listed below.
- Latest Visual Studio C++ Redistributable » Download Link
- Apache 4 » Download Link
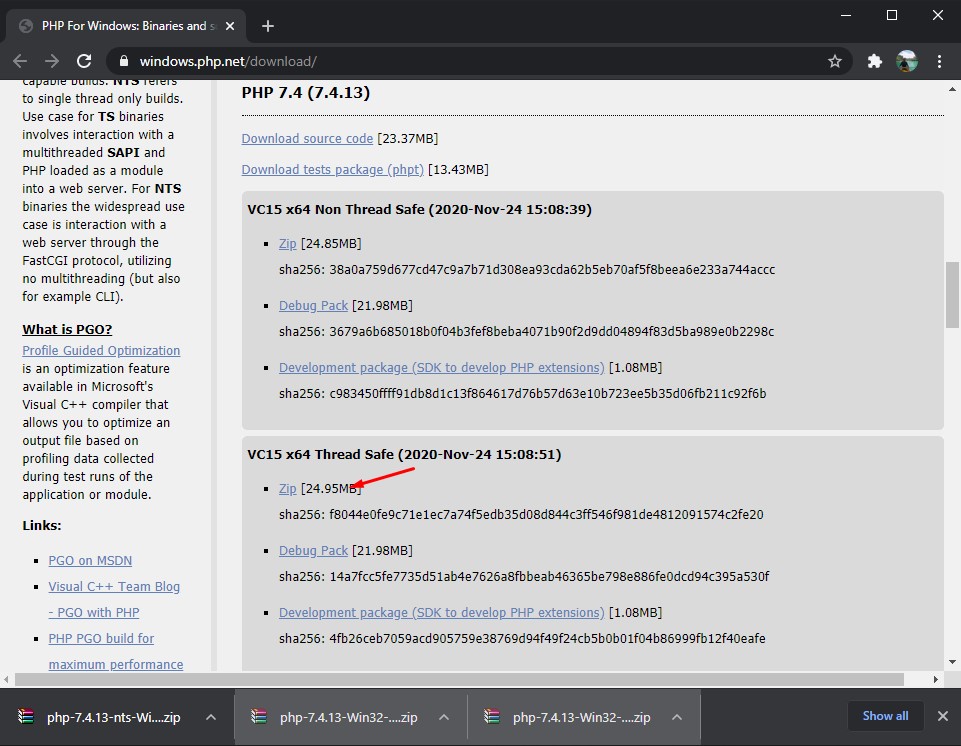
- PHP for Windows (Download the thread-safe version of PHP) » Download Link
If you have already downloaded all the files stated above, then we are ready to proceed with the next step. Just follow the steps below.
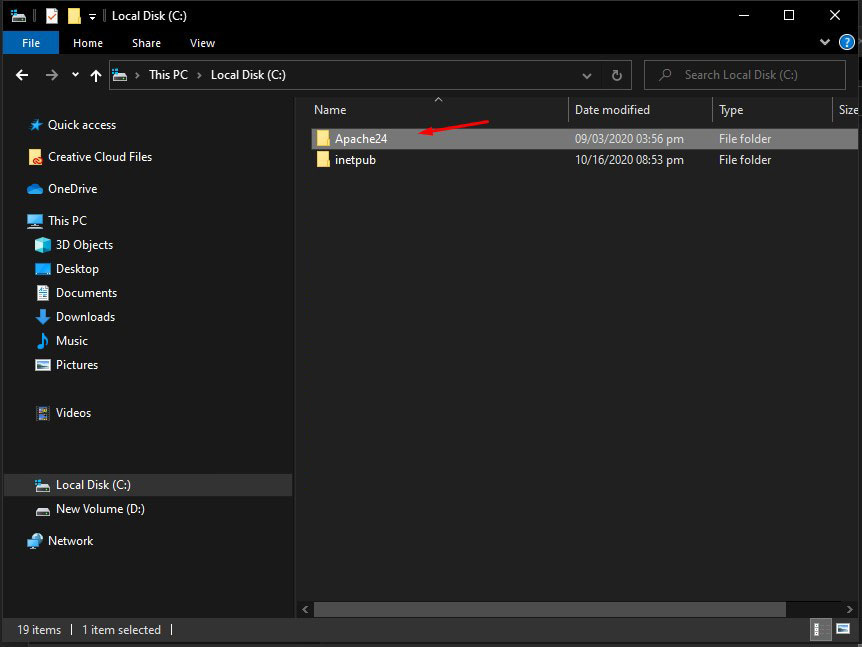
1. Navigate to your Apache Zip file that you downloaded a while ago. Extract the files into your root directory C:/Apache24.
2 . Now, configure your Apache Server environment. Open Apache configuration file inside this directory C:/Apache24/Conf and open file httpd.conf.

3. Setup directory settings of apache by searching for ServerRoot, ServerName and Directory tags. Find and replace the following line below inside httpd.conf file.
ServerRoot "c:/Apache24"ServerName localhost:8080<Directory />
AllowOverride all
# Require all denied
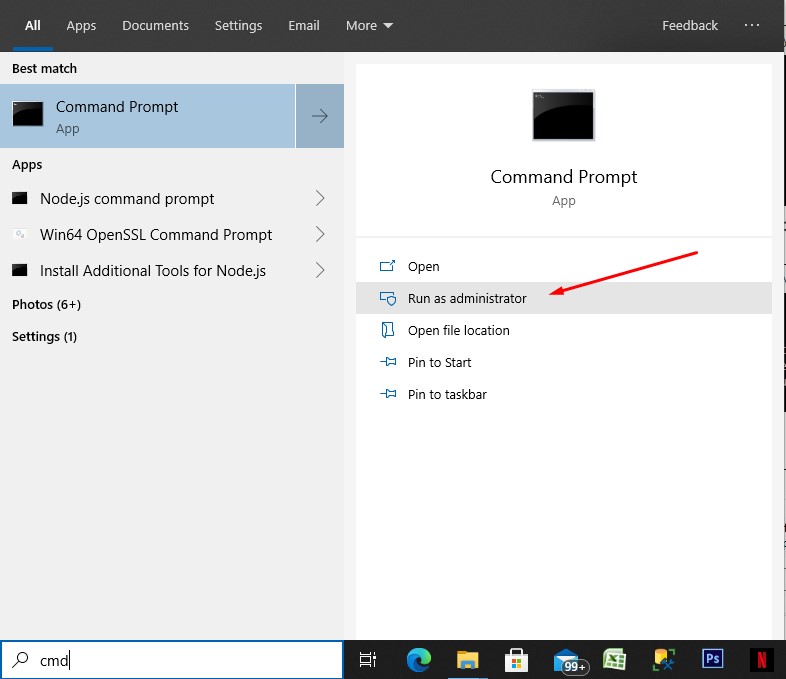
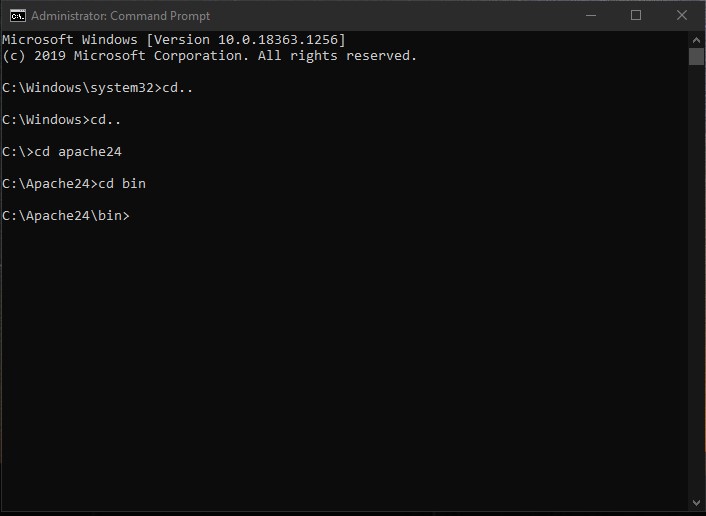
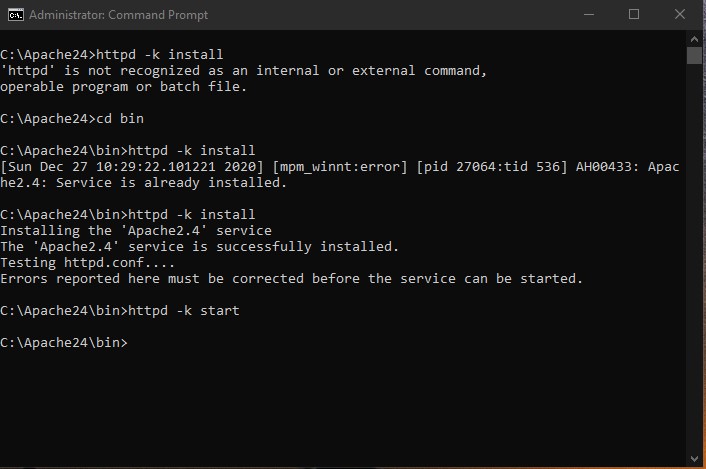
</Directory>4. Register Apache Service using a command prompt. Go over to start menu and search for CMD. Once Command Prompt is open change the directory to C:\Apache24/bin.
5. Then, execute command httpd –k install, to install Apache to your local machine. Once the Apache is installed it will automatically start its services but if not you can manual execute start command. See the image below.
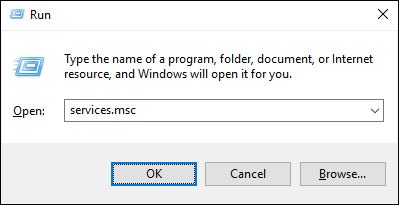
6. Now, to verify if Apache were successfully installed and running, we can check on windows services.msc. Open run window and type services.msc. Like the image shown below.
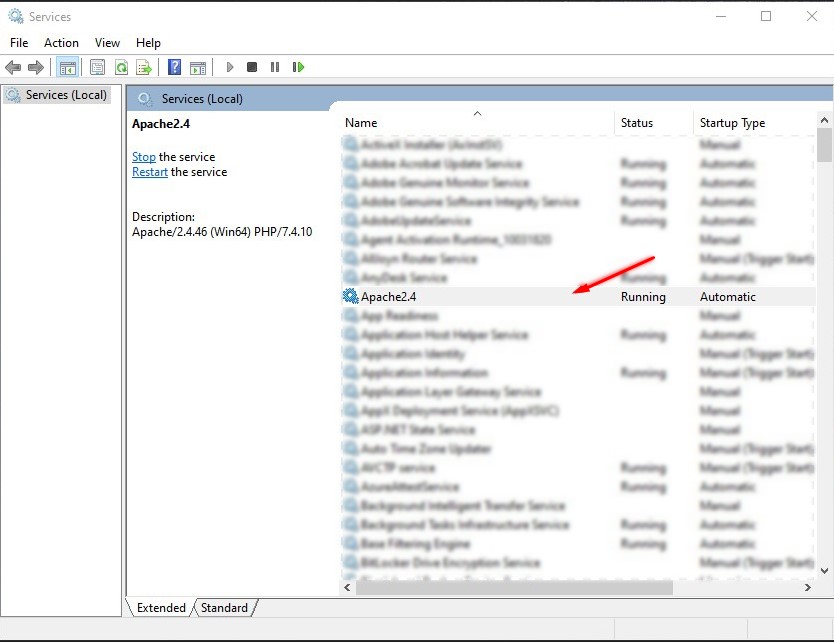
7. Once the services window is open. Search for Apache2.4 service. You can check the status if it is running. If it looks like the image shown below, you have successfully installed Apache, and it is already running on your machine.
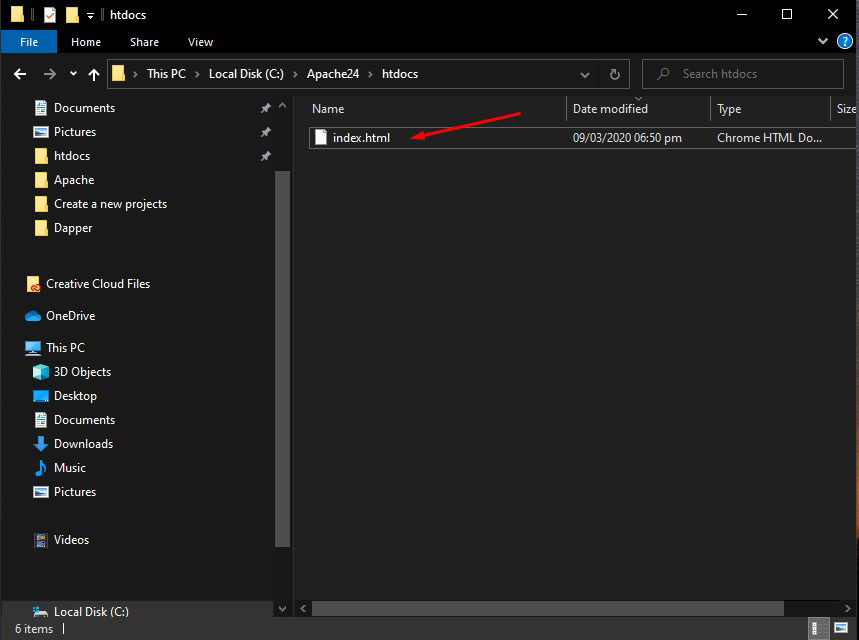
8. At this point we have already installed apache, to test it create index.html file inside the root directory folder of Apache Server which is at C:\Apache24\htdocs.
9. Now, Open localhost:8080 on your browser and see if the sample text you wrote on the index.html file is displayed.
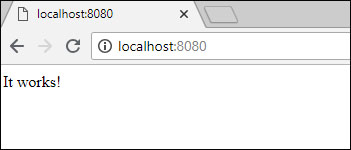
Now your Apache Server is up and running. If somethings went wrong on your configuration just review the steps above to double check.
II. PHP Installation (7.0.13)
To complete the Apache Server configuration, we also need to install PHP. You may check the latest version of PHP using this link. But in my case, I used PHP version 7.4.13. Make to sure to use the thread-safe version. Once you are done downloading the file proceed on the steps below.
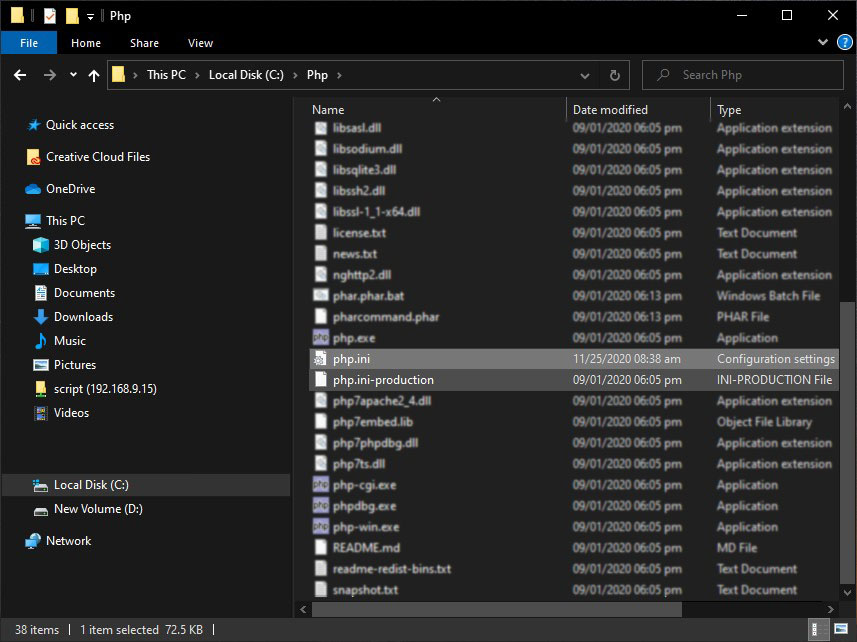
1. Navigate to your download folder. Extract the PHP zip files to your windows root directory under C: drive.

2. Now, We need to configure PHP. Open PHP folder and locate files with a name Php.ini – development. Remove the development from the filename leaving it as Php.ini.
3. Once you open Php.ini files you will see a list of extensions. To enable it you need to remove the semicolon to uncomment the lines of code shown below. This will load the PHP extensions you need for your development server.
extension=msql.dll
extension=php_curl.dll
extension=php_ftp.dll
extension=php_mysqli.dll
extension=php_openssl.dll
extension=php_pdo_mysql.dll
4. Now, Configure Apache to use PHP. To do that, open httpd.conf from your Apache folder under C: » Apache24 » conf . Once you are inside the folder open httpd.conf file then searches and replace the lines shown below and make sure that the directory is pointing to your PHP folder which is under C: » PHP.
LoadModule php7_module "c:/Php/php7apache2_4.dll"
PHPIniDir "c:/Php"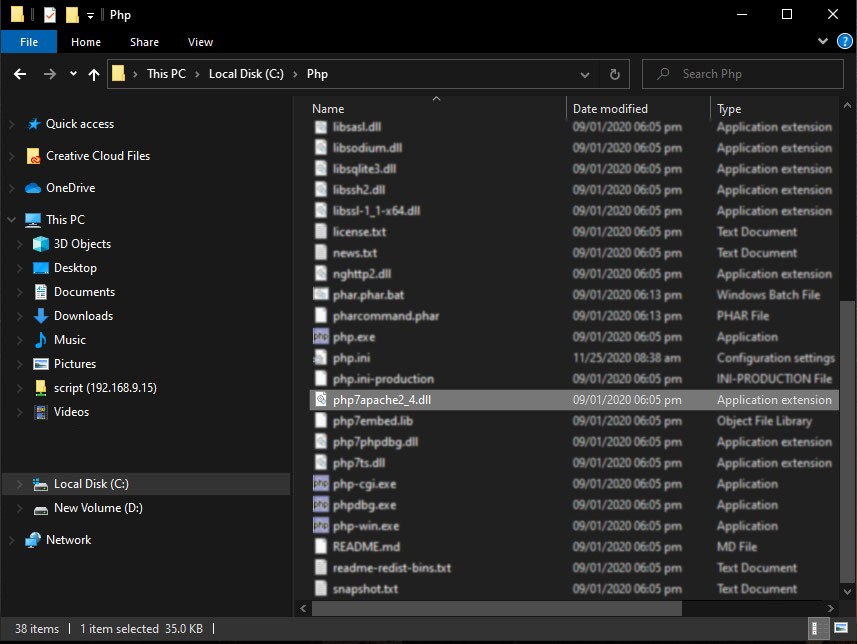
5. Apply changes for the PHP settings that we configure above by restarting Apache service using httpd –k restart.
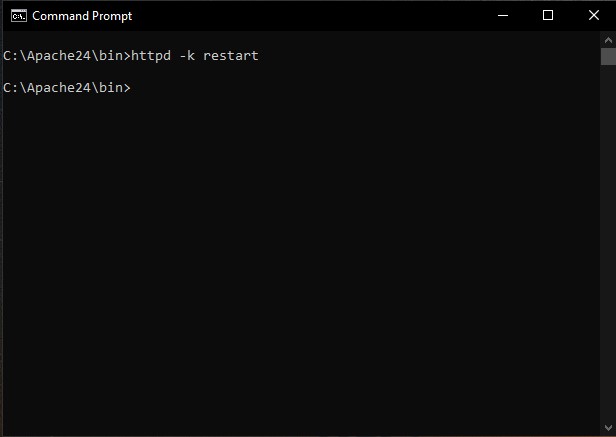
6. Now, Let’s try if PHP is working. Open index.html that you created a while ago inside C: » Apache24 » htdocs folder and replace the code inside using the code snippet below.
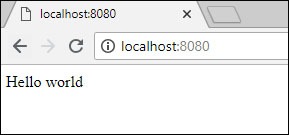
<?php Echo "Hello world" ?>7. Open localhost:8080 on your browser and enter to see if it display the output of the Php echo command which is the word hello world.
III. Register PHP to Windows Environmental Path
This part is just optional. This steps will allow you to access Php using the command prompt. To register, just follow the steps below.
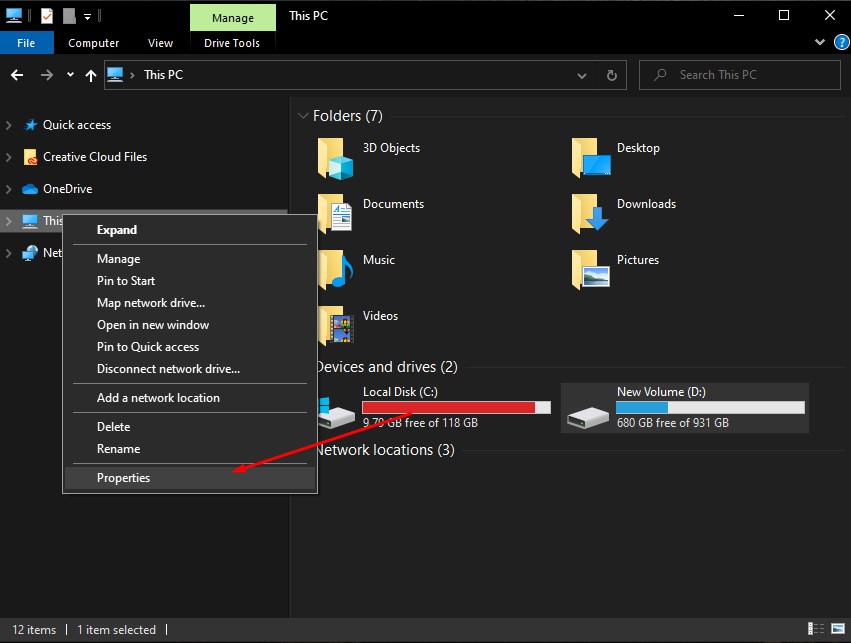
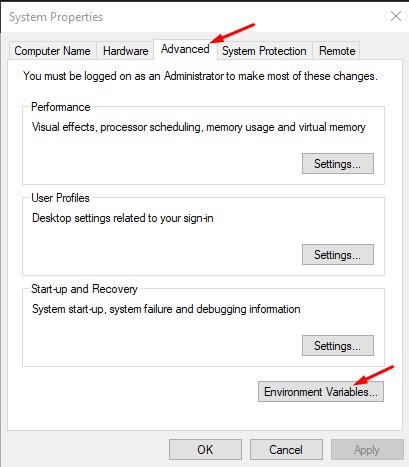
- Open window system properties by going to your drive. Right click on This PC and choose properties.
2. Once the system Windows prompt. Click on Change settings.
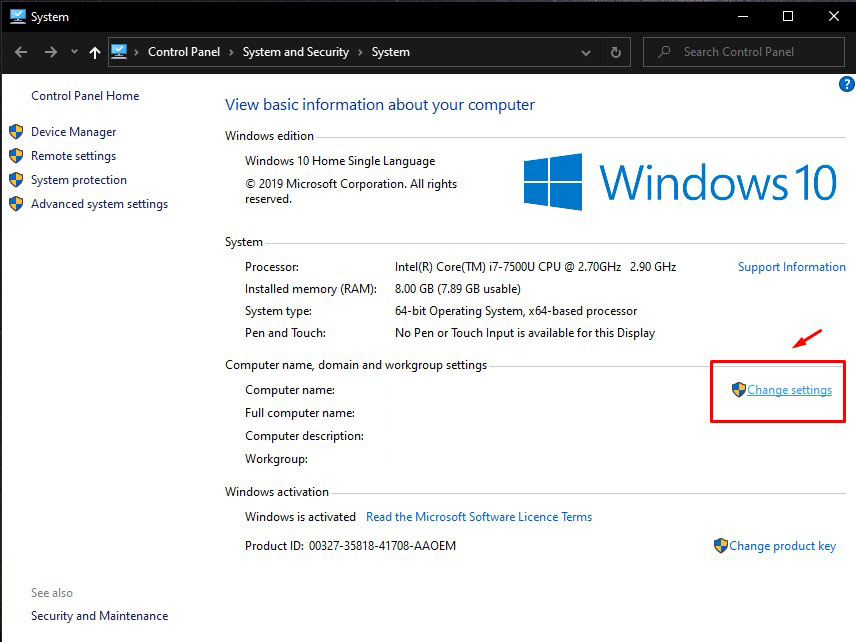
3. Now, choose advance tab and open environment variables.
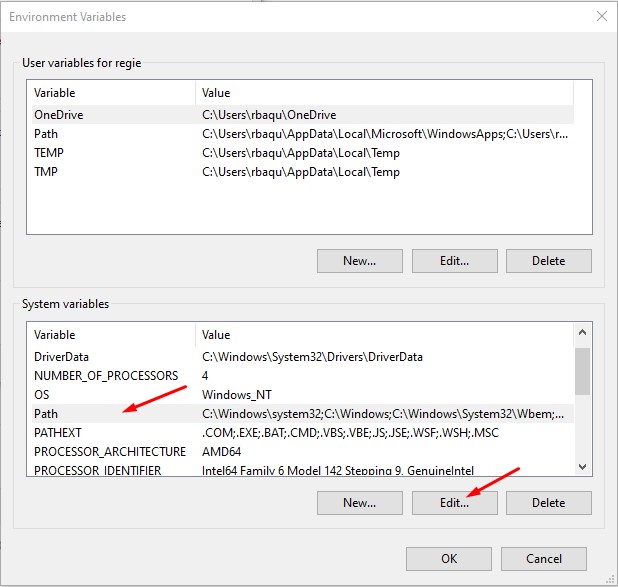
4. Select path on system variables and click on the Edit button. See the image below.
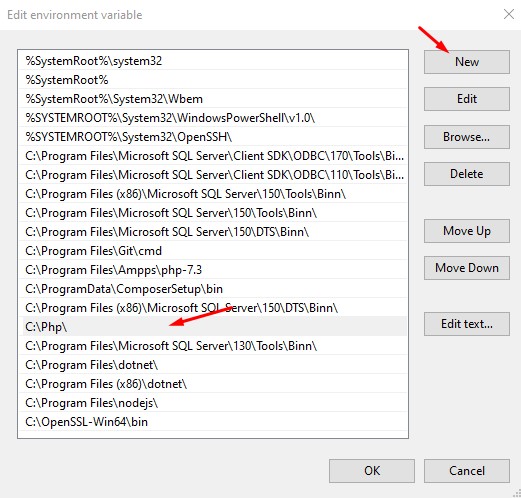
5. Now, add the Php folder path. Once done, proceed on pressing the OK button.
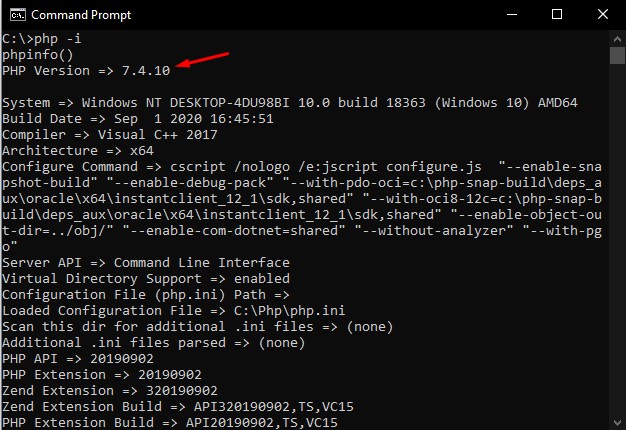
6. Open your command prompt and use the php -i command to check your php version.
Summary
In this tutorial, we learn how to Install and Configure Apache on Windows. We also provided the download link for the latest apache server and Php. Hopefully, this tutorial will be able to help you with your future project. If you are also interested in software framework like ASP.NET you can visit my blog page.
Keep Coding!!