
In this guide, we’ll walk through how to create and use a SOAP Web Service in .NET Core. In the world of web services, we commonly use two types: SOAP and REST APIs. Web services are like apps that enable devices to communicate with each other over the internet. Let’s get started and see how it all works!
What is SOAP Web Services
Before we dive into integrating with SOAP web services in .NET Core, it’s essential to understand the basics of SOAP. SOAP is a protocol that defines a set of rules for structuring messages and how they should be processed. It is platform-agnostic and relies on XML for message formatting, making it a versatile choice for inter-system communication.
SOAP web services typically have a Web Services Description Language (WSDL) document that describes the service’s methods, data types, and endpoints. WSDL acts as a contract, ensuring that clients and services can communicate effectively.
Before we start, Please make sure to have installed the following
- The latest version of Visual Studio
- SQL Server
If you already have the following tools installed on your machine you may proceed on the step below and create your SoapDemo application.
Create a SOAP Webservice in Visual Studio
- Create an empty ASP.NET Web Application(.NET Framework) .We will use this project as the soap service demo .To do that just follow the steps below.
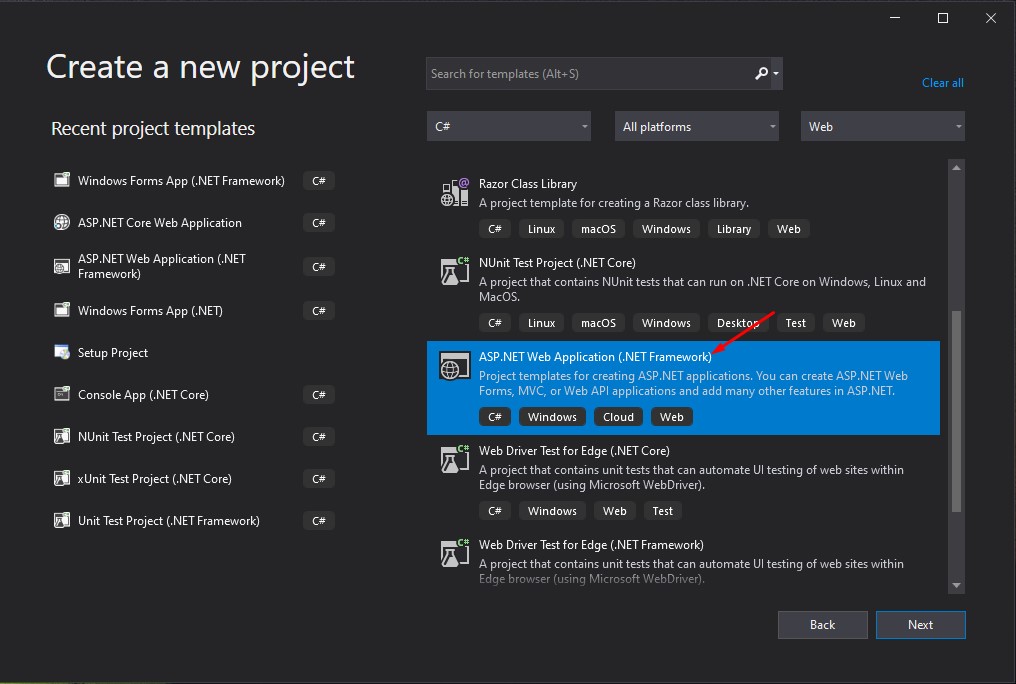
- Select File > New > Project.
- Select ASP.NET Web Application(.NET Framework). Name the project SoapDemo to have the same namespace as my project. Click Create.
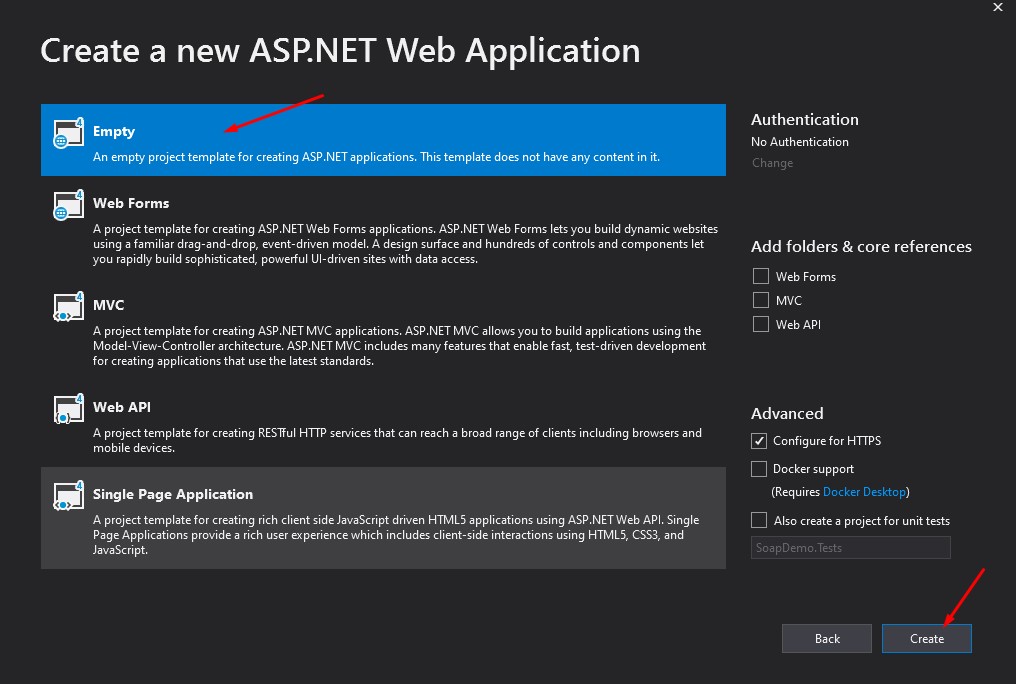
- Select an Empty ASP.NET Web Application(.NET Framework).
- Lastly, Click on Create.
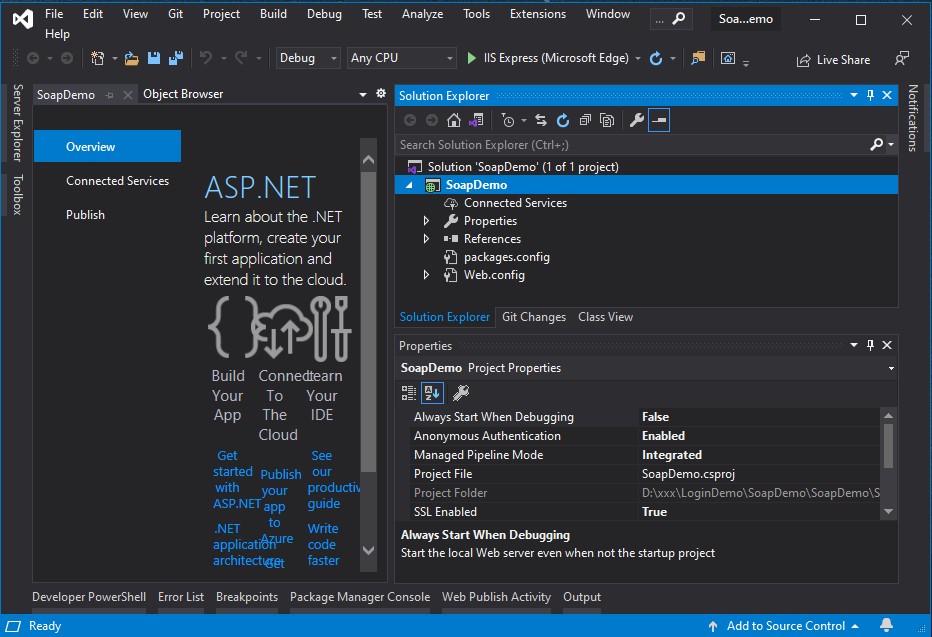
After creating a new project this is how your solution with an empty template will look like. Please see the image below.
2. Add a new item by right-clicking your project solution and select Add » NewItem. Then search for Web Service ASMX.

3. Now, press on “Add” button, This will generate a template for an ASMX web service that contains a default web method HelloWorld. Check out the image attached below.
Now, that we have our Soap Web service, we are now ready to add our sample method which in my case I’ll create a login Web Method. This method will validate my login credential on my website and return an error if not validated or does not exist on my user table.
Create a Sample WEB Method Login
Let’s create a sample Login method that we will consume later in our ASP.Net Core Web Application. Follow the steps below to add the sample code.
1. Create a ResponseModel.
This will serve as our response model template.
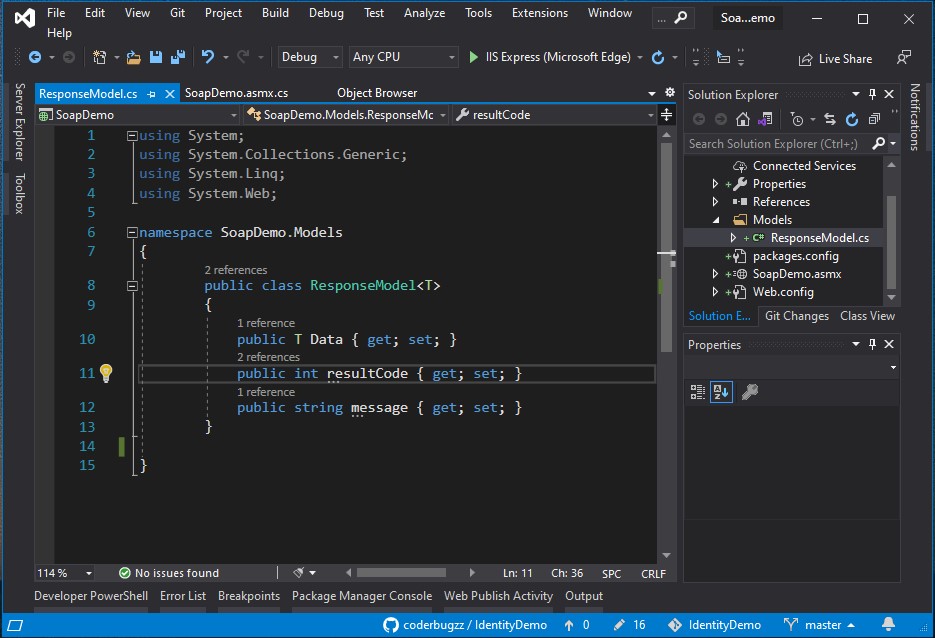
This is the code added to my ResponseModel class. Create a new class file then name it ResponseModel then copy the code snippet below.
ResponseModel :
using System;
using System.Collections.Generic;
using System.Linq;
using System.Web;
namespace SoapDemo.Models
{
public class ResponseModel
{
public T Data { get; set; }
public int resultCode { get; set; }
public string message { get; set; }
}
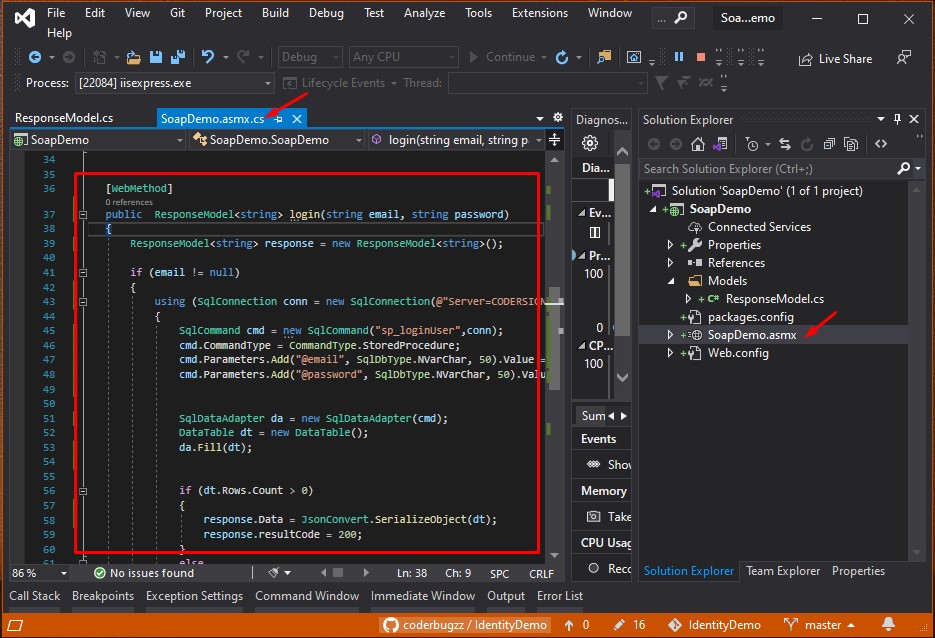
}2. Create a Login method
Now, Open SoapDemo.asmx file then add the sample login validation method below. This method will look up the email and password on the User table. Once the user is found on the database this method will return the response code which is defined as follows.
| Response Code | Description |
|---|---|
| 200 | Email and password found |
| 500 | Email and password does not exist |
You can assign any response as you like but in this case, I’m using the response code above for this example. The database I used on this example is from my previous tutorial. You may visit the link below to create your own ASP.NET Core login Application.

How to Implement Cookie Authentication in ASP.NET Core » Read More
You can copy the code snippet below on your SoapDemo.asmx file.
     [WebMethod]
         public  ResponseModel<string> login(string email, string password)
         {
             ResponseModel<string> response = new ResponseModel<string>();

             if (email != null)
             {
                 using (SqlConnection conn = new SqlConnection(@"Server=CODERSIGN\SQLEXPRESS01;Database=IdentityDemo;User Id=freecode;Password=freespot;"))
                 {
                     SqlCommand cmd = new SqlCommand("sp_loginUser",conn);
                     cmd.CommandType = CommandType.StoredProcedure;
                     cmd.Parameters.Add("@email", SqlDbType.NVarChar, 50).Value = email;
                     cmd.Parameters.Add("@password", SqlDbType.NVarChar, 50).Value = password;


                     SqlDataAdapter da = new SqlDataAdapter(cmd);
                     DataTable dt = new DataTable();
                     da.Fill(dt);


                     if (dt.Rows.Count > 0)
                     {
                         response.Data = JsonConvert.SerializeObject(dt);
                         response.resultCode = 200;
                     }
                     else
                     {
                         response.message = "User Not Found!";
                         response.resultCode = 500;
                     }


                 }
             }
             return response;
} 
3. Run Soap Project
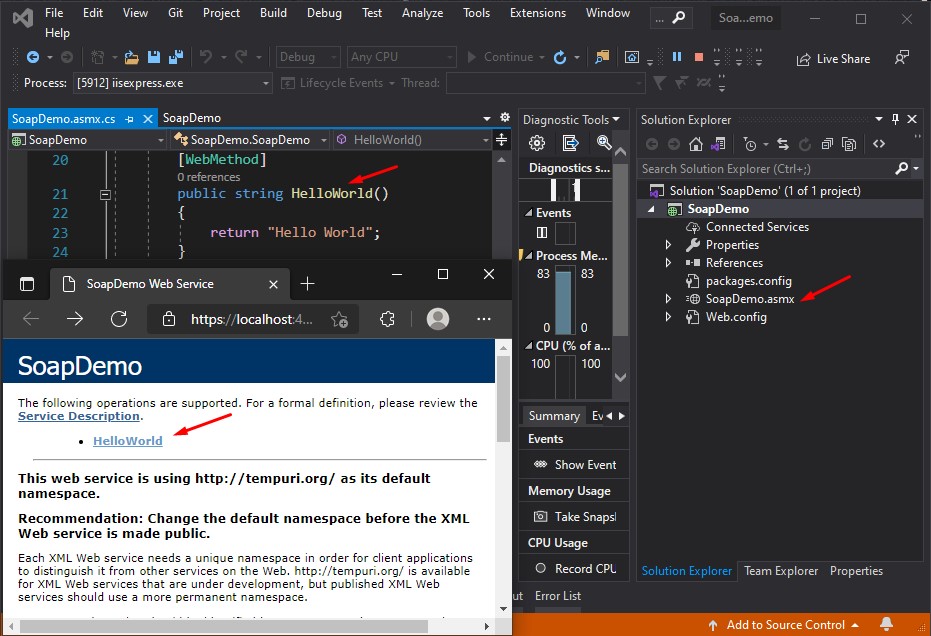
Now, run your project and make sure you see the method you just created. See the image below.
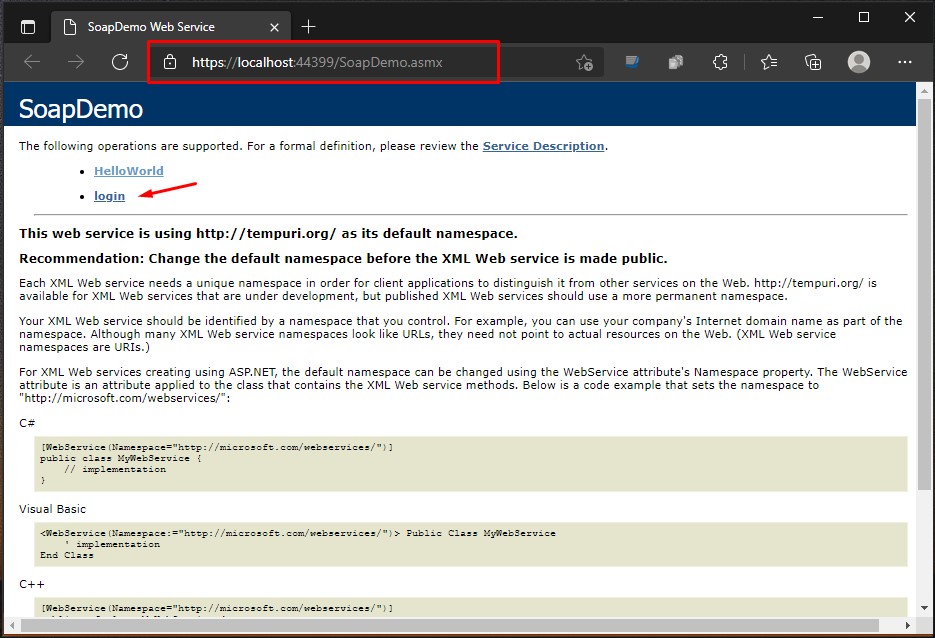
| WebMethod | Description |
|---|---|
| HelloWorld | Default method created that will return a “Hello World” string |
| login | login validation method |
Soap Service URL: https://localhost:44399/SoapDemo.asmx
Create a Sample ASP.NET Core Web Application Project.
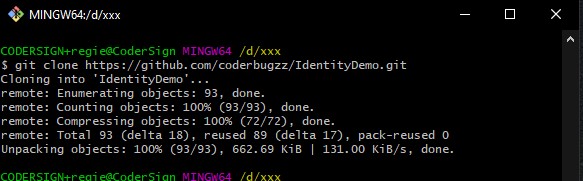
Create a sample ASP.NET Core project or you may use the project from my previous article which I use in this example. Now, Instead of creating a new project, I will clone the sample project on my previous article which can be found here. This is a sample login application that uses cookie authentication. Visit the page and then clone the repository link on my GitHub Account.
Login Web Application using Cookie Authentication in ASP NET Core
After that open the project using the latest Visual Studio and rebuild the solution.
Add Soap Service Reference for SoapDemo service on ASP.NET Core Application
Now, we are ready to consume the soap service that we created above. Run your soap service and follow the steps below.
- Run your soap service, this will open the browser with the soap service URL. In my case my soap URL is https://localhost:44399/SoapDemo.asmx.
- Now, navigate to IdentityDemo project solution. Then right click on the Connected Services then Add Connected Service.
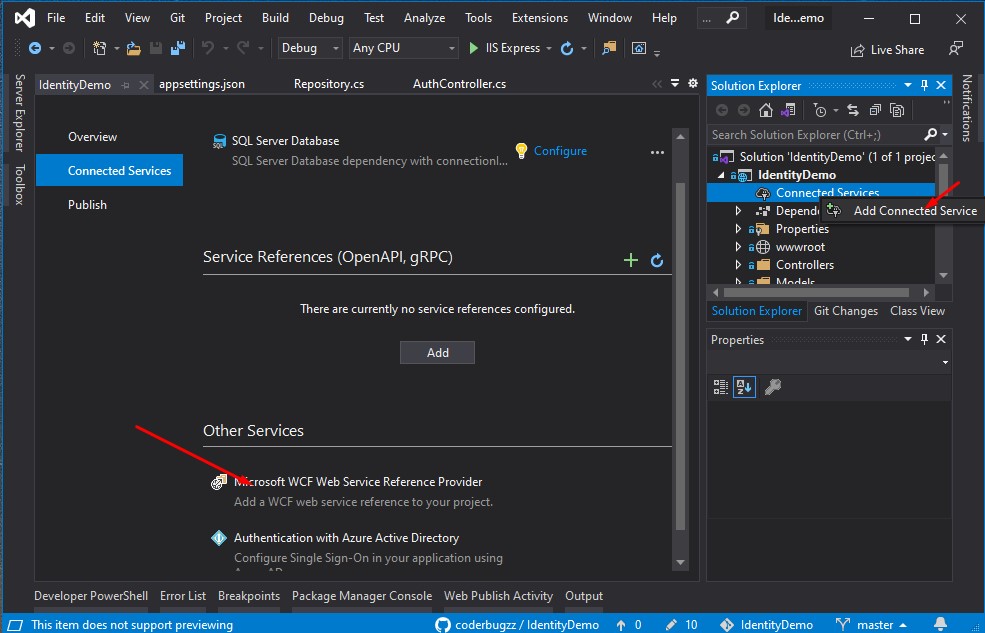
3. Select Microsoft WCF Web Service Reference Provider from Other Services option. Then Input your URL and assign the service name.
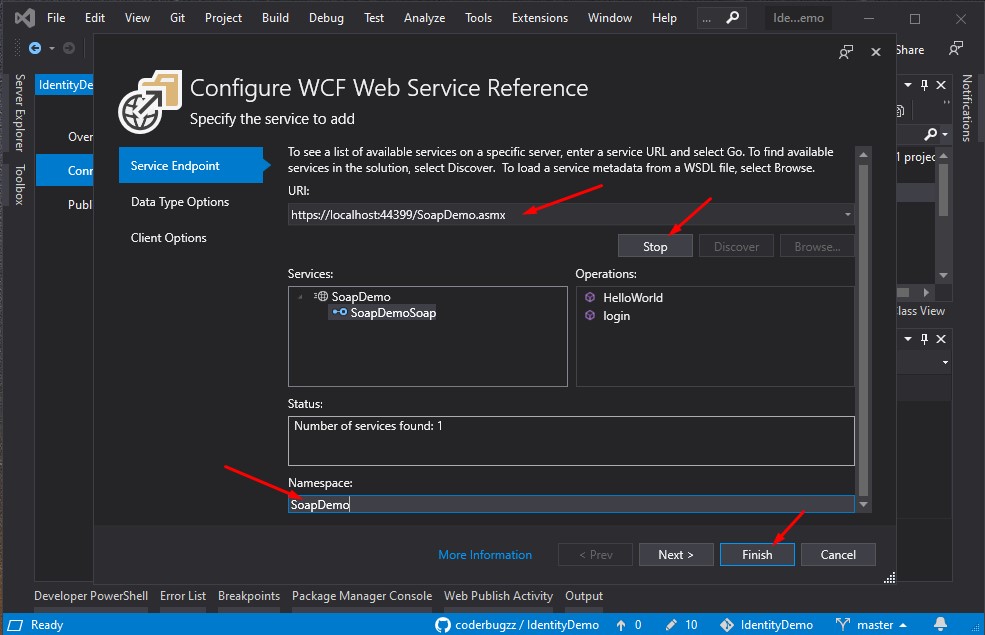
4. Then click Finish. This will generate references for your Soap Service.
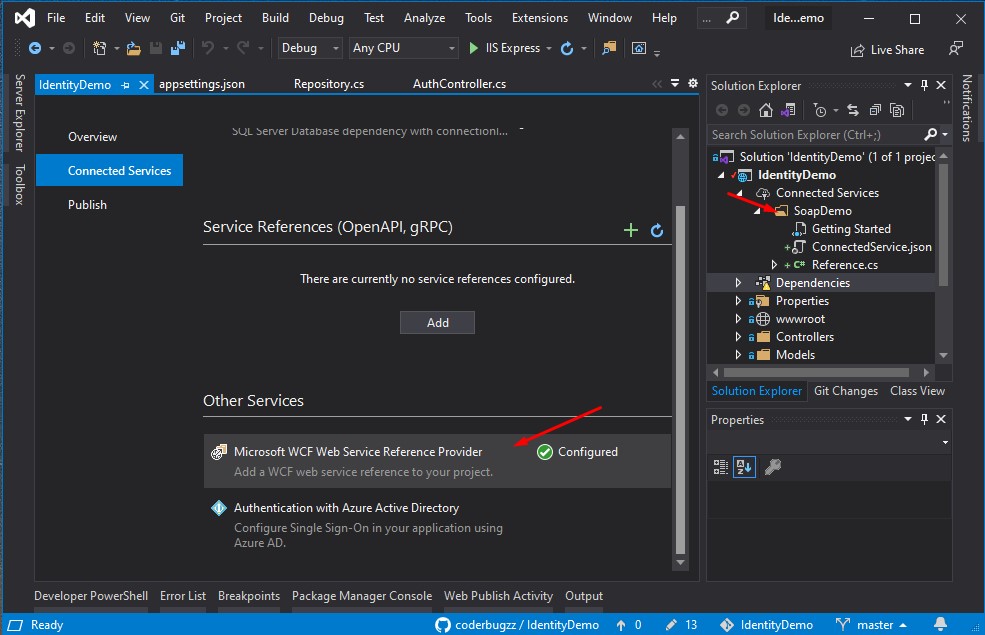
At this point, we have successfully generated the reference for our Web service project.
Consume Soap Service on ASP.NET Core Application
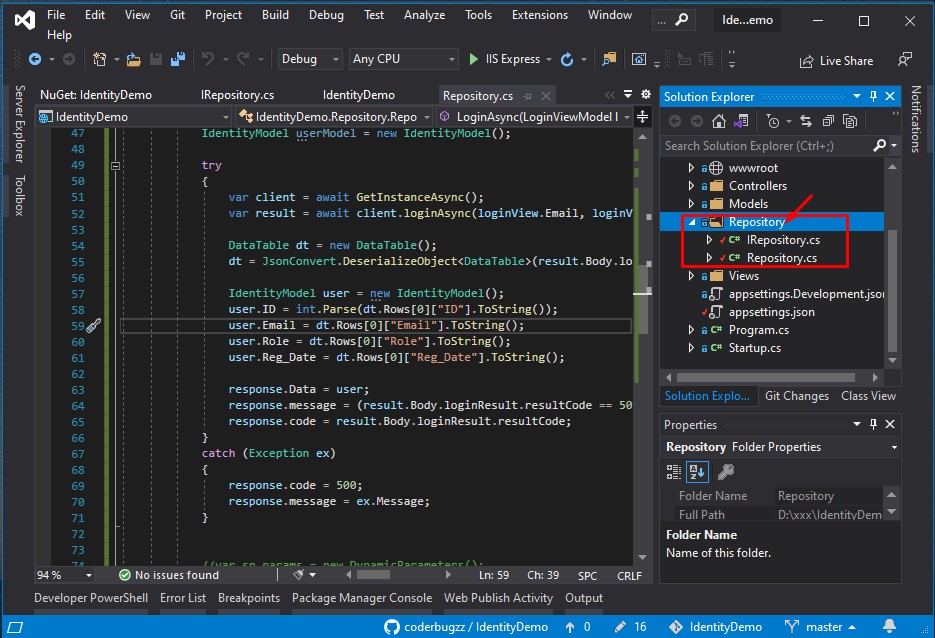
Let’s add the implementation for the Service on our project. Since the ASP.NET core is an existing project we will add the interface and implementation on the existing class IRepository and Repository classes.
This is the summary of implementation to get the instance of the soap service that we added a while ago.
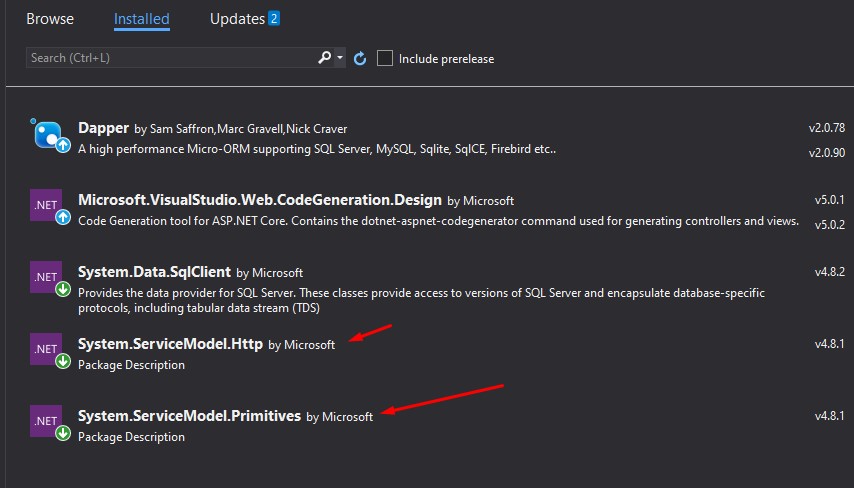
Before you start the steps below. Install the following NuGet packages.
- System.ServiceModel.Http
- System.ServiceModel.Premitives
- From IRepository class we added a GetInstanceAsync method. This method will instatiate the soap service.
Task<SoapDemoClient> GetInstanceAsync();2. Then on the implementation class which is Repository.cs. I added this code.
public readonly string serviceUrl = "https://localhost:44399/SoapDemo.asmx";
public readonly EndpointAddress endpointAddress;
public readonly BasicHttpBinding basicHttpBinding;
Repository Contructor:
 public Repository(IConfiguration configuration)
         {
             _configuration = configuration;

             endpointAddress = new EndpointAddress(serviceUrl);

             basicHttpBinding = new BasicHttpBinding(endpointAddress.Uri.Scheme.ToLower() == "http" ?
                             BasicHttpSecurityMode.None : BasicHttpSecurityMode.Transport);
             basicHttpBinding.OpenTimeout = TimeSpan.MaxValue;
             basicHttpBinding.CloseTimeout = TimeSpan.MaxValue;
             basicHttpBinding.ReceiveTimeout = TimeSpan.MaxValue;
             basicHttpBinding.SendTimeout = TimeSpan.MaxValue;
         }
GetInstanceAsync implementation:
 public async Task<SoapDemoSoapClient> GetInstanceAsync()
    {
         return await Task.Run(() => new SoapDemoSoapClient(basicHttpBinding, endpointAddress));
    }
3. To use this instance you can call it using the code snippet below.
 var client = await GetInstanceAsync();
 var result = await client.loginAsync(loginView.Email, loginView.Password);
LoginAsync is the Login method from the SoapDemo service that we added on the Connected Service.
This is now the new code in my LoginAsync method.
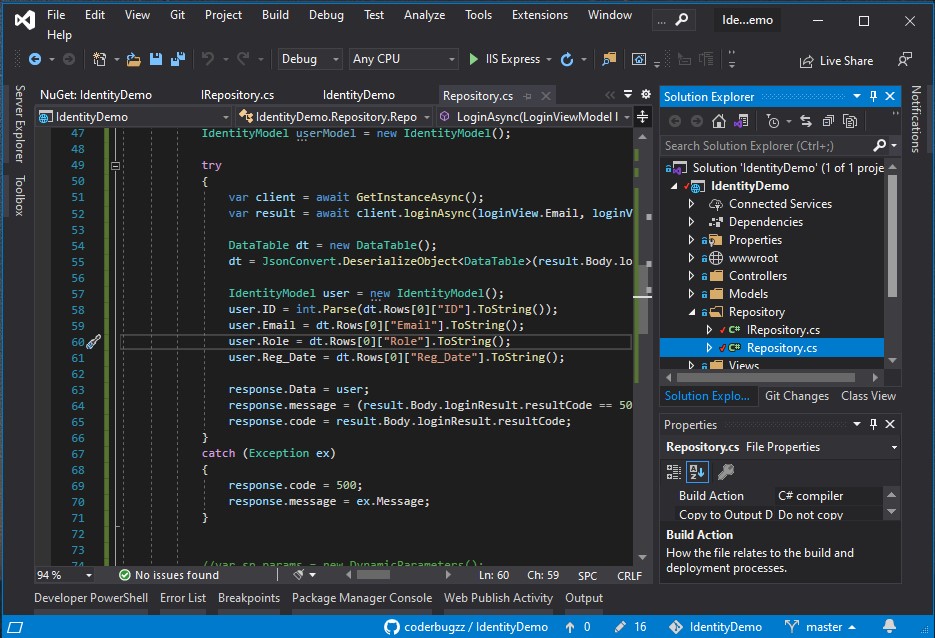
  public async Task<Response<IdentityModel>> LoginAsync(LoginViewModel loginView)
         {
             Response<IdentityModel> response = new Response<IdentityModel>();
             IdentityModel userModel = new IdentityModel();

             try
             {
                 var client = await GetInstanceAsync();
                 var result = await client.loginAsync(loginView.Email, loginView.Password);

                 DataTable dt = new DataTable();
                 dt = JsonConvert.DeserializeObject<DataTable>(result.Body.loginResult.Data);

                 IdentityModel user = new IdentityModel();
                 user.ID = int.Parse(dt.Rows[0]["ID"].ToString());
                 user.Email = dt.Rows[0]["Email"].ToString();
                 user.Role = dt.Rows[0]["Role"].ToString();
                 user.Reg_Date = dt.Rows[0]["Reg_Date"].ToString();

                 response.Data = user;
                 response.message = (result.Body.loginResult.resultCode == 500) ? "Login failed.Please check Username and / or password" : "data found";
                 response.code = result.Body.loginResult.resultCode;
             }
             catch (Exception ex)
             {
                 response.code = 500;
                 response.message = ex.Message;
             }

             return response;
         }
To download our free source code from this tutorial, you can use the button below.
Note: Extract the file using 7Zip and use password: freecodespot
Click here to download the demo project: ASP.NET Core Soap Web Service Demo Project.
Run and Test
Run both the SoapDemo project and the IdentityDemo project. You can use the register option to create a user for you to log in. Visit my previous tutorial to familiarize yourself with the source code used here.
VII. Summary
We have learned from this tutorial How to create and consume Soap Web Service in Dotnet Core. Implementing a soap service in ASP.NET core is different from the ASP.NET MVC project. We can also observe that creating a Soap Webservice in Visual Studio 2019 does not have a project template for the ASMX project instead we added a new item manually. I hope this tutorial will help you and be used in your future development integration.
KEEP CODING!
Subscribe to freecode spot to get more tutorials like this.

If your interested on other authentication implementation like using cookie visit this blog post.