
ASP.NET MVC (Model-View-Controller) is a popular framework for building robust, scalable, and maintainable web applications. It provides a powerful set of tools and features that enable developers to create dynamic and interactive websites. In this article, we will walk you through the process of creating an ASP.NET MVC application from scratch. Let’s get started!
What is ASP.NET MVC?
ASP.NET MVC is an open-source web development framework from Microsoft that provides a Model View Controller architecture. This free web framework is designed to build websites and web applications on .NET Framework using HTML, CSS, and JavaScript.
Before we start please make sure to have this following application installed on your machine.
- Visual Studio » Download and install the latest version of Visual Studio, which includes the necessary templates and libraries for ASP.NET MVC development.
- .NET Framework » Ensure that you have the required version of the .NET Framework installed.
I. Create ASP.NET MVC Project
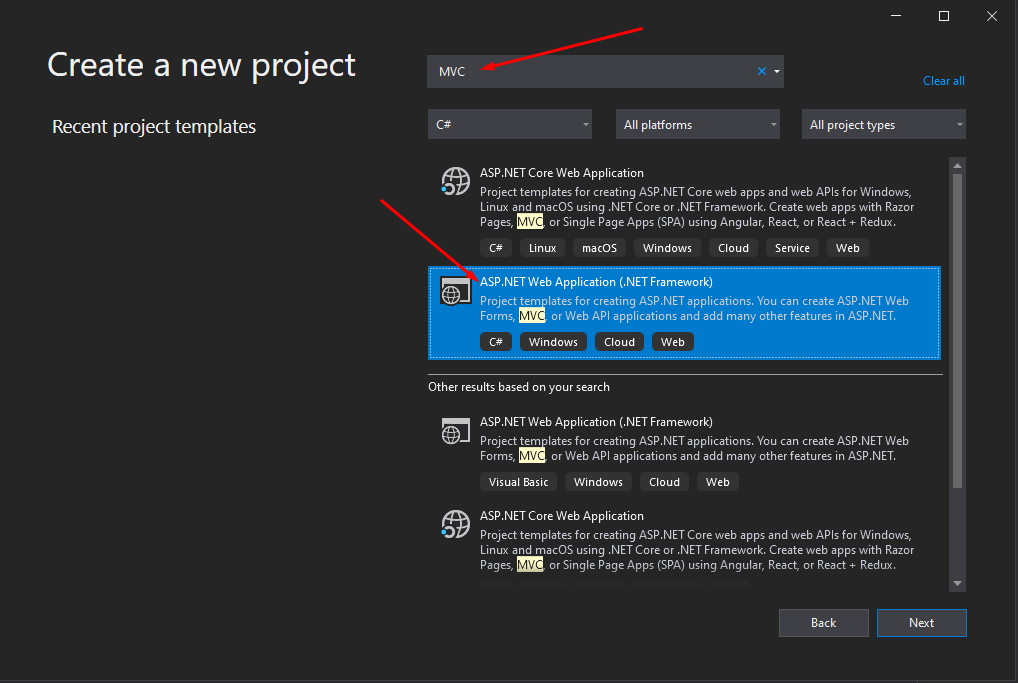
1. Open Visual Studio and select “Create a new project.”

2. In the project template selection window, choose “ASP.NET Web Application.”
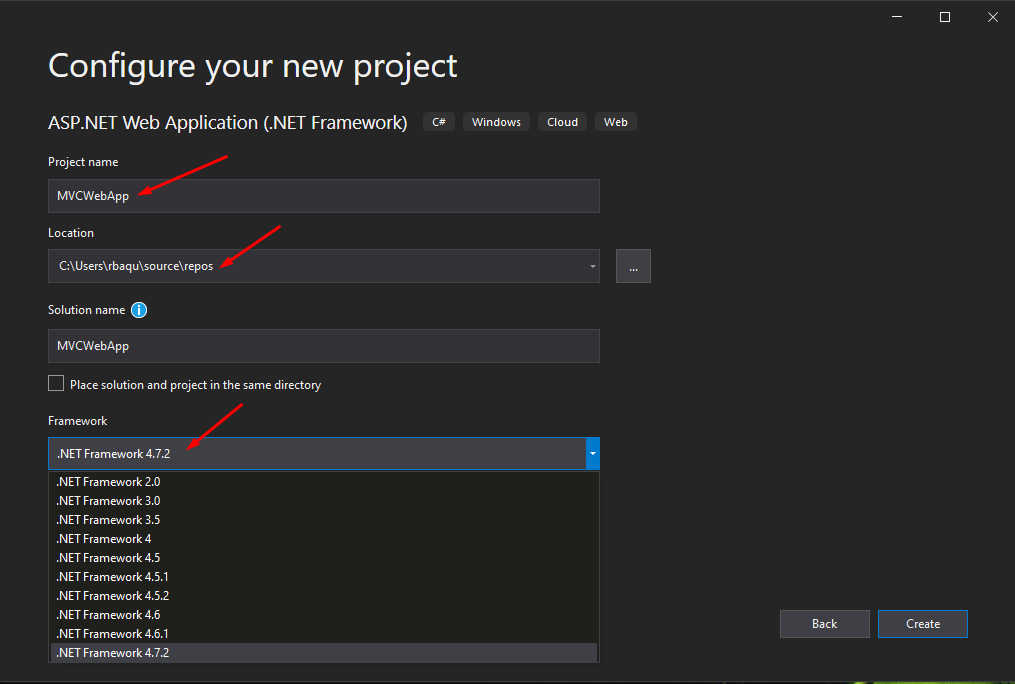
3. Provide a name for your project and choose a location to save it. Click “Create” to generate the project structure.
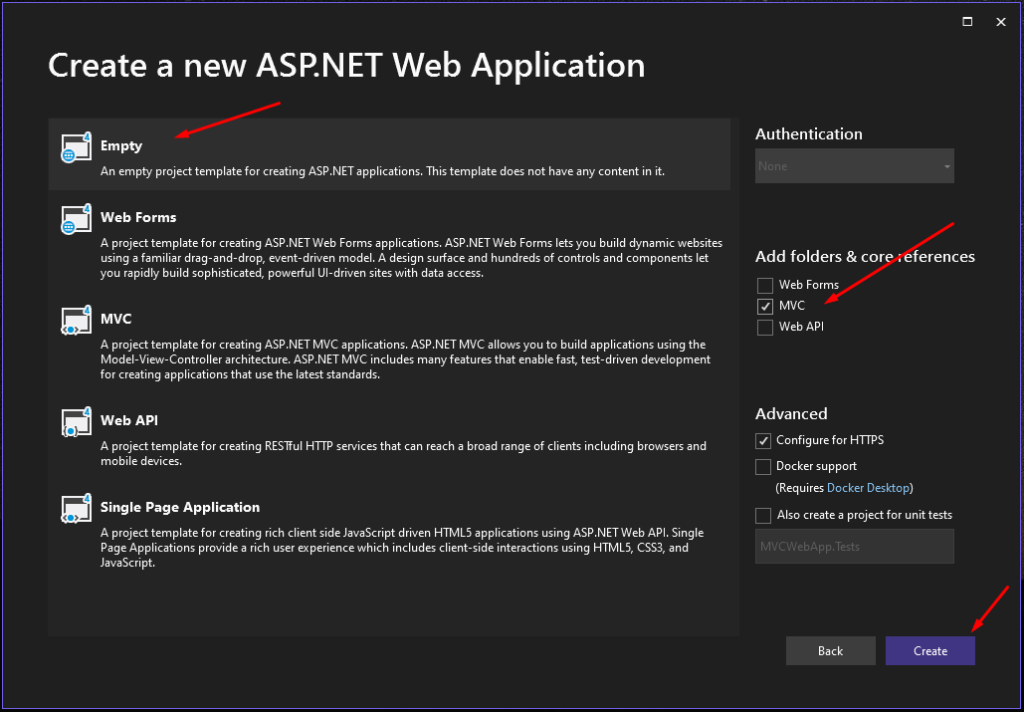
4. Now, we have two options to start a project we can use the MVC template, or we can start from an empty project. We will use the empty MVC template then click the “Create” button.
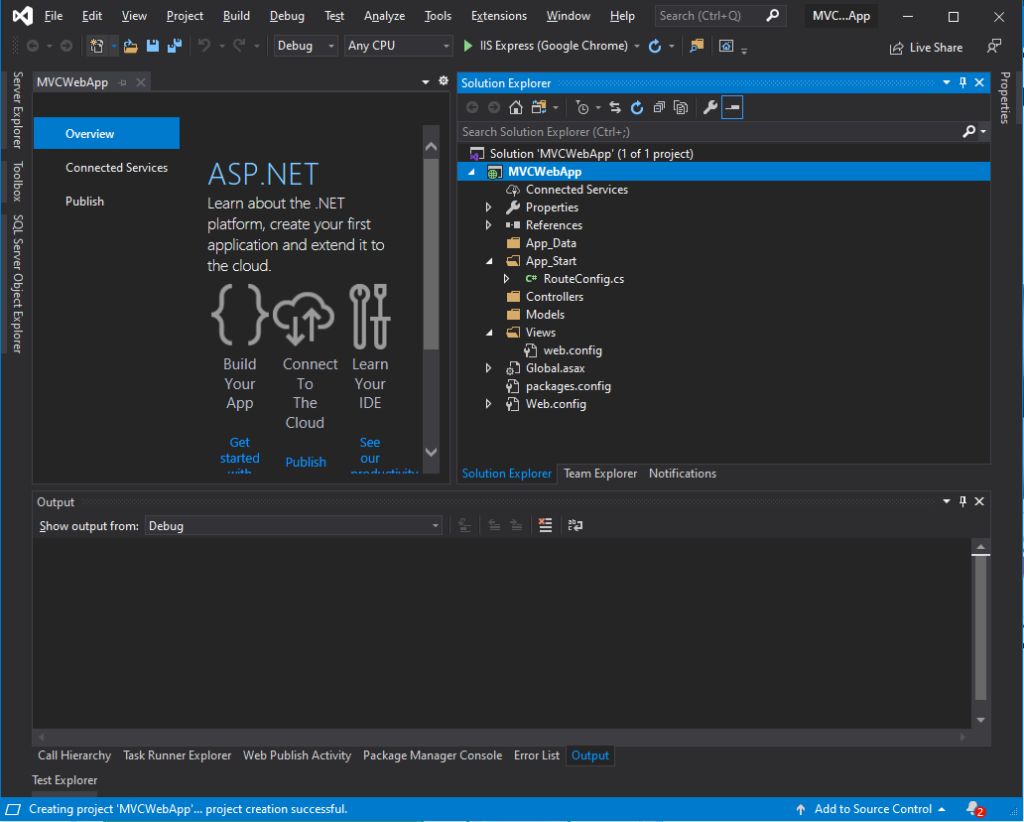
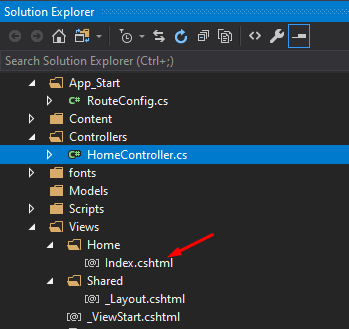
5. This is how your project solution will look like. See the image below.
II. Explore the Project Structure
Understanding the project structure is essential for working with ASP.NET MVC. Familiarize yourself with the key folders. MVC is an architectural pattern known as Model-View-Controller. This architecture separates your application into three logical components.
- Models – Contains classes representing your application’s data model and business logic.
- Views – Contains the HTML templates and user interface elements for rendering the application’s output.
- Controllers – Contains classes that handle user requests, process data, and interact with models and views.
III. Create a Model
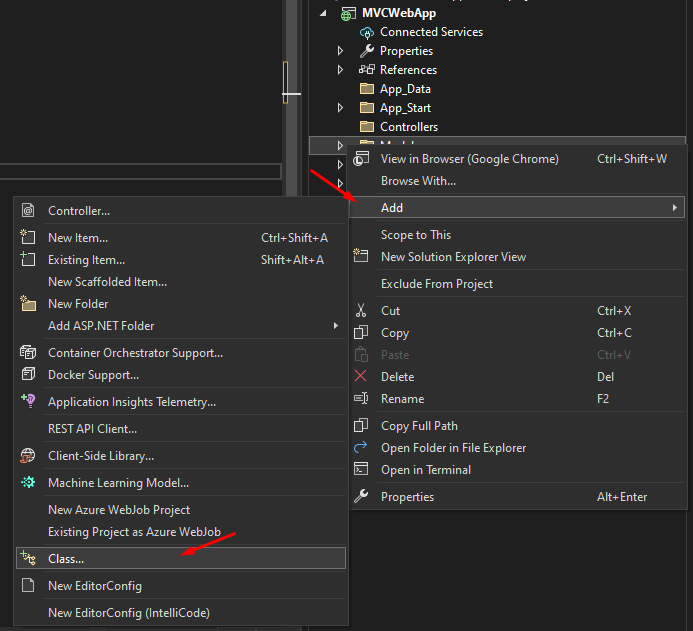
1. Right-click on the “Models” folder in your project and select “Add” > “Class.”
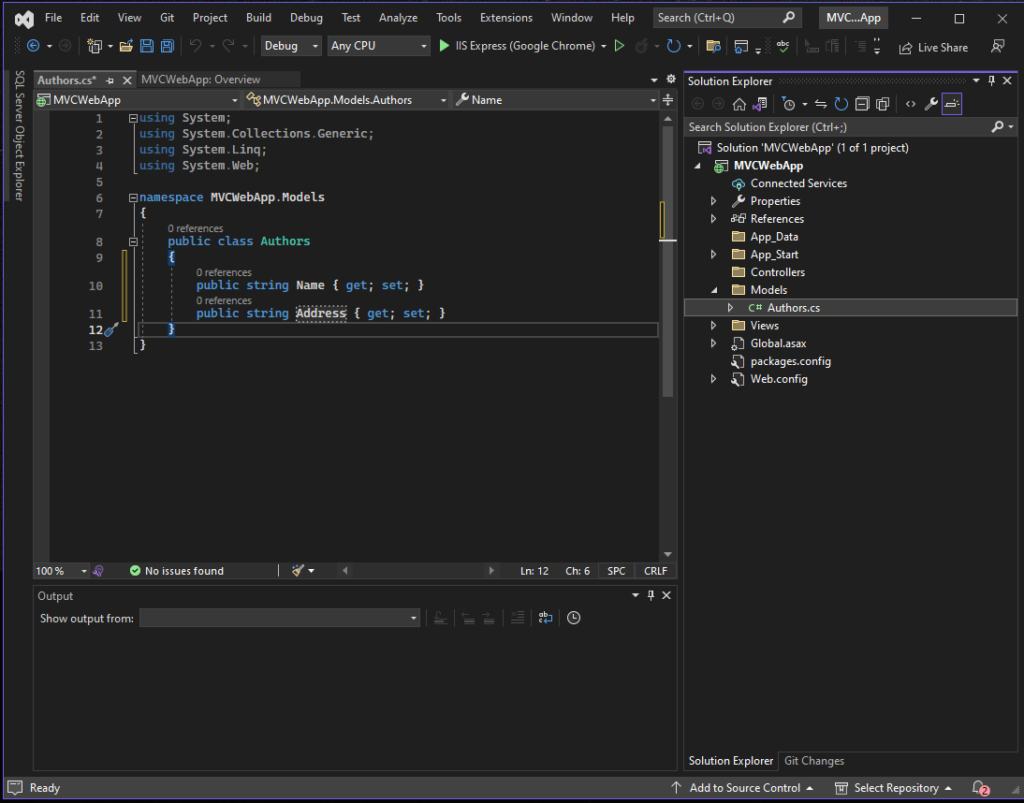
2. Define your model classes, including properties and methods representing your application’s data. In this case, I’ll create an Authors class.
3. Then, I’ll create a Name and Address for the model properties.
public class Authors
{
       public string Name { get; set; }
       public string Address {get; set; }
}
IV. Create a Controller
Now that we are done setting properties, let’s add the Controller class. Follow the steps below.
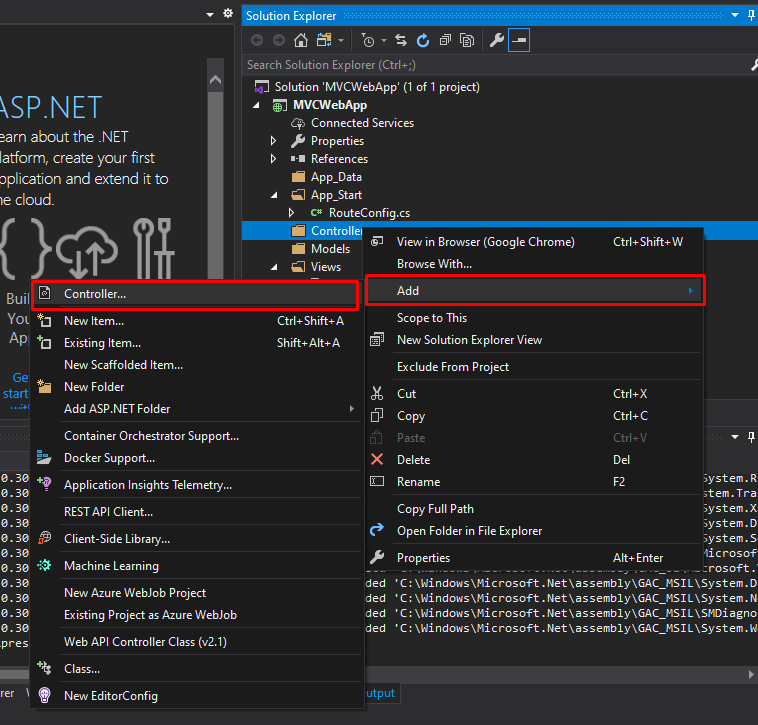
1. Right-clicking on the “Controllers” folder, then select “Add” » “Controller.”
2. Choose the appropriate template for your controller, such as “Empty” or “MVC Controller – Empty”.
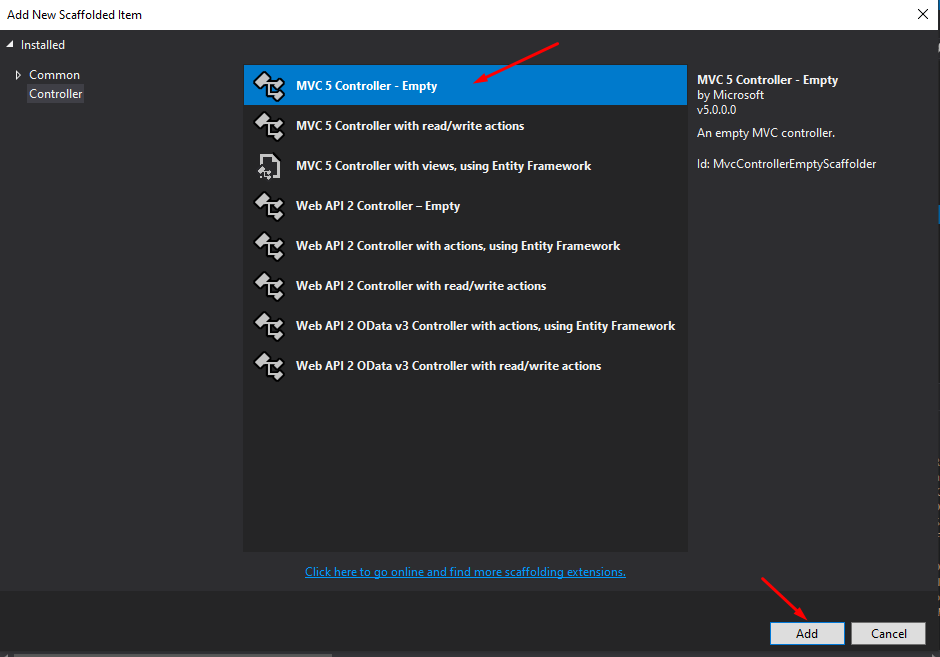
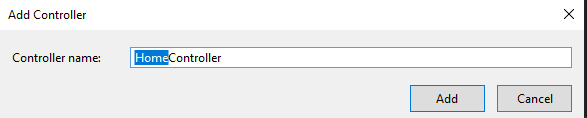
3. Assign a name to your controller class, then click the “Add” button.
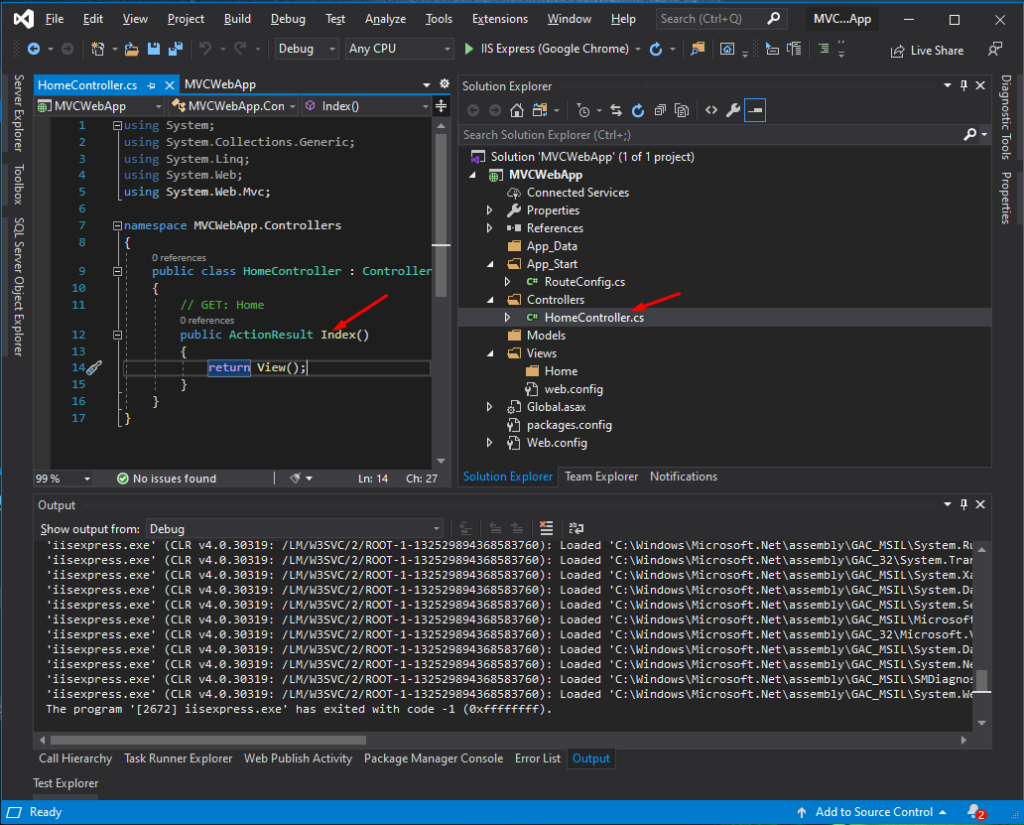
4. This will create a new controller with a default Index method.
public class HomeController : Controller
{
    public ActionResult Index()
    {
        return View();
    }
}
V. Create Views
Now, all we need to do is to create a View. We will create a view for this index method. To do that:
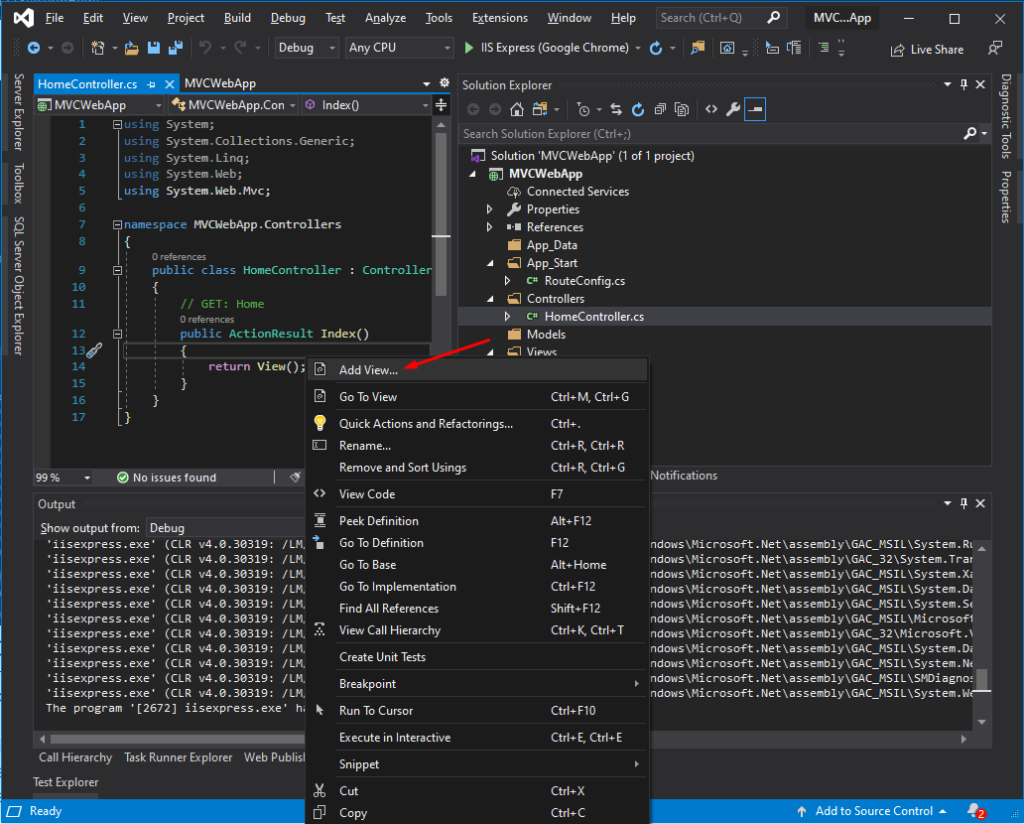
1. Right-click on the Index method from HomeController.cs.
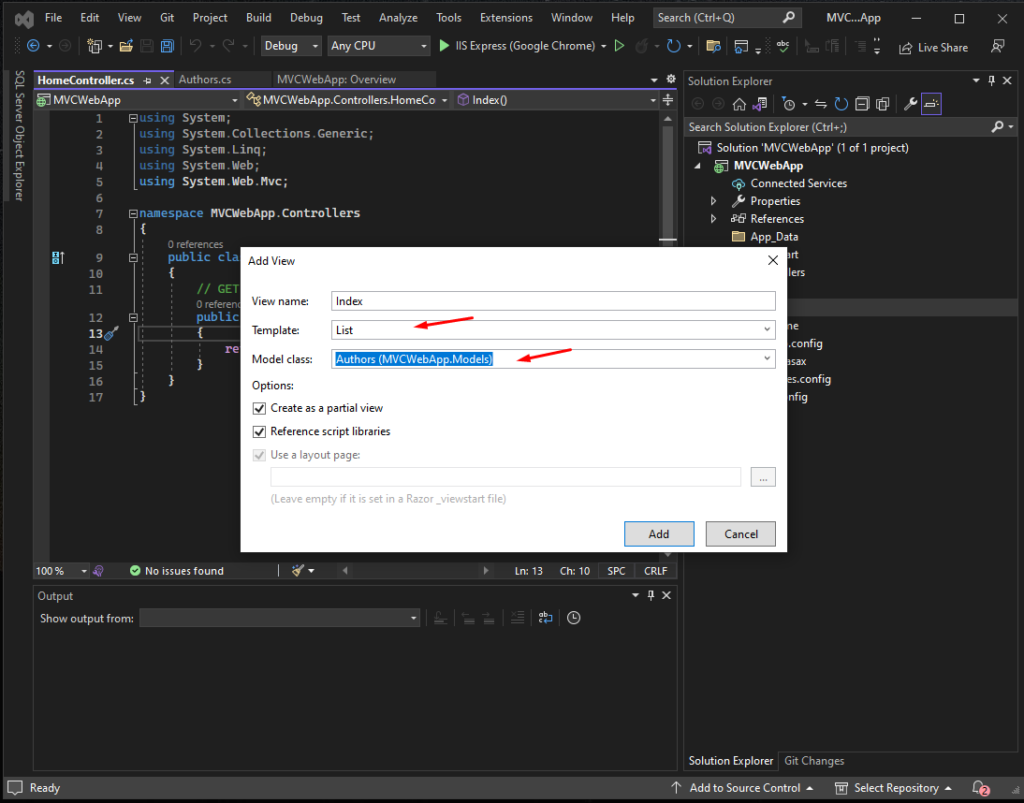
2. Choose a template for your view, such as “Empty,” “List,” “Details,” etc. In my case, I’ll choose List for this demo and select the Authors on the Model class.
3. This action will create an Index.cshtml file under the “Views” » “Home” folder. Open the index.cshtml and modify the html design as required for your application.
4. Leverage the Razor syntax (default view engine) to render data from the models within your views dynamically. This is the default view generated.
 @model IEnumerable<MVCWebApp.Models.Authors>

<p>
    @Html.ActionLink("Create New", "Create")
</p>
<table class="table">
    <tr>
        <th>
            @Html.DisplayNameFor(model => model.Name)
        </th>
        <th>
            @Html.DisplayNameFor(model => model.Address)
        </th>
        <th></th>
    </tr>

@foreach (var item in Model) {
    <tr>
        <td>
            @Html.DisplayFor(modelItem => item.Name)
        </td>
        <td>
            @Html.DisplayFor(modelItem => item.Address)
        </td>
        <td>
            @Html.ActionLink("Edit", "Edit", new { /* id=item.PrimaryKey */ }) |
            @Html.ActionLink("Details", "Details", new { /* id=item.PrimaryKey */ }) |
            @Html.ActionLink("Delete", "Delete", new { /* id=item.PrimaryKey */ })
        </td>
    </tr>
}

</table>
VI. Configure Routing
Routing is a crucial aspect of ASP.NET MVC. It determines how URLs are mapped to controllers and actions.
1. Open the “RouteConfig.cs” file in the “App_Start” folder.
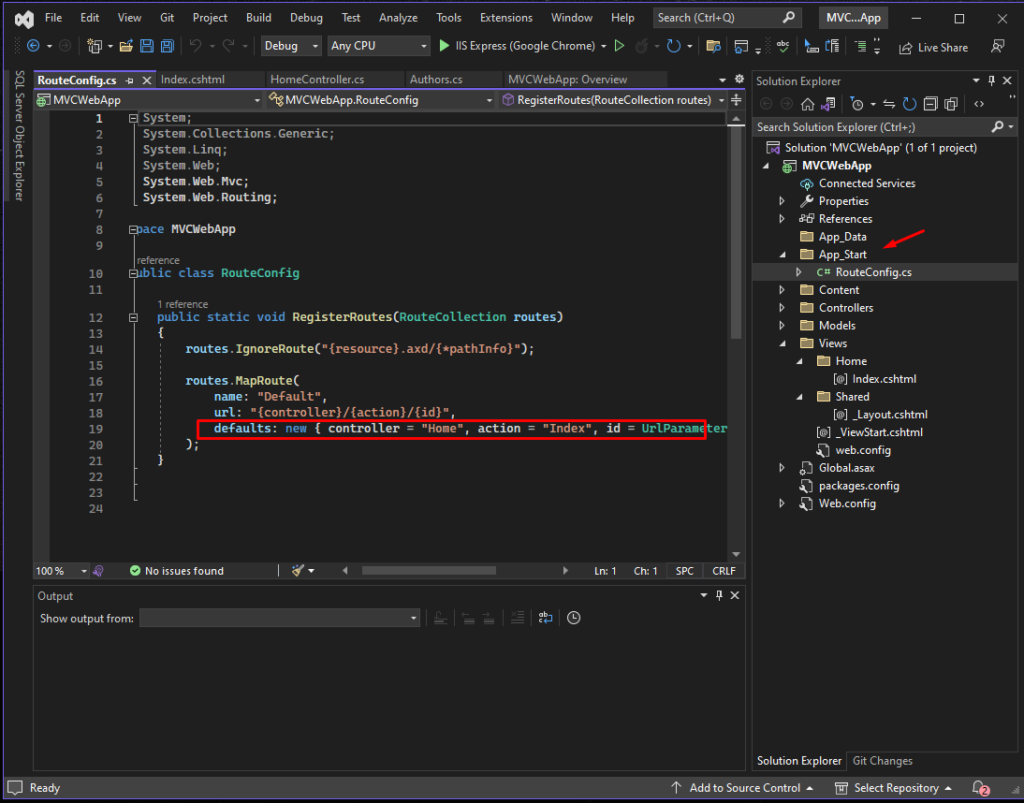
2. Define custom routes using the MapRoute method, specifying the URL pattern and controller/action to be invoked. Which, by default, is set to Home/Index. The full URL now should be in this format “https://localhost:{port}/Home/Index“
VII. Run and Test the Application
Now, It’s time to test our application. To see a sample display of a list of Authors on our View, use the code snippet below and replace the code on your HomeController.cs.
public ActionResult Index()
        {
            var authors = new List<Authors>() {
             new Authors{ Name = "Author 1", Address="missing st."},
             new Authors{ Name = "Author 2", Address="missing st."},
             new Authors{ Name = "Author 3", Address="missing st."},
            };
            return View(authors);
        }
If you use an empty MVC template, ensure that the following libraries are installed.
- Bootstrap 3.3.7
- JQuery 1.10.2
- Modernizr 2.6.2
If not, you can download it using NuGet Package Manager.

You may also visit this blog post to guide you on installing NuGet package.
Now, you are ready to test your first ASP.NET web application.
1. Press F5 or click the “Run” button in Visual Studio to start the application.
2. Verify that your application launches in the browser, and you are able to see the list of dummy authors that we added on index action inside HomeController.cs.
3. You can also Use breakpoints and debugging tools to identify and resolve any issues.
If you follow along with this tutorial you should be able to see this on your browser.
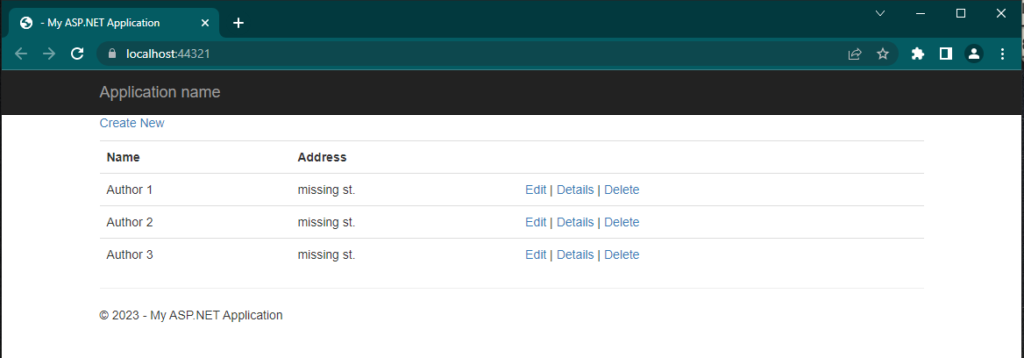
If you observe, we have three hyperlink function on the view, “Edit”, “Details” and Delete. You can continue this project by creating their functionality, we only covered display list function on this tutorial.

Detailed ASP.NET MVC folder structure.
Source Code
If you encounter an error on your source code and have already done your best in debugging and still have no result, you may download the source code from GitHub @coderbugzz.
Summary
Creating an ASP.NET MVC application allows you to build powerful, flexible, and scalable web applications. Following the steps outlined in this guide, you can start your ASP.NET MVC journey. Remember to continuously enhance your knowledge by exploring additional features, frameworks, and best practices to build high-quality applications. Hopefully, you have learned something from this tutorial. Keep coding!