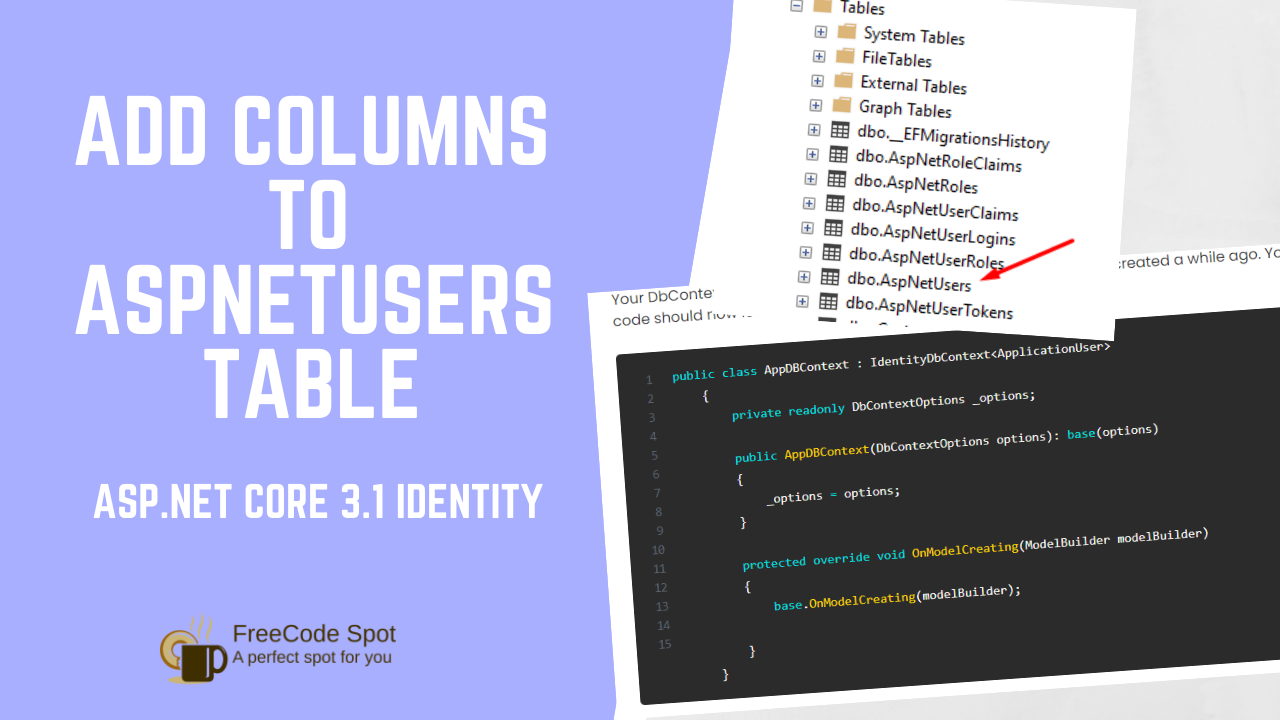
This tutorial will show you how to add custom fields to user in ASP.NET Core Identity. AspNetUser is one of the default tables created if you are using ASP.NET Core Identity in your application. This table is where the authenticated users are being saved.
Before adding custom fields to the user model, make sure you have already set up login and registration using ASP.NET Core Identity. If you haven’t, follow my ASP.NET Core Login and Registration using Identity guide first.
Adding custom fields allows you to store additional information about users beyond the default properties provided by ASP.NET Core Identity, enabling you to customize the user data model to better fit the needs of your application. This might include details like profile pictures, social media links, or any other custom attributes specific to your application’s requirements.
What is ASP.NET Core Identity?
ASP.NET Core Identity is an Identity framework management system from Microsoft. This framework handles the registration, login authentication, and even assign roles to the user of an ASP.Net Core application. In other words, it gives us instant authentication functions in our Web Application. It also created the table structures that need for your login app, where the user’s information, roles, and passwords.
Function of ASP.NET Core Identity.
- Application users
UserManager<IdentityUser> _userManager- Signin authentication
SignInManager<IdentityUser> _signInManager- User roles
RoleManager<IdentityRole> _roleManagerWe have now covered most of the basic part and hopefully give you the idea of an ASP.Net Core Identity. If you want to see this in action, you may visit this link login and Registration using ASP.Net Core Identity.
Add Custom Fields To User Entity
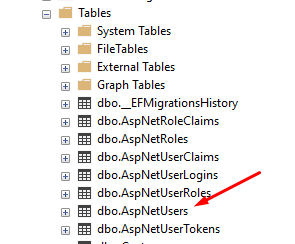
If you are already using Identity in your ASP.NET Core project you can check table AspNetUsers. This table represents the IdentityUser Entity
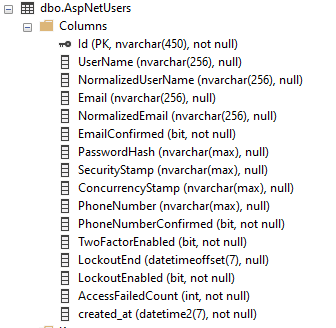
If you expand and look for columns these are the default columns created when you run migration.
Now, let’s add a custom field. Follow the steps below.
1. To add additional columns to ASP.NET Core Identity, we need to create a model inheriting the IdentityUser properties. This method will allow us to specify an additional field for IdentityUser. To do so, make a model class name ApplicationUser.
  public class ApplicationUser : IdentityUser
    {
        public string FirstName { get; set; }
        public string LastName { get; set; }
    }
In this model you can add all the necessary fields you need for your application.
2. Now, open your application DBContext and modify your code by changing this line of code below.
From this:
public class AppDBContext : IdentityDbContext{To this:
public class AppDBContext : IdentityDbContext<ApplicationUser>Your DbContext will now use the extended model properties that you created a while ago. Your full code should now look like this.
public class AppDBContext : IdentityDbContext<ApplicationUser>
    {
        private readonly DbContextOptions _options;

        public AppDBContext(DbContextOptions options): base(options)
        {
            _options = options;
        }

        protected override void OnModelCreating(ModelBuilder modelBuilder)
        {
            base.OnModelCreating(modelBuilder);

        }
    }
3. Now, you can create a new migration and update the database to apply changes to your actual SQL database. Once done, open your database and check for the columns that we just added.
Migration command:
- Package Manager Console > Add-Migration IdentityDBUser
- Visual Studio Code Terminal > dotnet ef migration add IdentityDBUser
Update Database command:
- Package Manager Console > Update-Database
- Visual Studio Code Terminal > dotnet ef database update
4. For us to use the extended ApplicationUser properties that we create, we need to change all of the IdentityUser instances to ApplicationUser.
You need to change:
- UserManager<IdentityUser> _userManager
- SignInManager<IdentityUser> _signInManager
- services.AddIdentity<IdentityUser,IdentityRole>().AddEntityFrameworkStores<AppDBContext>();
With Changes:
- UserManager<ApplicationUser> _userManager
- SignInManager<ApplicationUser> _signInManager
- services.AddIdentity<ApplicationUser,IdentityRole>().AddEntityFrameworkStores<AppDBContext>();
This is how we add columns to the AspNetUsers table in ASP NET Core 3 1 Identity.
Summary
Add all the fields you need in the ApplicationUsers then create a migration and perform Update-database command to apply changes to the table in your SQL Database.
Related Tutorials