In this tutorial, I will show you how to secure your website using a free SSL certificate and configure it in your shared hosting. I am using Hostinger for my hosting, and we are going to use SSL For Free.
What is an SSL certificate?
SSL certificates are what enable websites to move from HTTP to HTTPS, which is more secure. An SSL certificate is a data file hosted in a website’s origin server. SSL certificates make SSL/TLS encryption possible, and they contain the website’s public key and the website’s identity, along with related information. Devices attempting to communicate with the origin server will reference this file to obtain the public key and verify the server’s identity. The private key is kept secret and secure.
To create a SSL Certificate you may follow the steps below.
I. Register for Free SSL Certificate
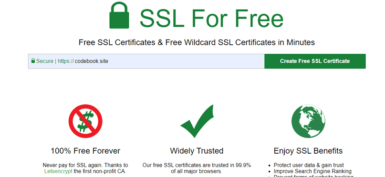
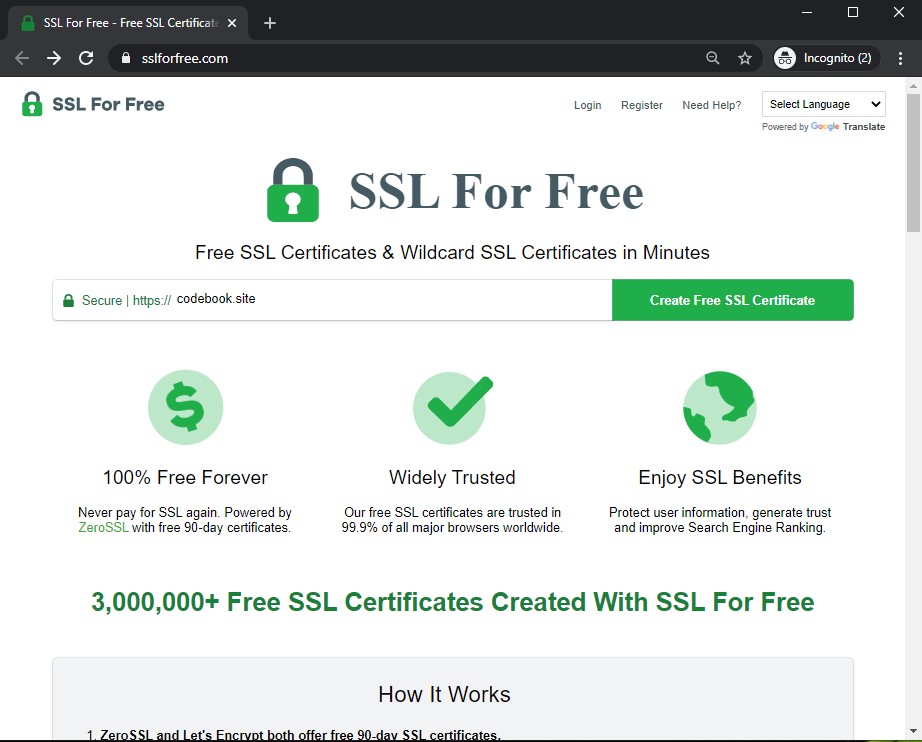
We will use sslforfree.com. This website offers a free SSL Certificate that you can install on your Web Hosting to move your site to a more secure HTTPS.
1. On SSL For Free website enter your website URL and press on create free SSL certificate.
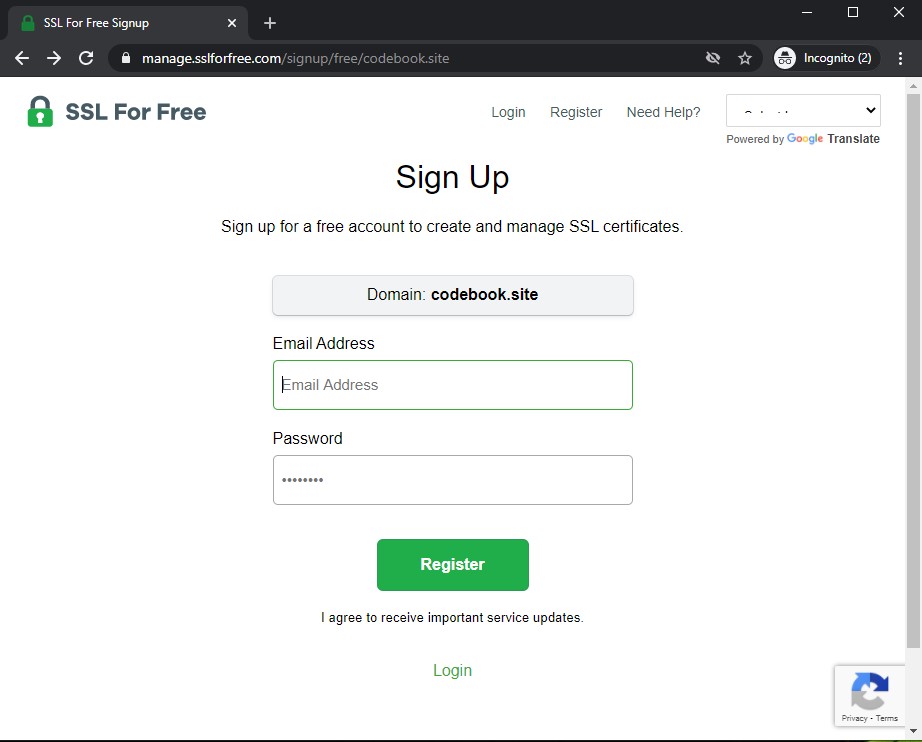
2. Now, you need to register to get a free SSL Certificate. Fill up the registration form, which only requires an email address and a password. Please see the screenshot below.
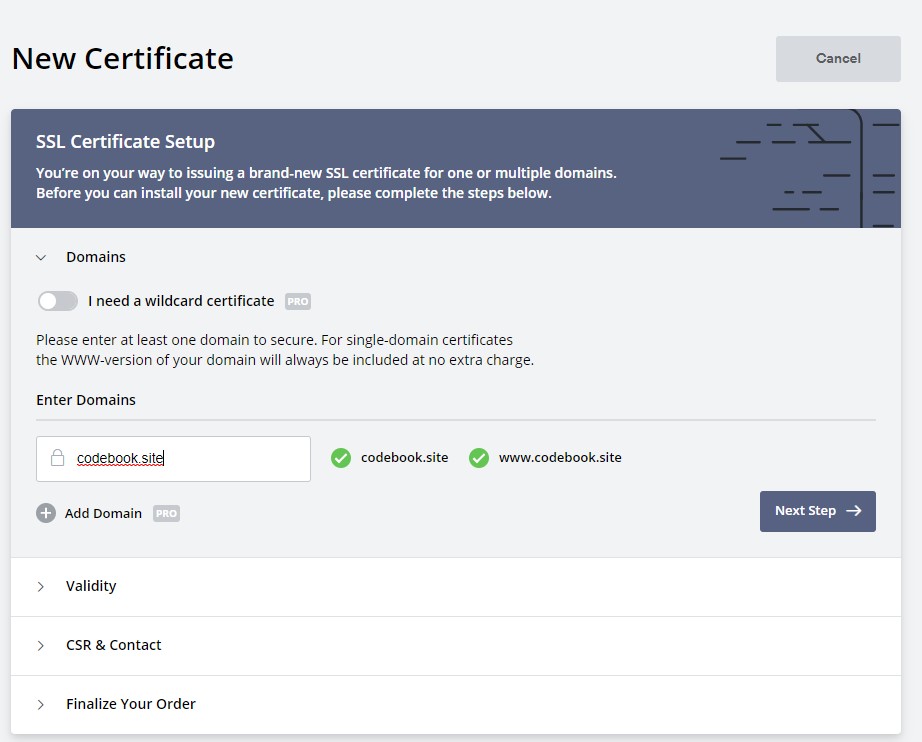
3. In the website’s dashboard click the New Certificate button to create new SSL Certificate.

4. You will be prompted again to input the domain to apply for the SSL Certificate. Input your domain and click next.
5. Now, you will have the option to choose the validity of the certification. We have two options for a free certificate. You can only have a 90 Day Certificate validity, but you can renew after 90 days. If you choose to have a 1-year validity for your certificate, you may have to upgrade your account to the PRO version.
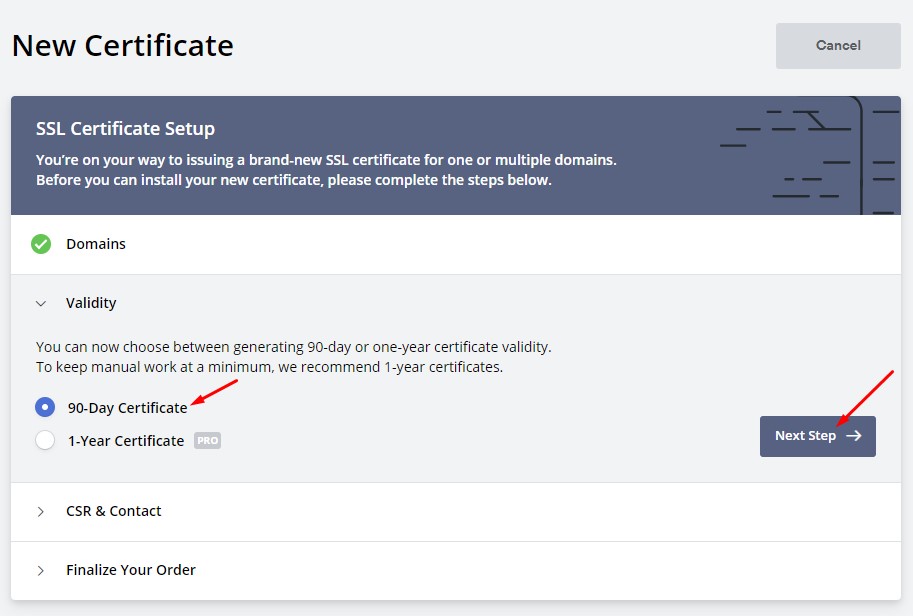
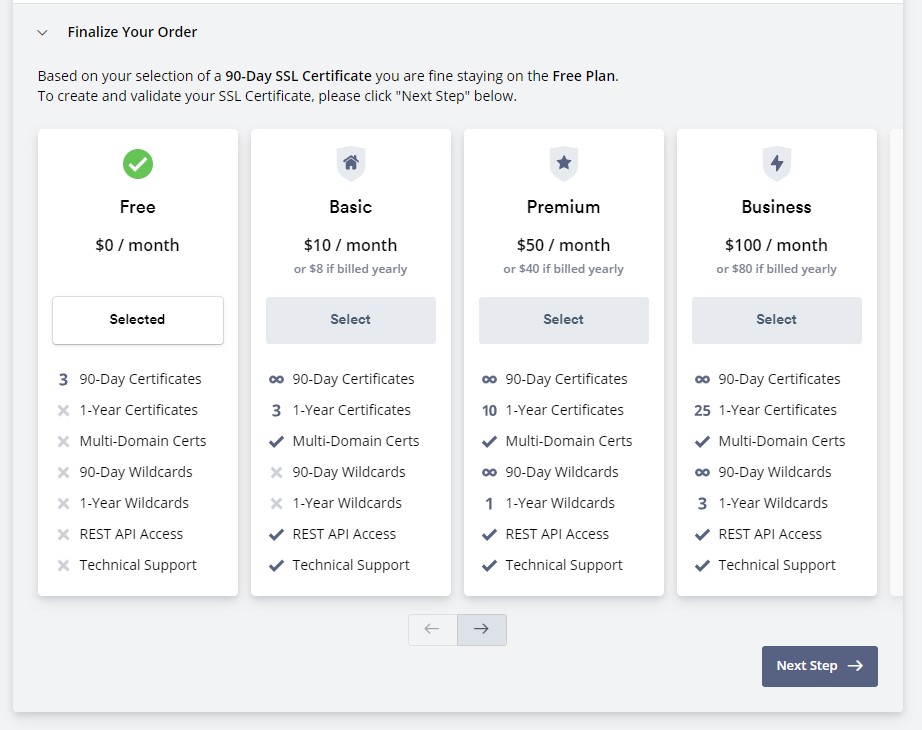
6. Click on the Next button until you see the Finalize your Order window. Then press Next Step again. See the image below.
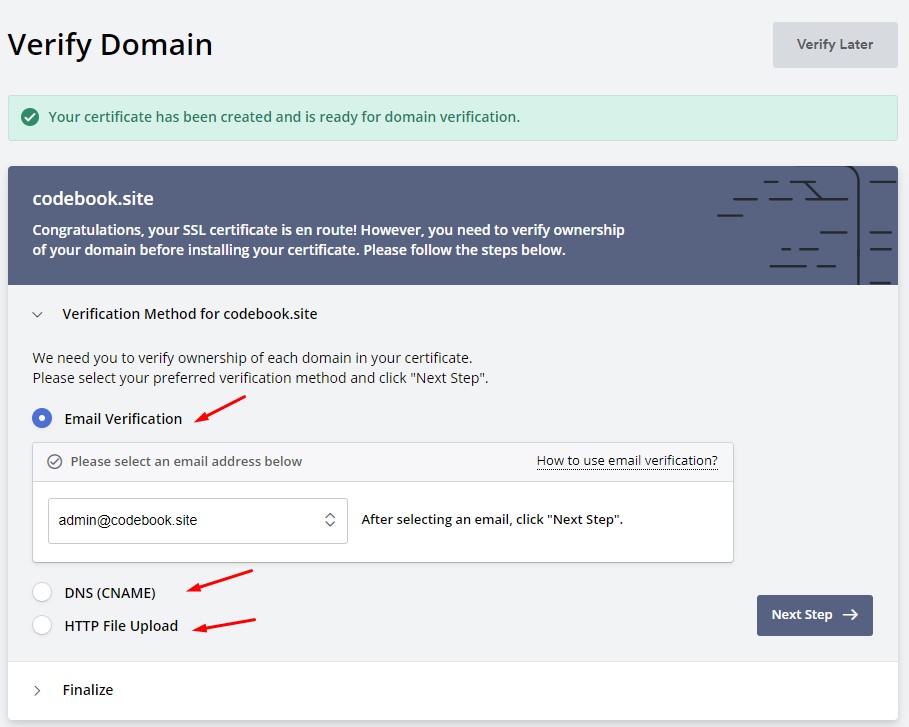
II. Verify Domain Ownership
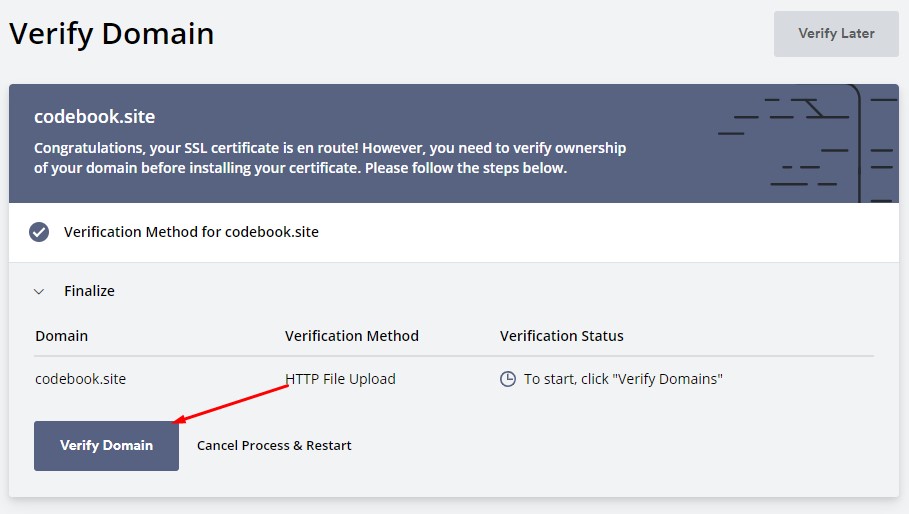
Now, we need to verify the ownership of the domain. To do that, we three options. In this tutorial, I am going to use the third option, which is HTTP File Upload. See the image shown below.
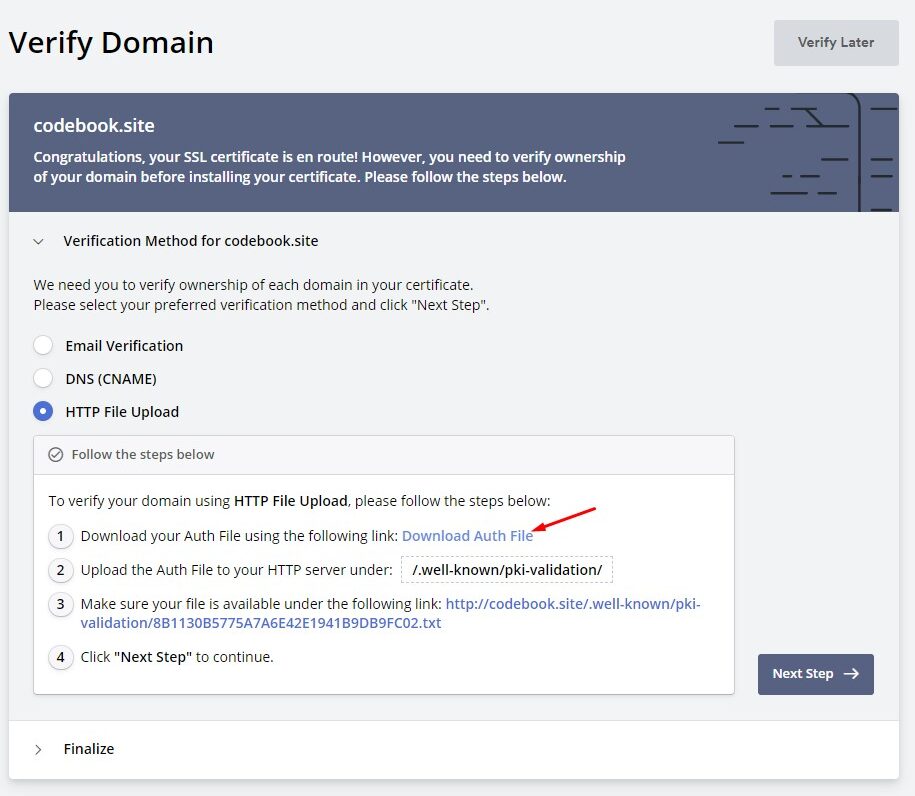
- Choose HTTP File Upload by selecting from the list of options. Download the Auth file from step number 1, shown in the image below.
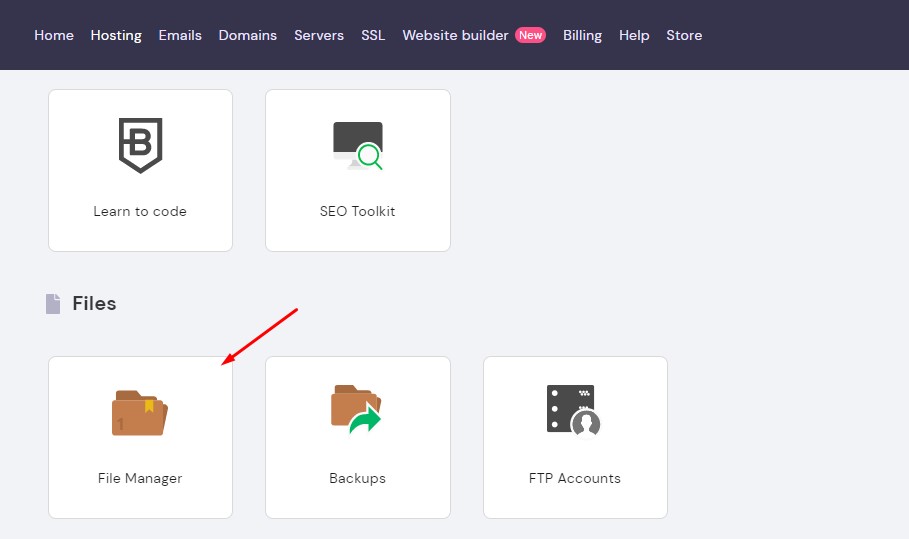
2. Now, login to your web hosting, which in my case it’s in hostinger.com. Open your hosting File Manager. This is how the option from my hosting panel looks like.
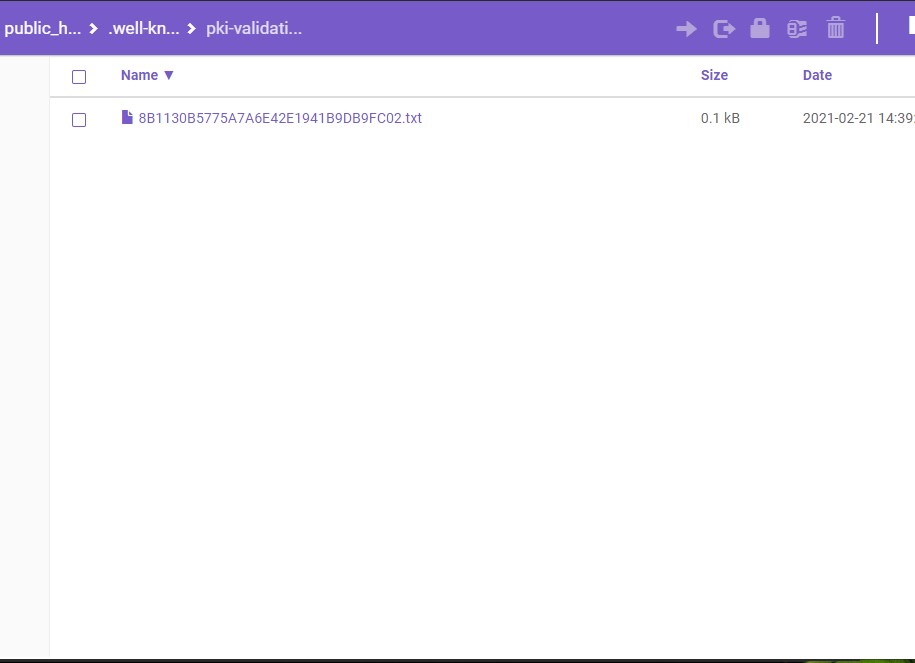
3. Navigate to your root website root directory, which is inside the public_html folder. Create a folder name .well-known, then inside create another named pki-validation. Now, upload the text file you downloaded from step 1.
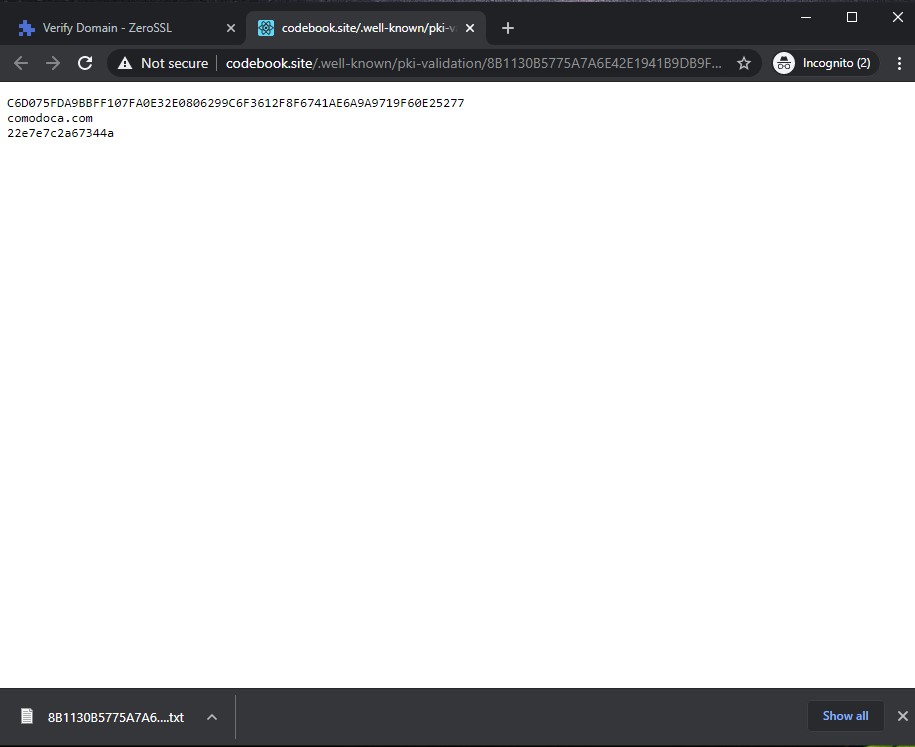
4. Verify the installation by using the link provided in step 3 on the sslforfree.com dashboard. http://codebook.site/.well-known/pki-validation/8B1130B5775A7A6E42E1941B9DB9FC02.txt
5. Now, all you need to do is to click on the verify button.
If you encounter Invalid CAA Records you may follow the solution given on this link.
- Remove all CAA from your DNS Settings
Add this CAA records to allow Zero SSL certificate for your site.
- site.com. 3600 IN CAA 0 issue “sectigo.com”
- site.com. 3600 IN CAA 0 issuewild “sectigo.com”

III. Install SSl Certificate
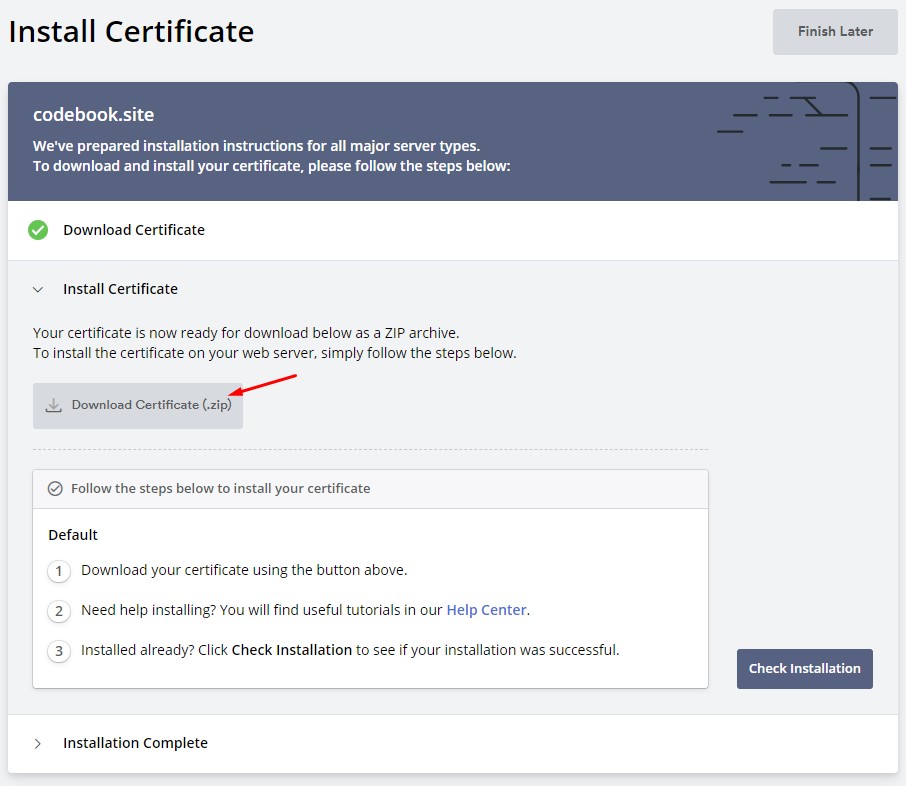
Once your domain is verified it will generate a certificate your domain which is ready to install.
- Download the Certificate file. See the image below.
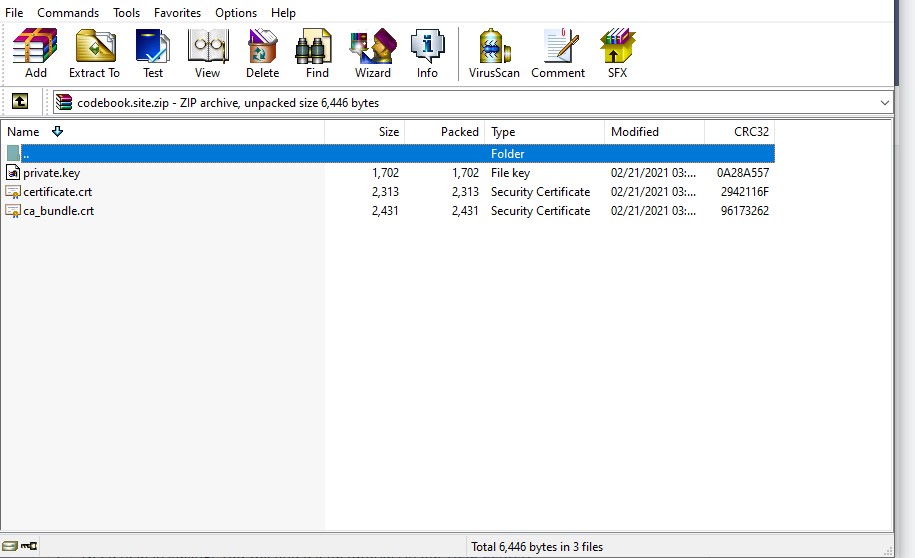
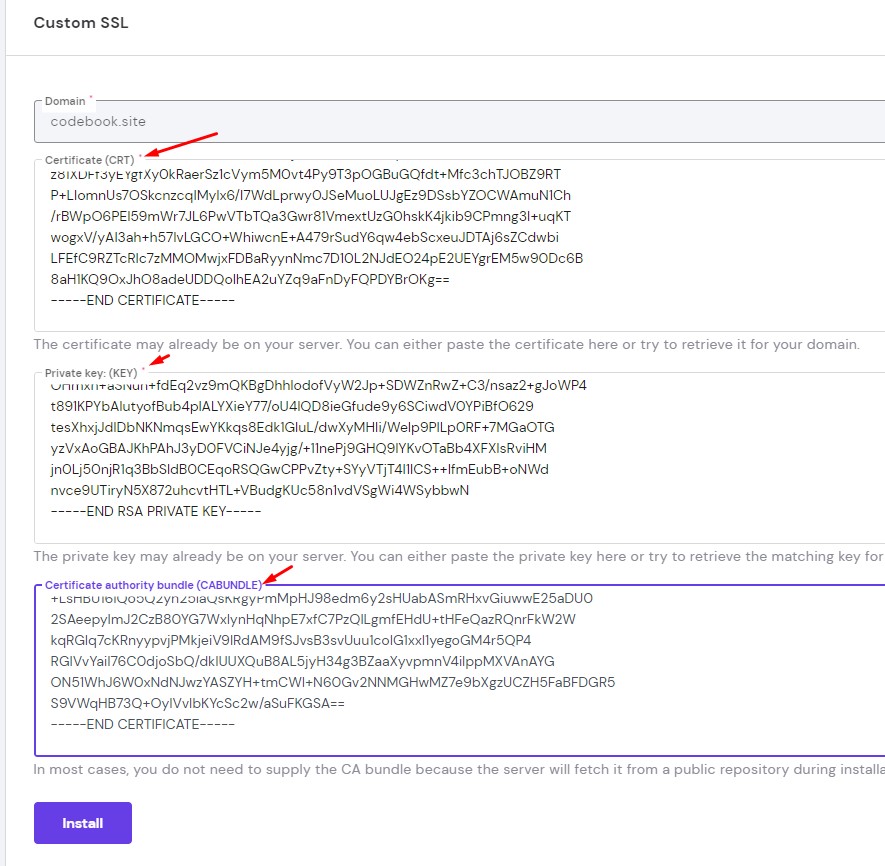
2. Extract the downloaded zip file. This zip contains three files. A private key, certificate and a CA bundle.
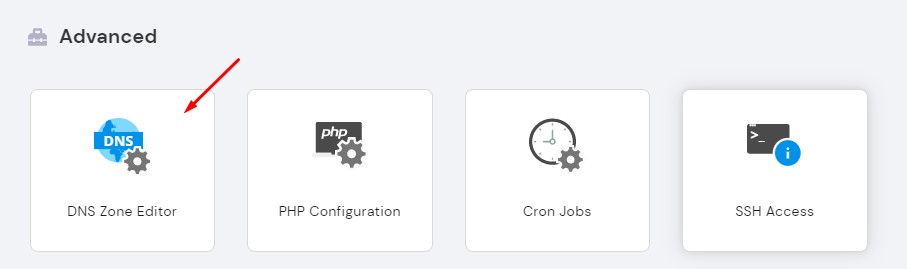
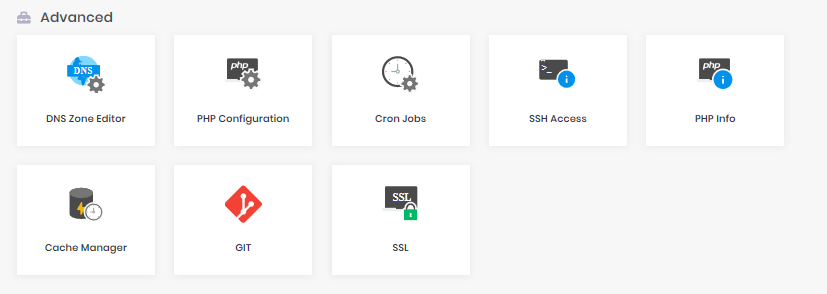
3. Navigate back to your web hosting panel then open SSL settings.
4. Install the certificate by filling up the needed field with the certificate that we download awhile ago. Then click the install button.
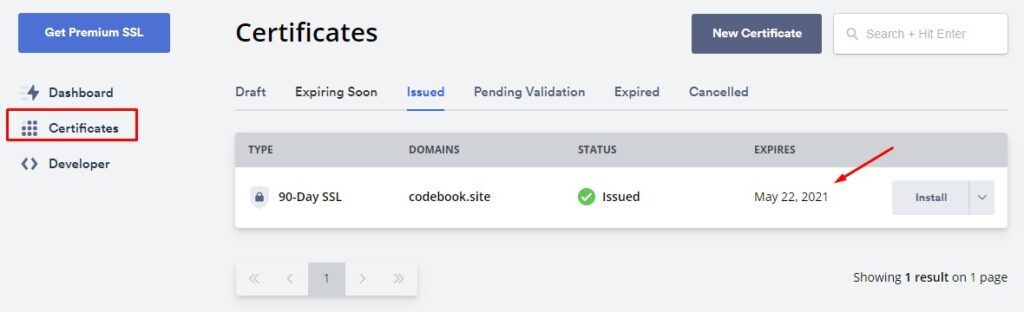
5. Now, your SSL certificate details will appear under the SSL certificate list like the image below.

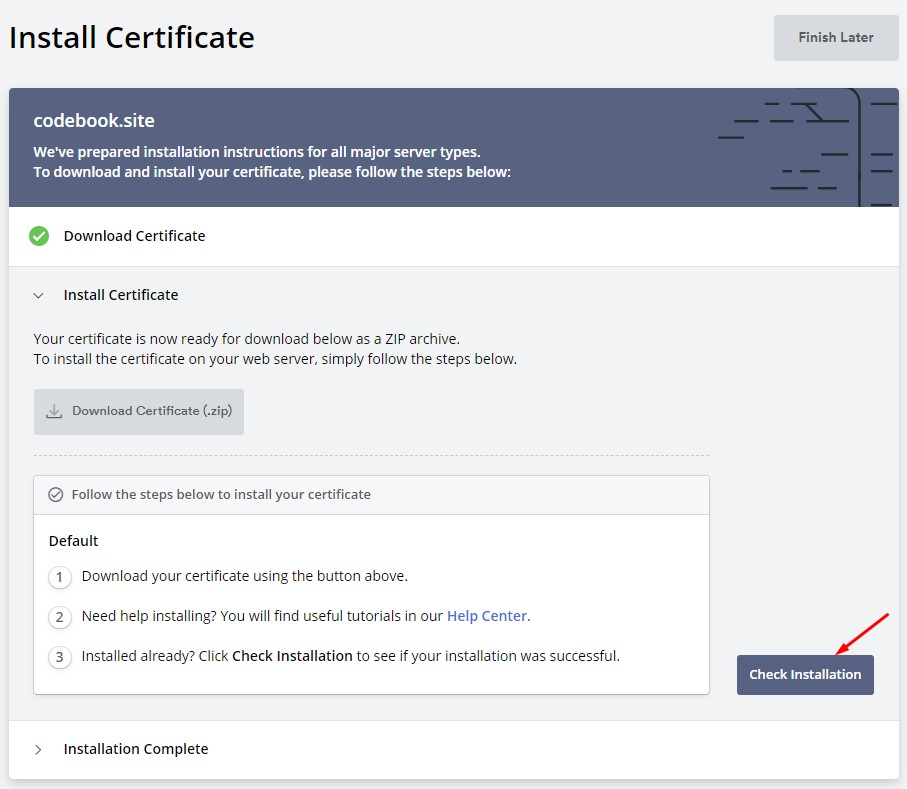
6. This time, you can try to access your website using HTTPS. You should now be able to see the lock icon on the left side of your URL.

7. You may also check the SSL certificate installation using the check installation button below.
And that’s all. By this time, you have already Install a Free SSL certificate on your Website. This is how you can secure your website using a free SSL certificate. Just don’t forget to renew your SSL certificate.
You can view the status of your SSL Certificate by going to the certificate tab on the sslforfree.com dashboard. Just don’t forget your login credentials.
If you are also into other development framework like ASP.NET Core you may visit my latest blog post.
KEEP CODING!