
Firebase Cloud Messaging (FCM) is a cross-platform messaging solution that allows you to reliably send messages to the users of your app at no cost. Using Firebase Cloud Messaging in Flutter, you can notify the users of your app of data available to be synced. You can send notifications to your users to keep them engaged and increase user retention. FCM can also be used for instant messaging.
- I. Requirements
- II. App Overview
- III. Create and set up a Firebase project.
- IV. Create the Flutter app and integrate FCM.
- V. Receiving messages when the app is in the background
- VI. Receiving messages in the foreground (or when the app is open and running)
- VII. Run and test the app.
- Source Code
- Conclusion
Currently, FCM supports IOS, Android, Web, Flutter, C++, and Unity apps.
In this tutorial, you will learn how to add FCM to your Flutter app.
I. Requirements
To follow this tutorial, you need to have the following:
- A basic understanding of Firebase and Flutter;
- Android Studio or VS Code with Flutter configured; and
- A Firebase account.
This tutorial will focus on the subject matter and will not touch on the basics of Flutter and Firebase.
II. App Overview
To maintain focus on the main topic, you will build an app that does two things:
- Obtain and show a device token that you can use to send messages to your device via the Cloud Messaging console; and
- Obtain permission from the user to ensure that they can and will receive FCM messages.
Once enrolled in FCM, you will send a test notification from the server using the device token. You will see the notification in action in the foreground and background app state.
The app will be implemented to run on Android devices only.
Let’s build!
III. Create and set up a Firebase project.
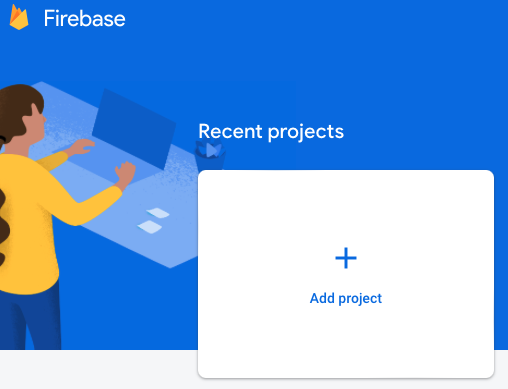
1. Go to your Firebase console by copying the URL: https://console.firebase.google.com. If you are not logged in, make sure you do.
2. Click on “Add project”.
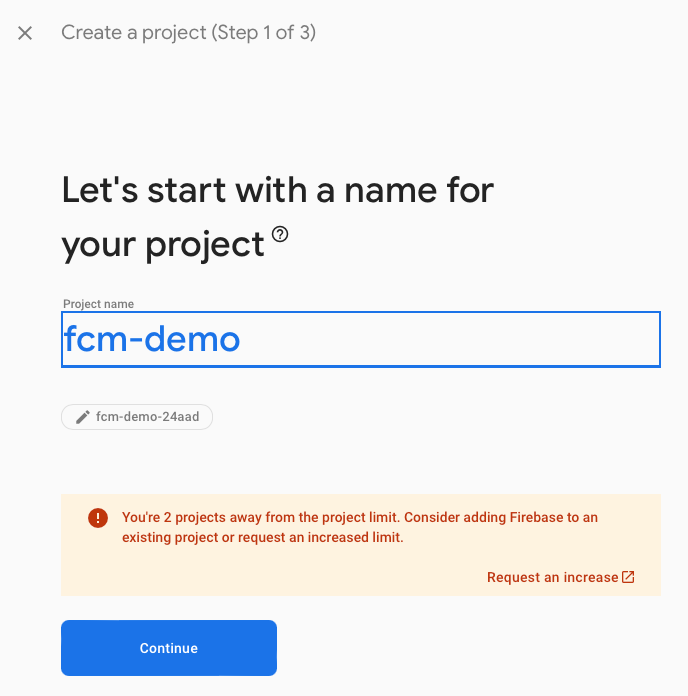
3. Enter your project name. You can input whatever if you want to call the project. Then, click “Continue”.
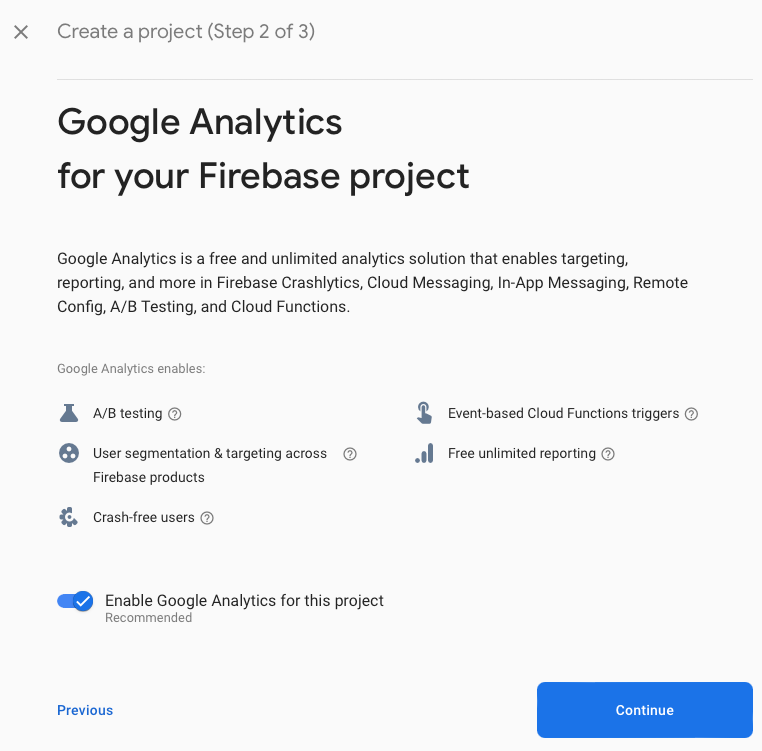
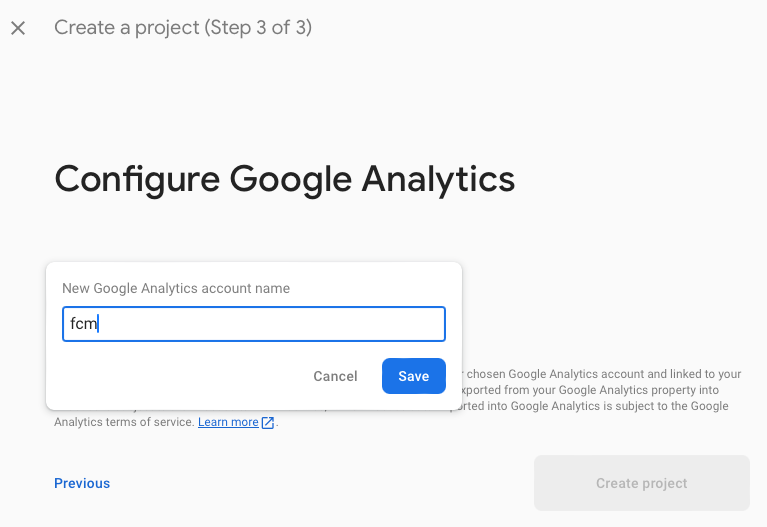
4. Enable Google Analytics on the next page and select the account where you wish to create the Google Analytics account.
5. Lastly, click “Create Project”.
6. After successfully creating the project, just click on open.
IV. Create the Flutter app and integrate FCM.
The next step is to create the Flutter project where we will connect the Firebase project. For the next steps, we will be using Android Studio to create the project and edit it. You can also use Visual Studio Code but since you will be working on an Android app, it is better to use Android Studio because of the emulator feature, among others.
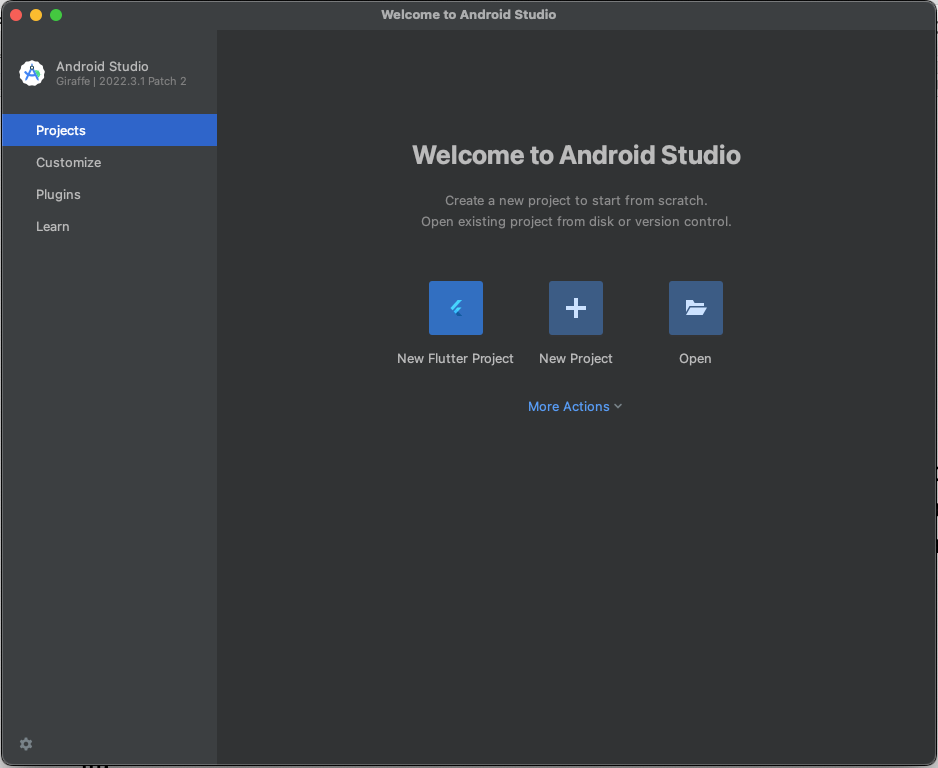
1. Open Android Studio.
2. Click on New Flutter Project.
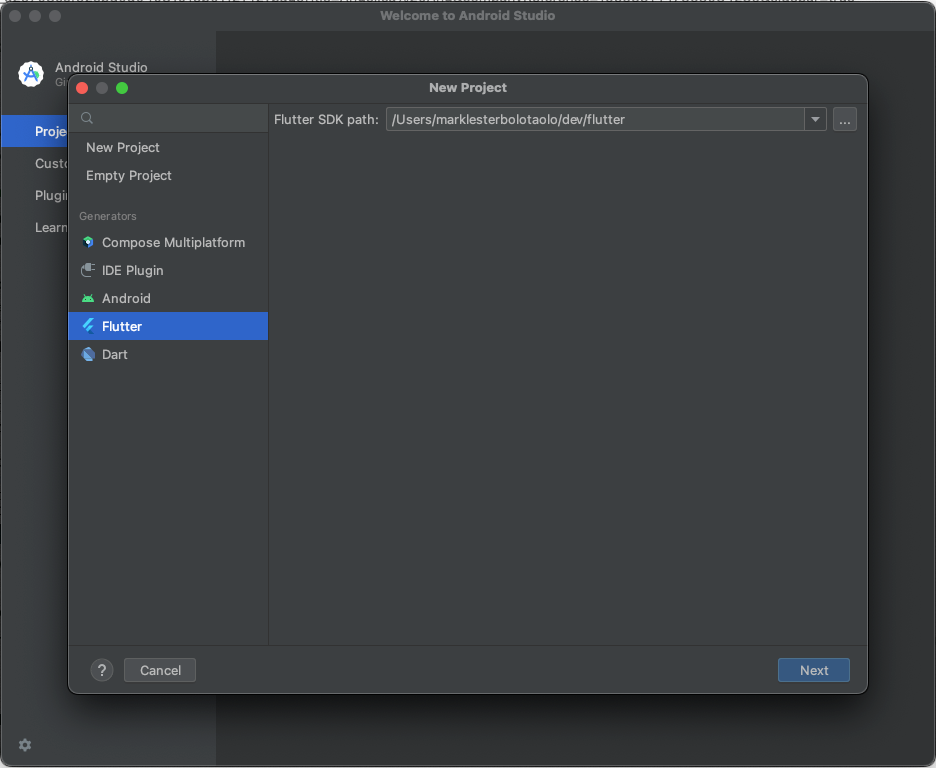
3. Select Flutter on the sidebar and click Next.
4. Input the details of your project:
- Project name (no spaces allowed)
- Project location (folder where you want to create your project)
- Description (optional)
- Project Type (select application because we are creating an app)
- Organization (usually starts with com.)
- Android language (Java or Kotlin)
- iOS language (not applicable but you can choose either of the two)
- Platforms (only leave Android)
Note: You can still add other platforms in the future.
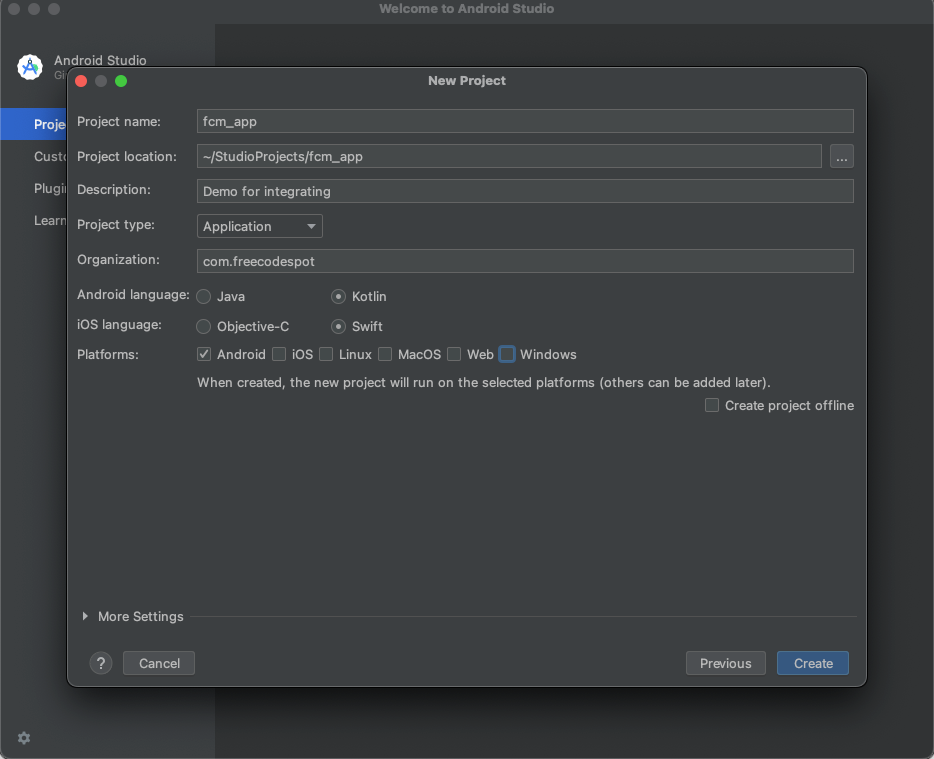
5. Click Create.
After the project is created, Android Studio will open it on the next screen. You may start coding!
6. Open the lib/main.dart file. The first thing you will do is to clean up this boilerplate code so that only the following codes are left. When a Flutter app is created, a simple boilerplate code of a working app is provided. You can run this code to test if your setup is working.
  // lib.main.dart

  import 'package:flutter/material.dart';

  void main() {
    runApp(const MyApp());
  }

  class MyApp extends StatelessWidget {
    const MyApp({super.key});

    @override
    Widget build(BuildContext context) {
      return MaterialApp(
         debugShowCheckedModeBanner: false,
         title: 'Flutter Demo',
         theme: ThemeData(
           colorScheme: ColorScheme.fromSeed(seedColor: Colors.deepPurple),
           useMaterial3: true,
         ),
         home: const HomePage(),
       );
     }
   }
7. You may have noticed that Android Studio is complaining that HomePage is undefined. Create that file next inside lib and name it home_page.dart.
   // lib/home_page.dart
   import 'package:flutter/material.dart';

   class HomePage extends StatefulWidget {
     const HomePage({super.key});

     @override
     State<HomePage> createState() => _HomePageState();
   }

   class _HomePageState extends State<HomePage> {
     @override
     Widget build(BuildContext context) {
       return const Placeholder();
     }
   }
8. Import home_page.dart in main.dart.
// import home_page on top of lib/main.dart just below the material import
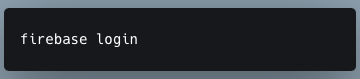
import 'home_page.dart'; 9. For now, the home page is just a Placeholder widget because it is important to proceed now with the integration of Firebase. Now, open the Terminal inside Android Studio. For this next step, make sure you have already logged in to Firebase; otherwise, you can run the following code first and follow the on-screen steps.
10. The next step is to make sure that flutterfire_cli is installed on your computer. For that, run:
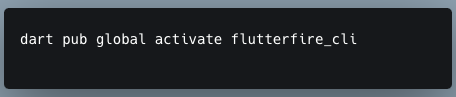
11. Next, run and follow the on-screen steps. Make sure you select the Firebase project you created in Step I and select Android among the platforms supported. Upon successfully running this command, a new file named firebase_options.dart will be created inside the lib folder which contains the configuration values for your Firebase app.

With that, you are now ready to add Firebase to your app. But before that,
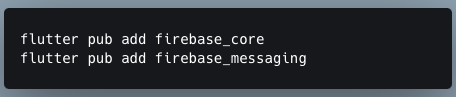
12. add firebase_core and firebase_messaging as dependencies to the app.
13. Go back to main.dart and add the following codes (the new codes are in bold):
// lib.main.dart
import 'package:firebase_core/firebase_core.dart';
import 'package:flutter/material.dart';
// import home_page on top of lib/main.dart
import 'firebase_options.dart';
import 'home_page.dart';
void main() async {
WidgetsFlutterBinding.ensureInitialized();
// from firebase_core
await Firebase.initializeApp(
// from firebase_options.dart
options: DefaultFirebaseOptions.currentPlatform,
);
runApp(const MyApp());
}
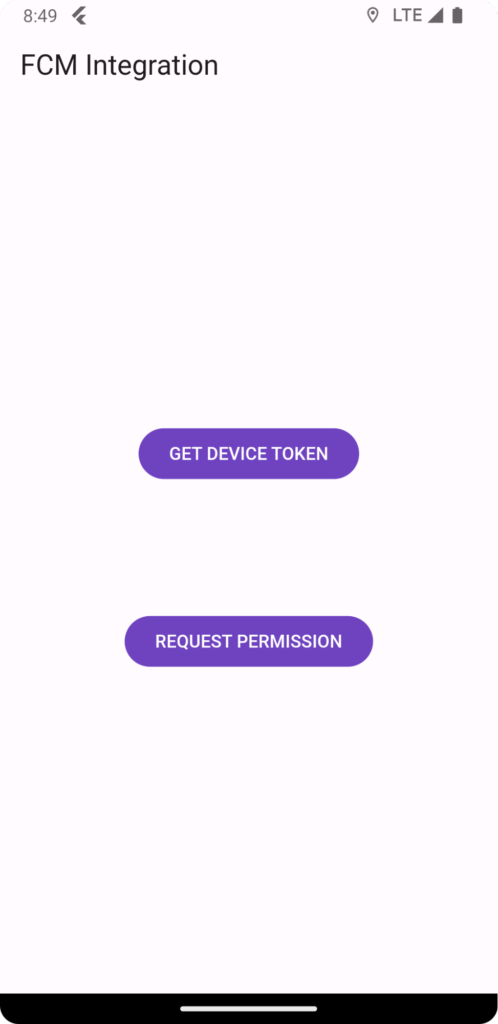
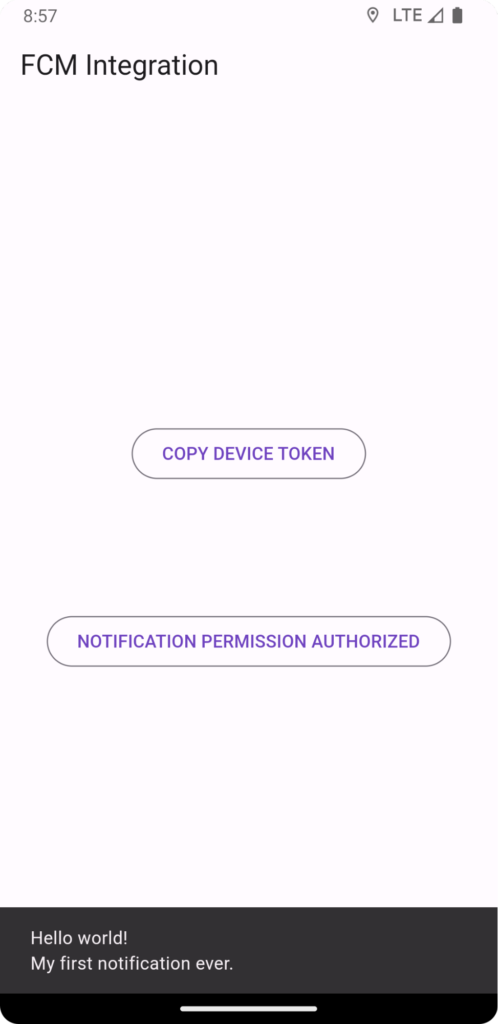
// retain the rest of the code14. Now, update the home_page.dart by adding the functionalities needed. The user interface below contains two buttons:
- a button to get the device token
- a button to request permission to receive notifications.
There are two corresponding functions as well:
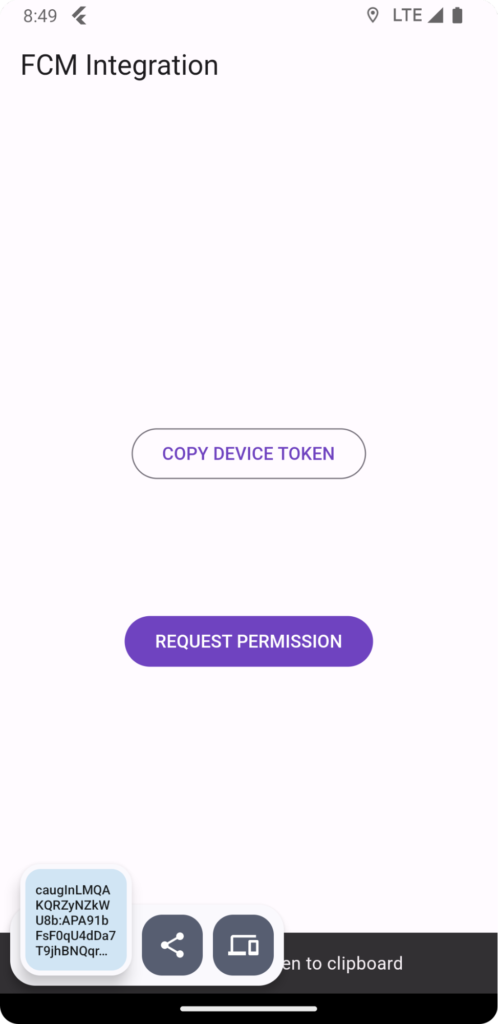
- _getDeviceToken() » to get the device token for Firebase cloud messaging and copy it to the clipboard
- _requestPermission() » which will get the user’s permission to send notifications.
The purpose of the get device token feature is to copy the user’s device token and use it on the Firebase console to test the app.
In your apps, you would want this process to be automatically carried out using “Enable push notifications” in the Settings app and the like. But for the purposes of this tutorial, this should be enough.
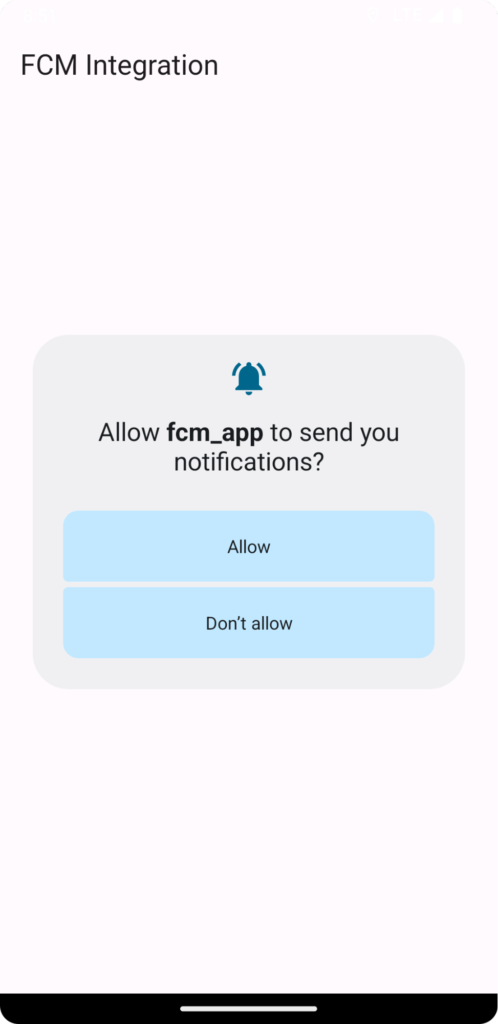
You also created an extension for Firebase’s AuthorizationStatus enum to convert to a button label that is user-friendly when displayed to the user. When the authorization status is updated, the label of the button will change to reflect the actual AuthorizationStatus.
Note: Make sure when you test your app that you Allow notifications, otherwise, you won’t receive the notification.
  // lib/home_page.dart
   import 'package:firebase_messaging/firebase_messaging.dart';
   import 'package:flutter/material.dart';
   import 'package:flutter/services.dart';

   class HomePage extends StatefulWidget {
     const HomePage({super.key});

     @override
     State<HomePage> createState() => _HomePageState();
   }

   class _HomePageState extends State<HomePage> {
     String? _deviceToken;
     AuthorizationStatus? _authorizationStatus;

     Future<void> _getDeviceToken() async {
       final messaging = FirebaseMessaging.instance;

       String? token = await messaging.getToken();

       // do not proceed if context is not mounted
       // this disables the message do not use context
       // between async gaps
       if (!context.mounted) return;

       if (token != null) {
         // set the deviceToken
         setState(() {
           _deviceToken = token;
         });

         // copy to clipboard and notify user
         await Clipboard.setData(ClipboardData(text: token)).then((_) => ScaffoldMessenger.of(context).showSnackBar(const SnackBar(content: Text('Successfully copied device token to clipboard'))));
       } else {
         ScaffoldMessenger.of(context).showSnackBar(const SnackBar(content: Text('Failed to retrieve device token. Something went wrong')));
       }
     }

     Future<void> _requestPermission() async {
       final messaging = FirebaseMessaging.instance;

       // you can add more permissions as needed
       NotificationSettings settings = await messaging.requestPermission(
         alert: true,
         badge: true,
         sound: true,
       );

       setState(() {
         _authorizationStatus = settings.authorizationStatus;
       });
     }


     @override
     Widget build(BuildContext context) {
       return Scaffold(
         appBar: AppBar(title: const Text('FCM Integration'),),
         body: Row(
           mainAxisAlignment: MainAxisAlignment.center,
           children: [
             Column(
               mainAxisAlignment: MainAxisAlignment.center,
               crossAxisAlignment: CrossAxisAlignment.center,
               children: [

               // retrieve device token
               _deviceToken != null
                 ? OutlinedButton(onPressed: _getDeviceToken, child: const Text('COPY DEVICE TOKEN'),)
                 : FilledButton(onPressed: _getDeviceToken, child: const Text('GET DEVICE TOKEN'),),

               const SizedBox(height: 100),
   // request permission
              _authorizationStatus != null
                 ? OutlinedButton(onPressed: _requestPermission, child: Text(_authorizationStatus!.toLabel()),)
                 : FilledButton(onPressed: _requestPermission, child: const Text('REQUEST PERMISSION'))

             ],),
           ],
         ),
       );
     }
   }

   // nice little helper to make authorization status human-friendly
   extension ToLabel on AuthorizationStatus {
     String toLabel() {
       switch (this) {
         case AuthorizationStatus.denied:
           return 'NOTIFICATION PERMISSION DENIED';
         case AuthorizationStatus.authorized:
           return 'NOTIFICATION PERMISSION AUTHORIZED';
         case AuthorizationStatus.notDetermined:
           return 'NOTIFICATION PERMISSION UNKNOWN';
         case AuthorizationStatus.provisional:
           return 'NOTIFICATION PERMISSION PROVISIONAL';
       }
     }
   }
You now have the basic functionalities of the app. However, there are no mechanisms yet to handle the notifications that the app will receive. That will be handled in the next step.
V. Receiving messages when the app is in the background
Receiving push notifications in the background is probably the most useful feature of Firebase Cloud Messaging in Flutter because you want to keep your users informed on events in your app even when they are away to drive engagement.
1. For example, a friend may have sent them a message. Adding this feature is done by just adding the following code in main.dart:
   @pragma('vm:entry-point')
   Future<void> _firebaseMessagingBackgroundHandler(RemoteMessage message) async {
     // If you're going to use other Firebase services in the background, such as Firestore,
     // make sure you call `initializeApp` before using other Firebase services.
     await Firebase.initializeApp();

     // by default, your app will open when the user taps on the push notification
     print("Handling a background message: ${message.messageId}");
   }
2. You can put the above code before the main function.
Take note that this is a top-level function and also note the @pragma(‘vm:entry-point’) annotation which is an isolate in Flutter. It runs outside the app’s context making it possible to run even when your app is in the background.
3. Inside the main function, add the following code to reference that function just before the runApp().
Now, when you put your app in the background and it receives a message from Firebase Cloud Messaging, it will be shown as a push notification.
   FirebaseMessaging.onBackgroundMessage(_firebaseMessagingBackgroundHandler);

   runApp(const MyApp());
VI. Receiving messages in the foreground (or when the app is open and running)
To handle notifications/messages while your app is in the foreground, you listen to the onMessage event of FirebaseMessaging and handle any RemoteMessage that your app will receive. You should call the function to listen to notifications/messages inside the initState. You can also call this function when you ask for permission or when you get the device token. Either way, to do so,
1. Add the following code to the lib/home_page.dart file.
  // lib/home_page.dart

  // this function will listen to incoming remote messages

  Future<void> _handleRemoteMessages() async {

    FirebaseMessaging.onMessage.listen((RemoteMessage message) {


      if (message.notification != null) {


        if (context.mounted) {


          final title = message.notification!.title;


          final body = message.notification!.body;


           ScaffoldMessenger.of(context).showSnackBar(SnackBar(content: Text('$title\n$body')));
         }
       }
     });
   }

   @override
   void initState() {
     _handleRemoteMessages();

     super.initState();
   }
2. Now, when the app receives a notification/message from Firebase, it will display a Snackbar to the user showing the title and the body of the message.
With that, your app is now complete and ready to be tested in the next step.
VII. Run and test the app.
We can now, test Firebase Cloud Messaging in Flutter, to do that, follow the steps below:
1. Now, open the emulator inside Android Studio and run main.dart. Wait for your app to open.
2. Tap on “Get Device Token” button and wait for the message showing that the device token is copied shows up.
3. Next, request for permission and tap on “Allow”. You will not receive any notification/message if you don’t allow it.
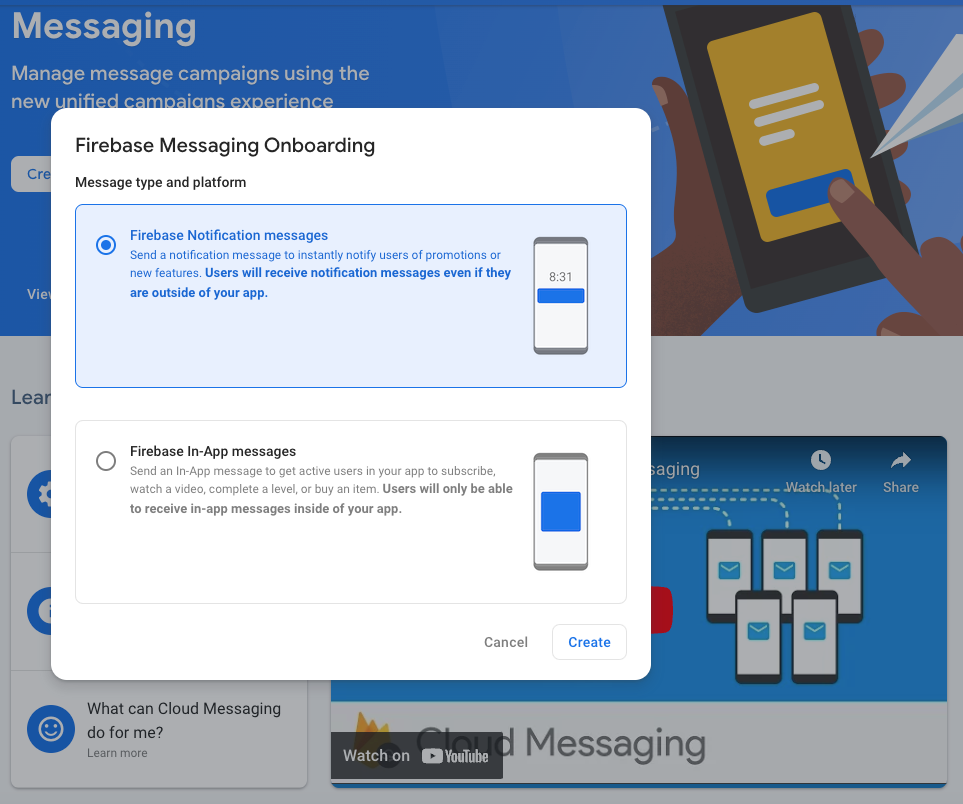
4. Now, open the Firebase console and look for “Messaging”. If you have recently opened it, it will appear under “Project shortcuts” otherwise you can find it under “Engage” menu. Click on “Create your first campaign” and select “Firebase Notification Messages” then click on “Create”.
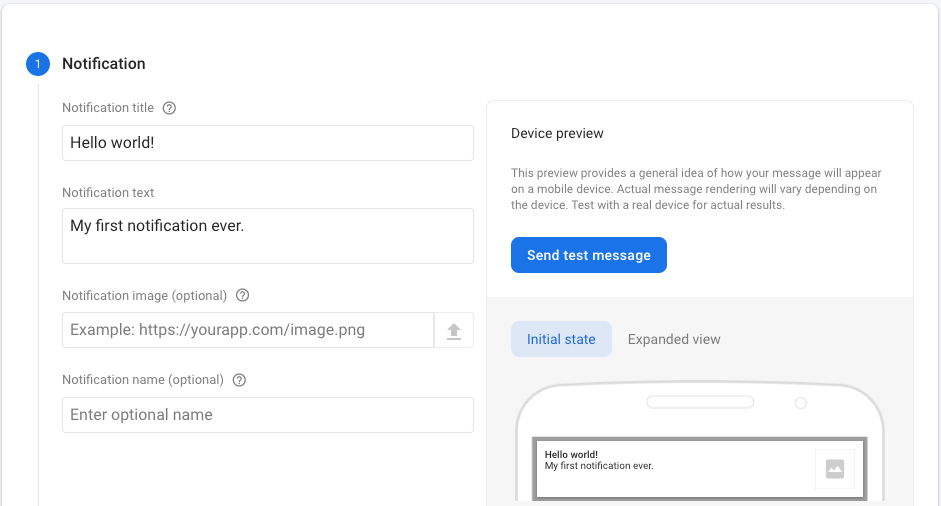
5. On the next page, input your “Notification title” and “Notification text” (this will be the body of the notification/message). Now, only “Notification text” is required but since you included the title in the message to be displayed to the user, input something for title too. Once the notification text is filled in, the “Send test message button” will be enabled so click on it.
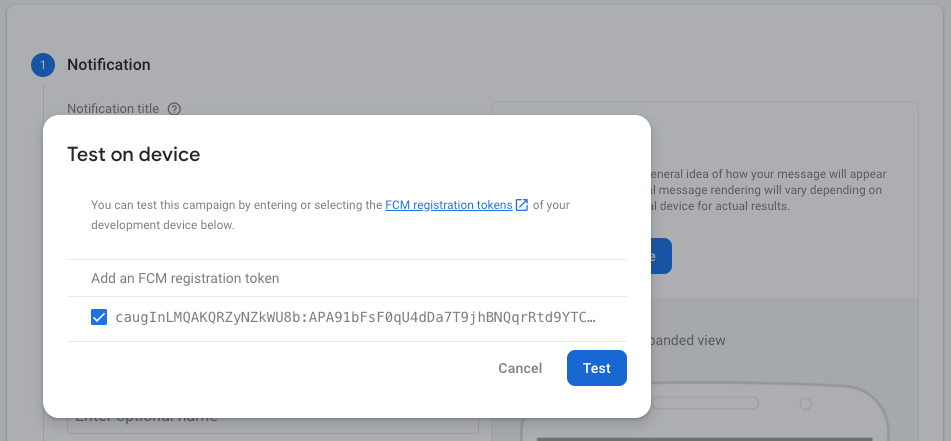
6. Click on that and paste the device token inside the “Add an FCM registration token” text field and click “+”. Finally, click “Test”. You should see the snackbar in your app showing the title and text you inputted.
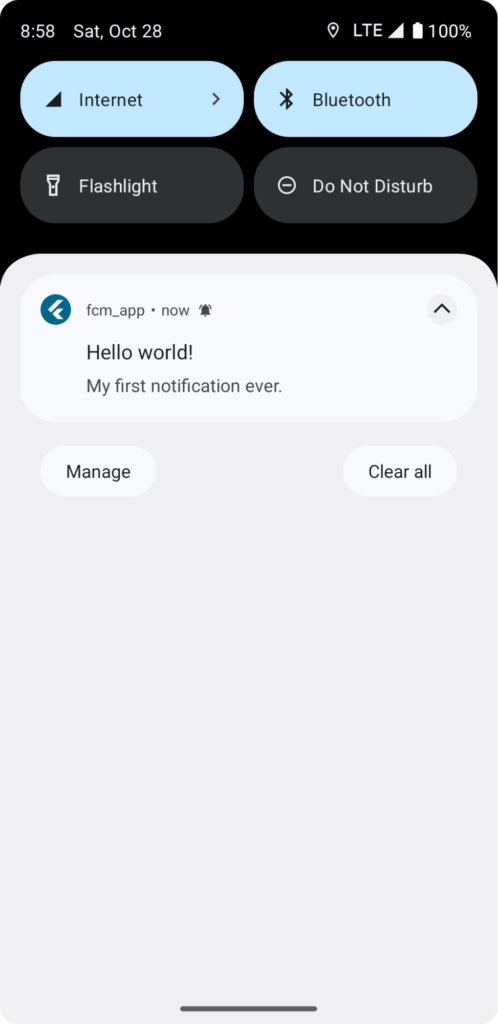
7. Now, testing the background message uses a similar approach. Just this time, hide/minimize the app. Then, send the test message. Again, you should be able to see the same notification information you inputted.
Source Code
You may also download the source code from GitHub.
Conclusion
That’s it! You have now integrated Firebase Cloud Messaging in Flutter app. It is now capable of receiving messages from Firebase whether your app is in the background or foreground. Take note: this feature is free! Feel free to experiment with other possible use cases like custom handling of notifications or saving the data your app received.
Keep coding!
To fully understand mobile development, you may want to check this article on how you can deploy your app and share it with anybody.