
In this article, we are going to learn how to setup AutoMapper in an ASP.NET Core application. We are going to begin by understanding what AutoMapper is and what problem it solves. Then, we are going to use AutoMapper in an ASP.NET Core web API application.
- What is Automapper?
- Why Do We Need AutoMapper?
- I. Create an ASP.NET Core Web API application
- II. Installing Automapper
- III. Registering Services in Program.cs
- IV. Crate DTO models
- V. Creating Automapper Mapping configuration
- VI. Create Entities
- VII. Create services
- VIII. Create a Controller
- IX. Testing the application
- Source Code
- Summary
What is Automapper?
AutoMapper is an object-to-object mapper that works by transforming an input object of one type into an output object of a different type.
Why Do We Need AutoMapper?
Mapping code is very tedious, you have to write lots of for loops to transform the object input to an output of a different type and then be able to reverse it back to the original type. You also have to write tests for all of that code and maintain it as you add new properties to the objects. AutoMapper was built to solve this complex problem that most software developers face.
What makes AutoMapper interesting is that it provides some easy-to-use conventions to take the dirty work out of figuring out how to map Type A to Type B. As long as Type B follows AutoMapper’s established conventions, almost no configuration is needed to map two types.
The below diagram shows an example of manual mapping.
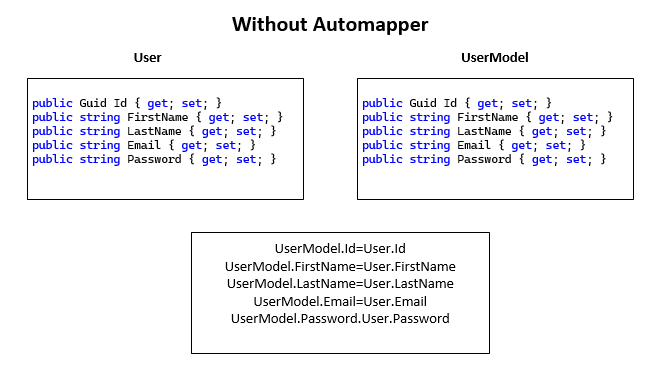
In the above mapping if you want to transfer data from the User object to the UserModel object you need to create the two objects respectively and then write the code for each property data moving from the User to the UserModel Object. In the future, if more properties are added that means the mapping is done again which is tedious.
The below diagram shows the same process using Automapper
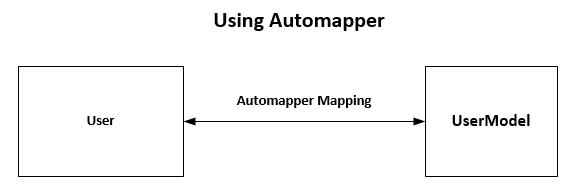
In the diagram above the mapping is done on the objects i.e., the User object is transformed into the UserModel Object.
I. Create an ASP.NET Core Web API application
In this tutorial, we are going to create a Web application API to demonstrate how Automapper works.
Before we begin, please ensure you have installed the following
- Visual Studio 2022
To begin follow the below steps
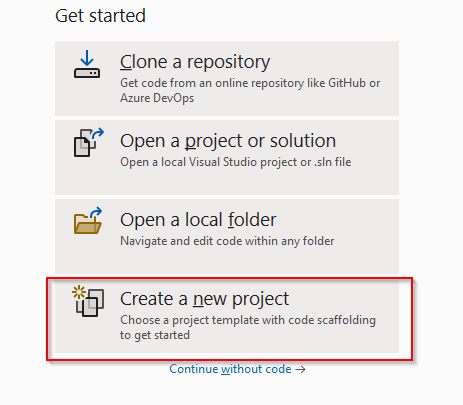
- Launch Visual Studio 2022
- Create a new project
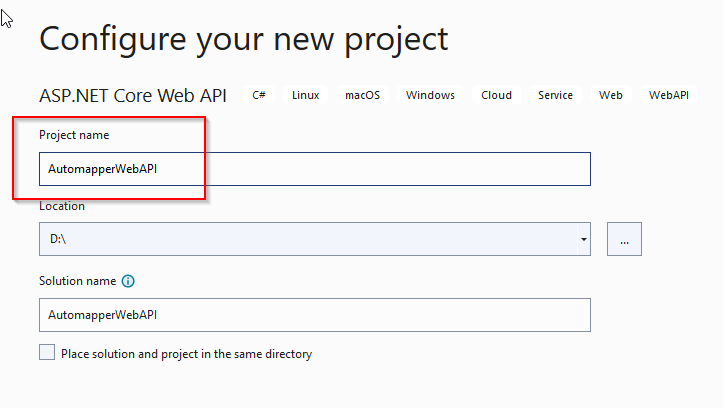
3. Select ASP.NET Core Web API
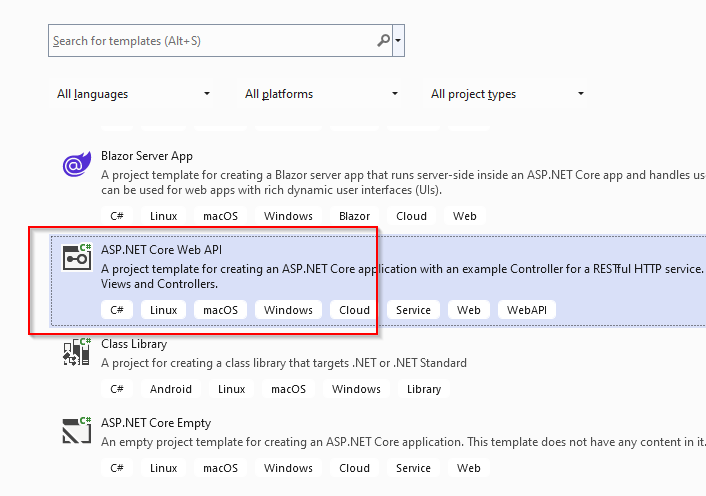
4. Give your project the name AutomapperWebAPI and click Next
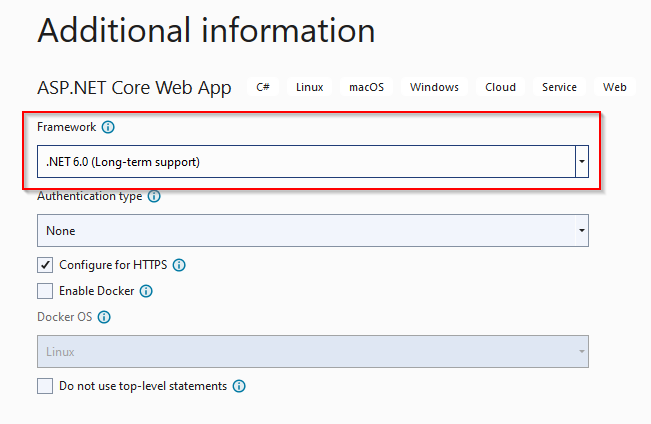
5. Select your target framework in our case we will use .NET 6.0 then Click Create to finish setting up the project.
II. Installing Automapper
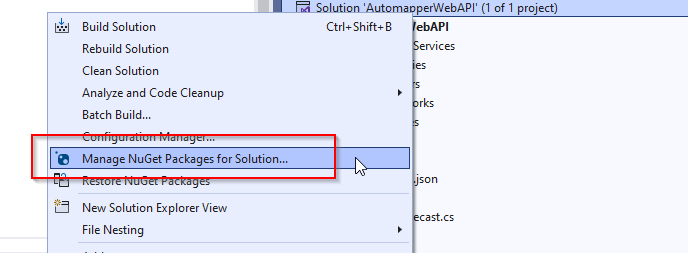
After the successful creation of the project, we are going to install the Automapper plugin. To do this:
- Right-click on the solution folder and click on Manage Nuget Packages For Solution
2. On the Browse, tab search for AutoMapper and install it
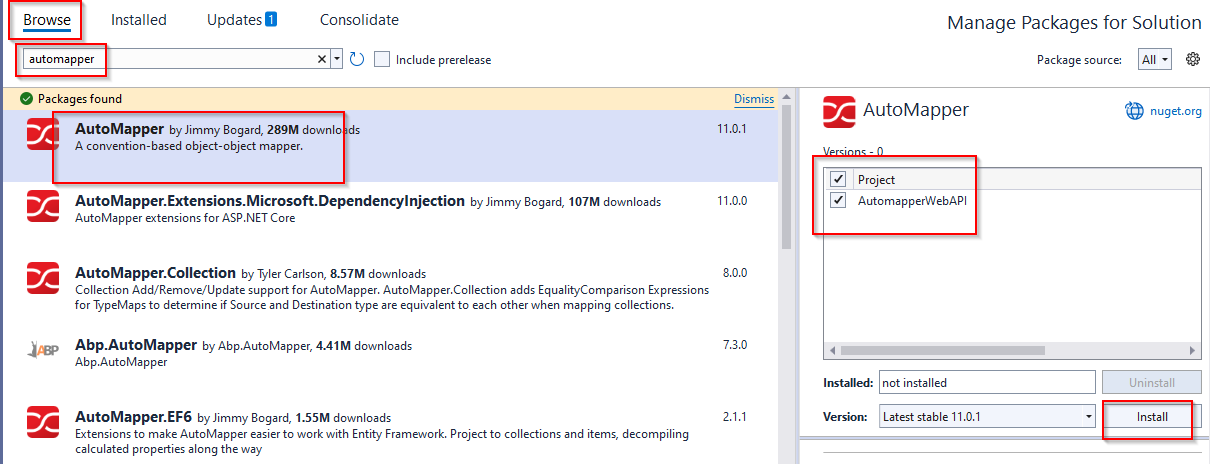
Repeat the same process and install AutoMapper.Extensions.Microsoft.DependencyInjection plugin
III. Registering Services in Program.cs
After installing Automapper, the next step is to configure services. To do this open program.cs and add the following code.
builder.Services.AddScoped<IUserRepository, UserRepository>(); builder.Services.AddAutoMapper(AppDomain.CurrentDomain.GetAssemblies())IV. Crate DTO models
Let’s add some properties we will use for this tutorial.
- Add a new folder called DTO.
- Inside the folder add two classes UserCreateDto.cs and UserReadDto.cs.
- In UserCreateDto.cs add the following code
public class UserCreateDto
{
     public string? FirstName { get; set; }
     public string? LastName { get; set; }
     public string? Gender { get; set; }
     public string? Email { get; set; }
     public string? Password { get; set; }
}
The above code creates properties that will be mapped. You can add as many properties as you like.
- In UserReadDto.cs add the following code.
    public class UserReadDto
    {
        public string? FullName { get; set; }
        public string? Email { get; set; }
        public string? Gender { get; set; }
    }
The above are the properties that we will map to.
V. Creating Automapper Mapping configuration
Next, we need to configure AutoMapper so that it maps one type to another type as well as reverses the mapping.
- Create a new folder called Profile and insert a class called MappingProfile.cs.
2. Add the following code
      public class MappingProfile : Profile
    {
        public MappingProfile()
        {
            CreateMap<User, UserReadDto>()
               .ForMember(
                   dest => dest.FullName,
                   opt => opt.MapFrom(nms => $"{nms.FirstName} {nms.LastName}"));


            CreateMap<UserCreateDto, User>();
        }
    }
The above code shows how you can create a class named MappingProfile by extending the Profile class and specifying mapping information.
The CreateMap method is configuring a mapping between the User and UserReadDto classes.
VI. Create Entities
Create a new folder called Entities and add a class called User.cs.In the class add the following code.
     public class User
    {
        public Guid Id { get; set; }
        public string? FirstName { get; set; }
        public string? LastName { get; set; }
        public string? Email { get; set; }
        public string? Password { get; set; }
        public string? Gender { get; set; }
    }
VII. Create services
Create a folder called services and add an interface class called IUserRepository.cs.
In the interface class add the following code
    public interface IUserRepository
    {
        User CreateUser(User user);
        List<User> GetAllUser();
        User GetUserById(Guid guid);
    }
In the same folder create another class called UserRepository.cs and add the below code
      public class UserRepository : IUserRepository
    {
        public static List<User> users = new List<User>()
        {
            new User { Id = new Guid("45408c64-1af9-4ea4-a9e0-f835b13d980b") ,
            Email = "janedoe@test.com" , FirstName = "Jane" , LastName = "Doe",Gender="Female",
            Password = "testPassword"},
            new User { Id = new Guid("804b906d-c6bc-4e58-b454-f3ce7cf7c3f1")  ,
            Email = "Johndoe@test.com" , FirstName = "John" , LastName = "Doe",Gender="Male",
            Password = "testPassword2"},
            new User { Id = new Guid("8335de6c-e315-492d-82b3-18f07aa150a9") ,
            Email = "maxwellpeter@test.com" , FirstName = "Maxwell" , LastName = "Peter",Gender="Male",
            Password = "testPassword3"},
            new User { Id = new Guid("8335de6c-e315-492d-82b3-18f07aa150a9") ,
            Email = "jjoyce@test.com" , FirstName = "Joyce" , LastName = "jane",Gender="Female",
            Password = "testPassword4"}
        };
        public User CreateUser(User user)
        {
            user.Id = Guid.NewGuid();
            users.Add(user);
            return user;
        }

        public List<User> GetAllUser()
        {
            return users;
        }

        public User GetUserById(Guid guid)
        {
            var user = users.FirstOrDefault(u => u.Id == guid);
            return user;
        }
    }
In the above, we have created a dummy list of user objects that we want to map. In a real-world application, this list of user objects can be fetched from a database using Entity Framework Core.
VIII. Create a Controller
Inside the Controller, create a new controller class called UsersController.cs.
In the class add the following code
   public class UsersController : ControllerBase
    {
        private readonly IUserRepository _userRepository;
        private readonly IMapper _mapper;
        public UsersController(IUserRepository userRepository, IMapper mapper)
        {
            _userRepository = userRepository;
            _mapper = mapper;
        }
        [HttpGet]
        public ActionResult<List<UserReadDto>> Get()
        {
            var usersFromRepository = _userRepository.GetAllUser();
            var usersReadDto = _mapper.Map<List<UserReadDto>>(usersFromRepository);
            return Ok(usersReadDto);
        }

    }
AutoMapper has a service called IMapper that can be injected into any component or service to map objects from one type to another. In the above code, we have injected the mapper object into the controller.
The most important line is where we used the Map method of the IMapper service to map the List< UserReadDto > objects to List<usersFromRepository > objects.
IX. Testing the application
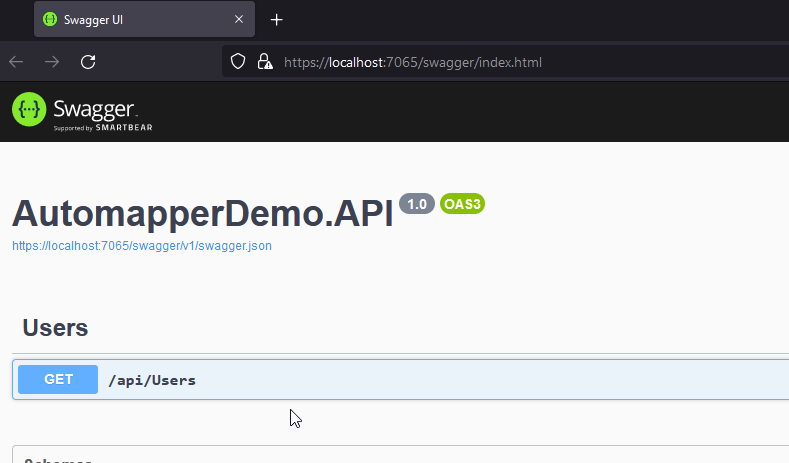
Run the application. A default page similar to the one below appears
Click on Get->Try it out
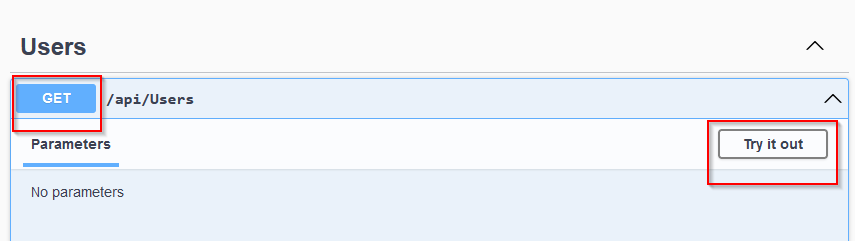
Click on Execute to fetch API data.

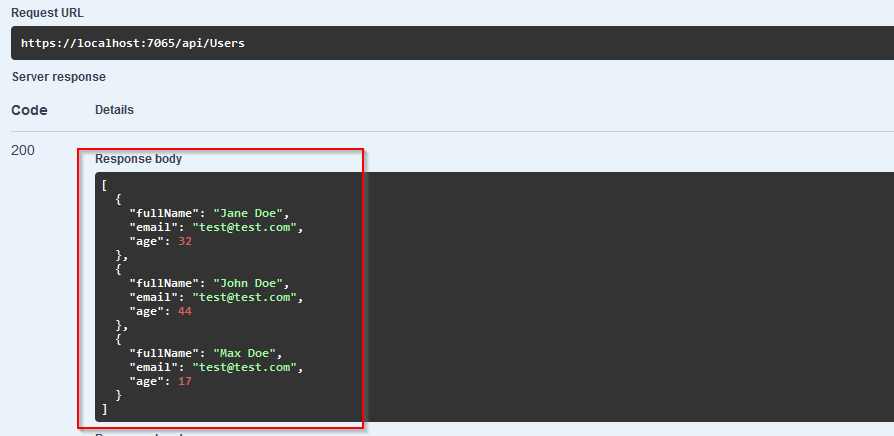
On the successful run, the API should return results similar to the ones shown below
Source Code
You may also download a copy of the source code used for this tutorial from this GitHub account.
Summary
In this tutorial, we have learned what Automapper is and when to use it, we have also looked at how to install, configure, and use Automapper in an ASP.NET Core Web API application. We hope you enjoyed this tutorial and hopefully, it will help you with your future projects.