
Creating a Database is required for most developers; however, creating one is a bit of a struggle, especially if you start to learn and understand programming for a beginner like me. So I decided to create simple steps to share what I learn in different ways to access SQL Servers. If you are using Visual Studio as your development environment, it might be familiar to you if we are going to use SQL Server Object Explorer in Visual Studio to browse for the database. If not, let me guide you using simple instructions written below.
After creating a database you might want to check this out. Create Sql Stored Procedure
Before you begin, make sure you have the following prerequisites in place:
- Download Visual Studio
Let’s Start:
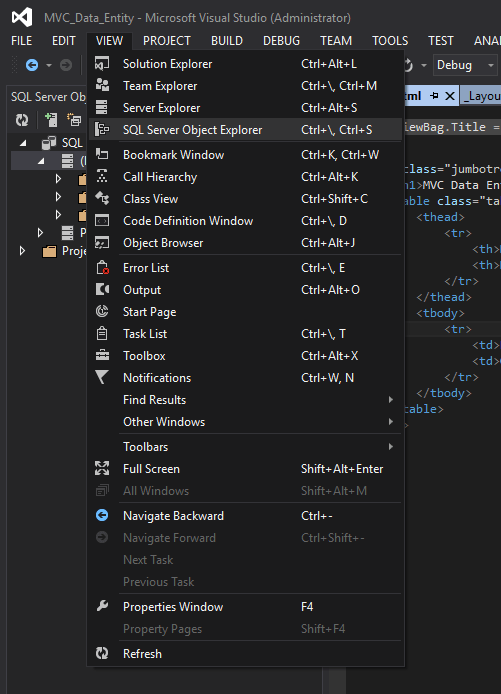
1. Open Visual Studio
First, Open Visual Studio and go to View->SQL Server Object Explorer
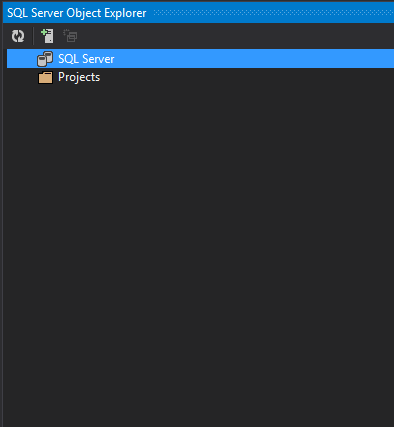
2. Navigate to SQL Server Object Explorer
By default, SQL Object Explorer contains available SQL servers. You can also add Server by simply clicking on the icon with a plus sign located at the topmost part of your SQL Server Object Explorer
3. Add SQL Server
After clicking on the add server icon, a dialog box will show. Input server name to add the server to your Object explorer. You can use Windows authentication for authentication type; however, if you set your server to SQL Server Authentication, you need to input your server’s password. You might need to input valid credentials for your authentication.
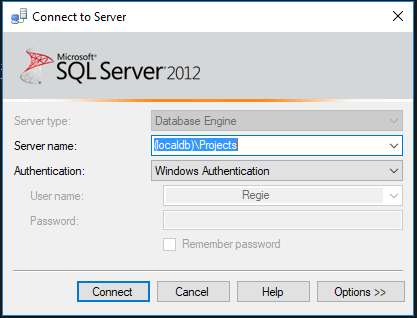
Image below is my local server I added in my SQL Server Object Explorer.

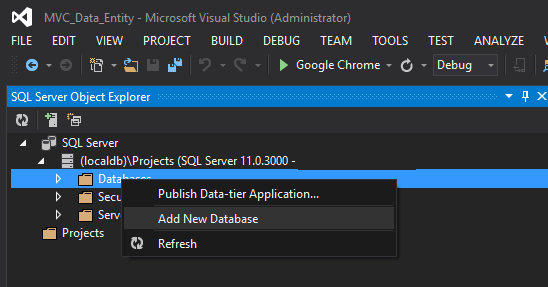
4. Create Database
Add database to your server, expand your server, and right-click on the Database folder, then select Add New Database. See the image below.
Create Database window will pop-up. Name your database to your likings.

5. Create a Table
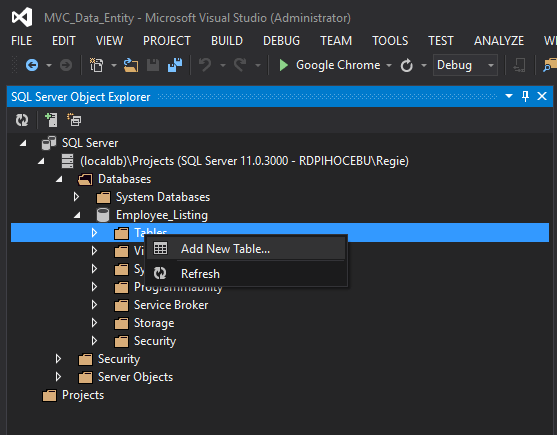
1. Navigate again to your SQL server, expand the Database folder, and under your Database right click on the Table
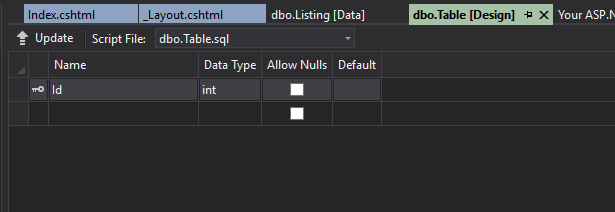
2. A new window should be open in the middle pane containing default id column which is set to primary.
3. Set id to auto-increment by highlighting the id column and going to properties located just below your solution explorer. Expand Identity Specification and set (Is Identity) to true.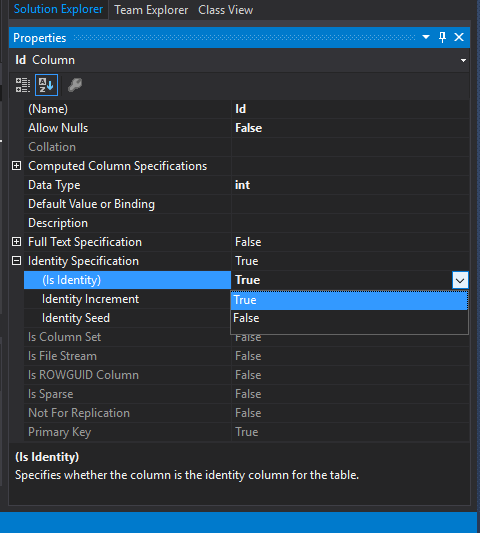
4. Now go back to the middle pane and add the additional columns we need for our table.
5. To save changes you made to your table, click on the update button located above your table design, then click Update Database on the next pop-up window, which is the image below.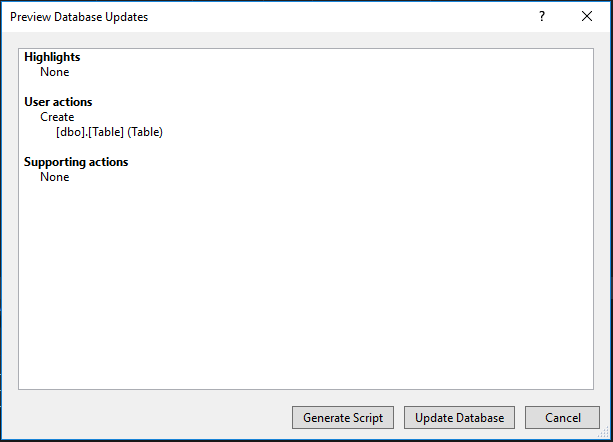
5. View Tables
To see if the table is successfully created, go to your SQL Server Object Explorer expand your database, and go under Table. If you haven’t seen your table yet, right-click on your database a click refresh. 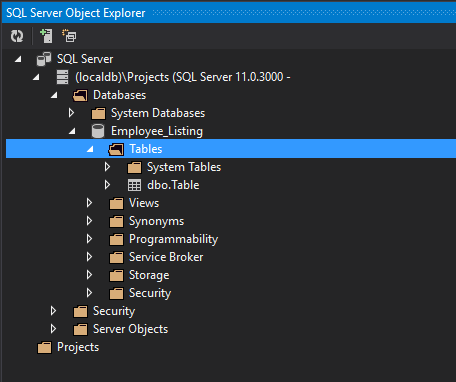
6. Select Table data
You can also view table data by right-clicking on your table and selecting View Data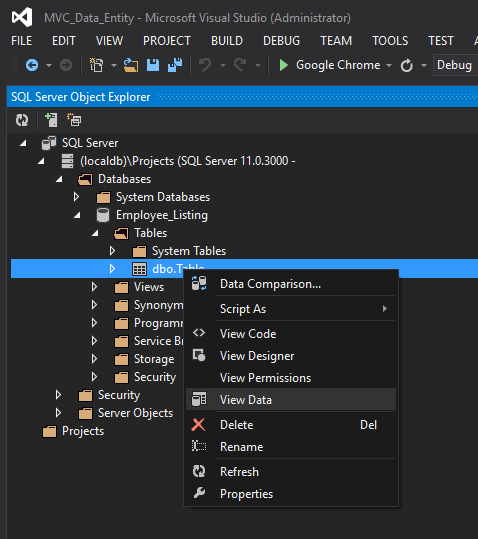
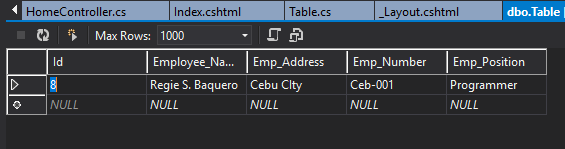
In the middle pane, you can see available data for your table
.
Now, you have an idea of how you can navigate yourself with an SQL database without leaving Visual Studio. This way, you can easily handle database changes using the same IDE you use for your coding.
KEEP Coding!!
Comments are closed.