This article will guide you on how to create a Stored Procedure in SQL Server. The stored procedure is composed of Structured Query Language (SQL) found in a Relational Database Management System. Stored Procedure is used to store SQL queries that are mainly used to modify data from a Database. This is an alternative way of connecting our application to a database. We are going to use a stored procedure in retrieving and inserting data into the database.
This post will focus on steps on creating an actual stored procedure and hopefully, you can get idea’s on how it is being done.
Before we start on this guide, please do make sure that you have installed the following.
- SQL SERVER
- SQL Server Management Studio
If not, you can download the SQL server from this link.
I. Syntax
Stored Procedure Syntax
CREATE PROCEDURE procedure_name
AS
sql_statement
GO;
Execute a Stored Procedure
EXEC procedure_name;Stored Procedure – Select statement
USE [basicfunction]
GO

CREATE PROCEDURE [dbo].[SelectFromTable]

AS
BEGIN
     SELECT * FROM Listing
END
II. Create a Database Table(basicfunction)
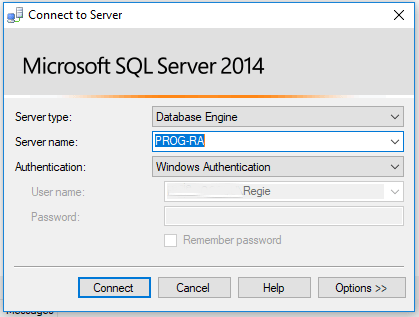
- Open SQL Server Management Studio. Connect to your SQL SERVER. Click on the icon from the top menu of your SQL Object explorer.

2. Select Server name you want to connect from the pop dialog box shown below.
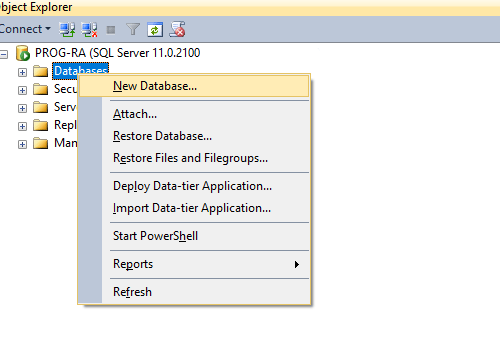
3. I assume you have already created a database. If not, create one by right-clicking on the Databases folder under your SQL Server. Click on New Database and proceed with naming your database.
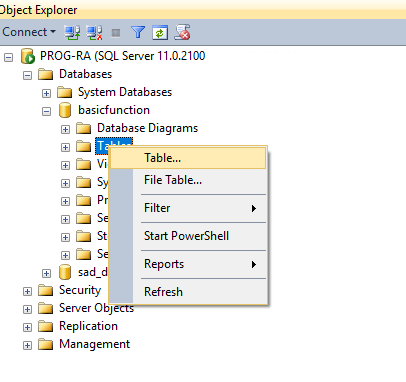
4. After that, create a table where we can point our stored procedure If you have an existing table proceed with the next step. If not expand your Database and navigate to the Table folder. Then right-click on the Table folder. Select a table to create a new Table for your Database.
See image below for your guide.
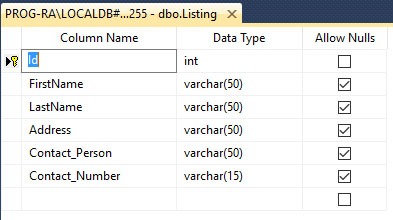
5. In the next step proceed with the design for your table. Input necessary fields or columns you will use for your table. If you have something in your mind you can design your own or proceed with the designed presented in the image below.
The next step will be adding dummy data for your table. We will use this data to test if the stored procedure will be executed successfully. You can use the SQL Insert statement to Insert data, but in this case, we will use the Edit Top 200 rows option from the SQL Server Management Studio. Below is the snippet for the insert statement.
Insert Statement Syntax
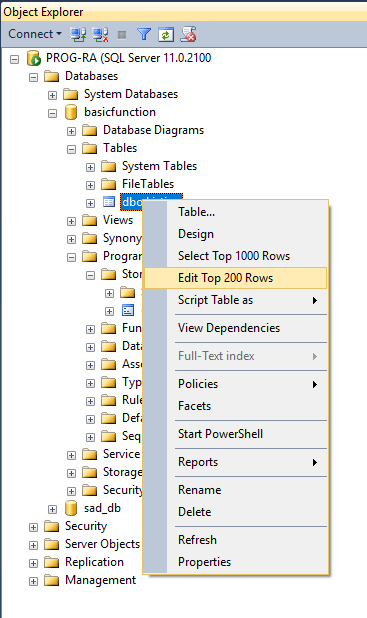
INSERT INTO Table(Column1,Column2,Column3) VALUES (Value1,Value2,Value3)6. Now, create a stored procedure by right-clicking on the table in the SQL Server Object Explorer and choosing Edit Top 200 Rows just like the image shown below.
7. An editor window will open on the middle pane of your SQL Server Management Studio. Input sample data like the image shown below.

III. Create a Store Procedure
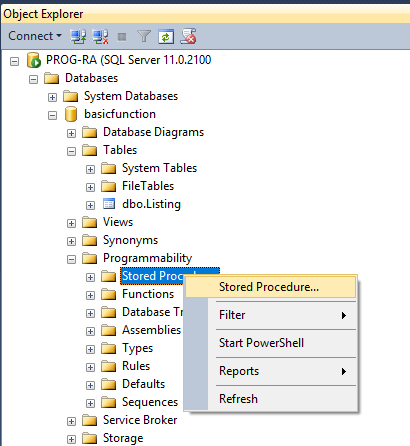
- To go with the main objective of this tutorial, let’s proceed in creating the actual Stored Procedure. In the Object Explorer navigate to your database and proceed to the Programmability folder. Right-click on the folder and select the stored procedure option.
2. In your SQL Server Management Studio editor, a new window will be open with the default value needed for the procedure syntax. You can modify it and manually encode the Query you want to execute or copy the code below.
SelectFromTable
Stored Procedure
USE [basicfunction]
        GO
        SET ANSI_NULLS ON
        GO
        SET QUOTED_IDENTIFIER ON
        GO
        CREATE PROCEDURE [dbo].[SelectFromTable]
        AS
        BEGIN
                SELECT * FROM Listing
END - basicfunction -> Database name
- [dbo].[SelectFromTable] -> Name of stored procedure
- SELECT * FROM Listing -> SQL Query that select all data from table Listing
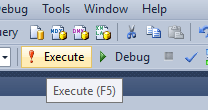
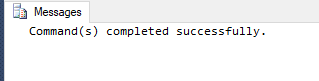
3. To execute command simply hit f5 or click on Execute button located on the top navigation bar.
4. To know if your Procedure is successfully created you must see the successful notification. See image below.
IV. Test Stored Procedures
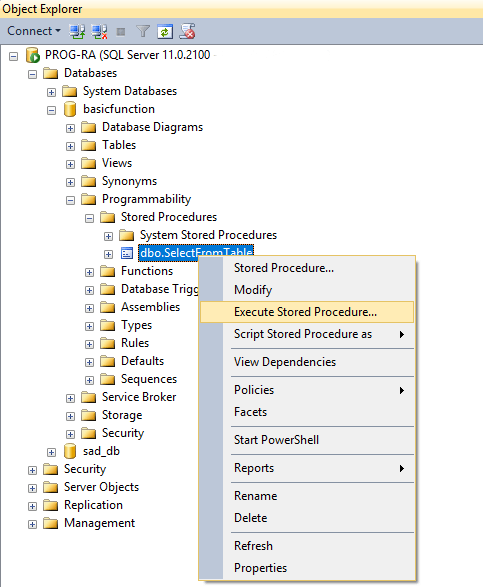
- After successfully creating Stored Procedure you should now be able to see your procedure under the folder named Stored Procedures. If ever you are not able to see it. Refresh the database folder and reopen the stored procedure folder. Expand and check the procedure if it already exists. Right-click on your procedure and select Execute Stored Procedure.
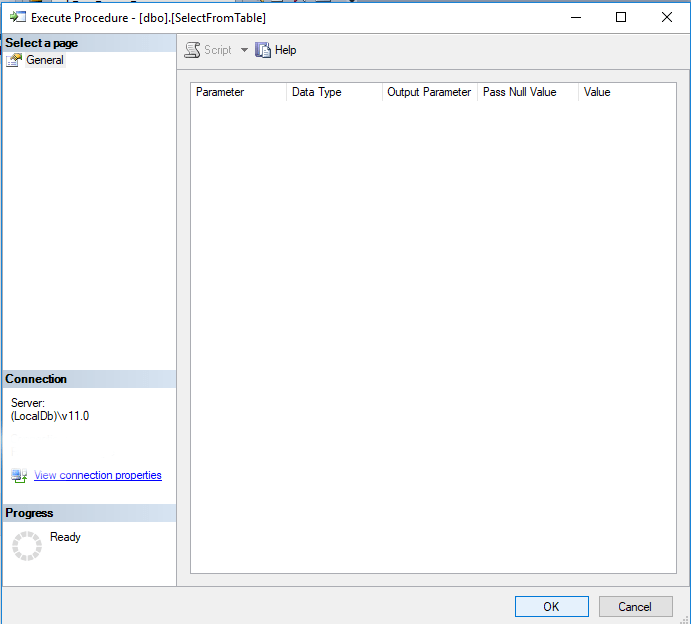
2. A dialog box will prompt asking for parameters needed for this query. Which we don’t have in our case. Press “OK” to execute.
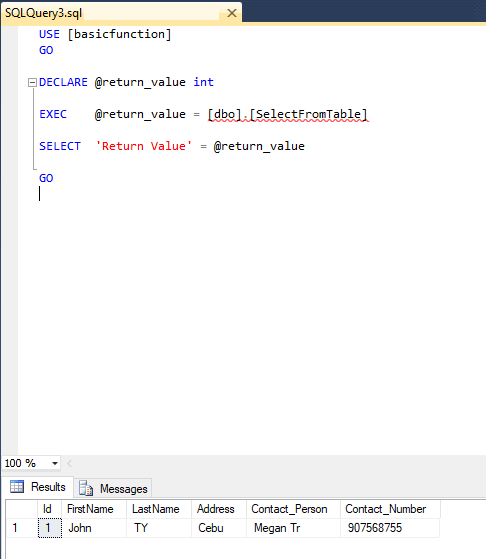
3. We should expect a result with all the data in the table. If not all data is displayed, check your select statement. There must somethings be something missing with the query. The result should look like the image shown below.
This is how to create a Stored Procedure in SQL Server. Below are the list of advantages for using a stored procedure.
- Performance
- Since stored procedures are compiled and stored, whenever you call a procedure, the response is quick.
- Reusable
- Multiple users or multiple client applications can execute stored procedures without the need to write the code again.
- Maintainability
- Maintaining a procedure on a server is much easier than maintaining copies on various client machines. This is because scripts are in one location.
- Advantage on complex Query
I hope this article will guide you on your future project. Happy coding!!
To learn how to call or use this procedure using ASP.NET MVC Application. Check out this blog Using SQL Stored Procedure in ASP.NET MVC Application