
In this tutorial, you will learn how to create a Web API in ASP.NET MVC. With the use of web APIs, you can make the functionality and data in your application accessible to other programs or services, simplifying system integration. You can use the ASP.NET MVC framework to create a reliable and scalable Web API by following the methods listed below.
Before we start, Please make sure to have installed the following
- The latest version of Visual Studio
- Postman
If you already have the following tools installed on your machine you may proceed on the step below.
I. Setting up the ASP.NET MVC Project
To create a new ASP.NET MVC project, follow these steps.
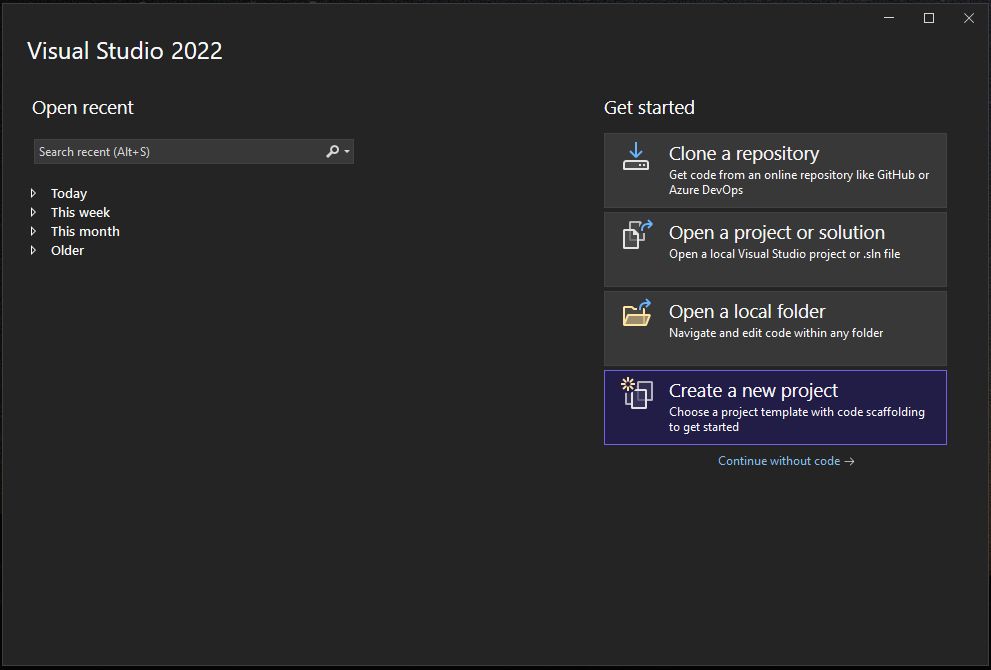
1. Open Visual Studio and Create New project or go to File->New->Project. A New Project dialog window will open. Select “Create a new project.”
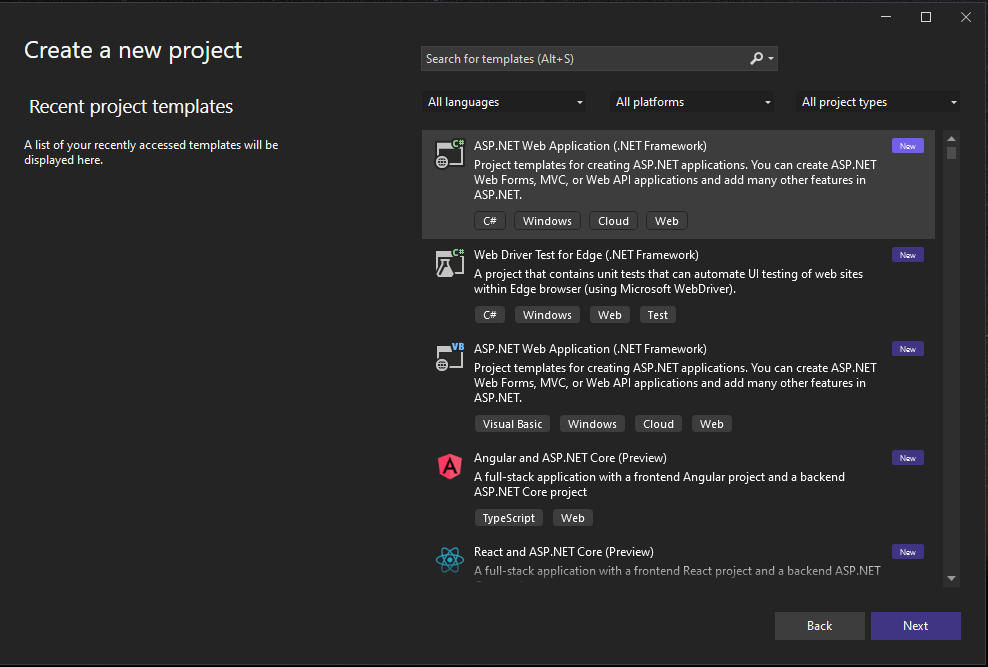
2. Choose “ASP.NET Web Application” and click “Next.”
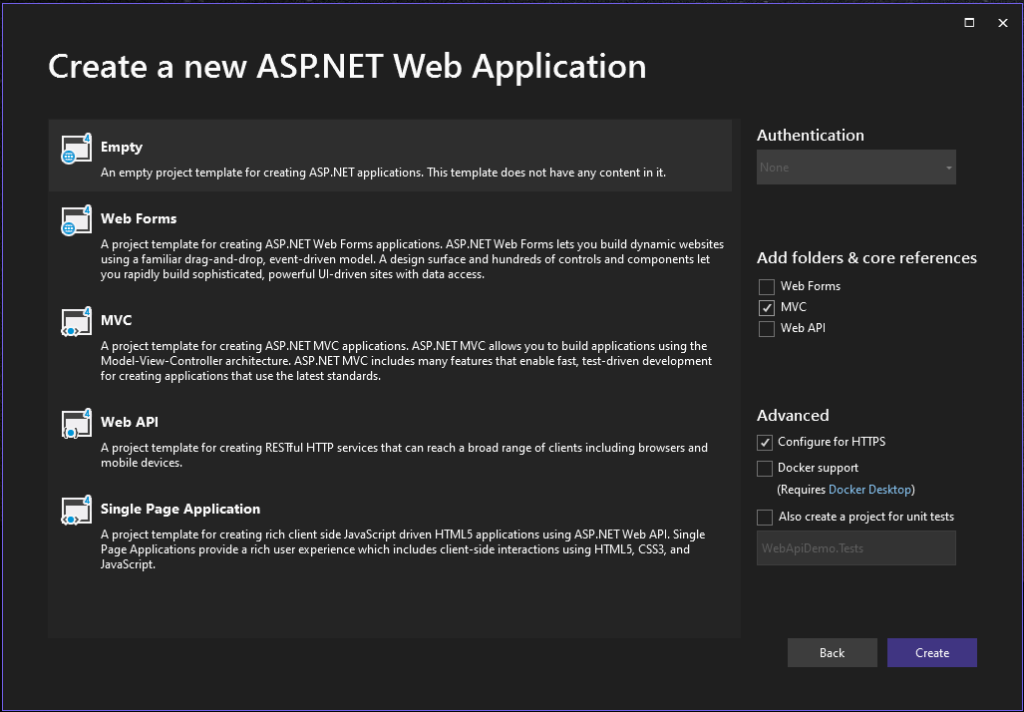
3. Select “Web Application (Model-View-Controller)” template and click “Next.”
4. Enter a project name and choose a location to save the project.
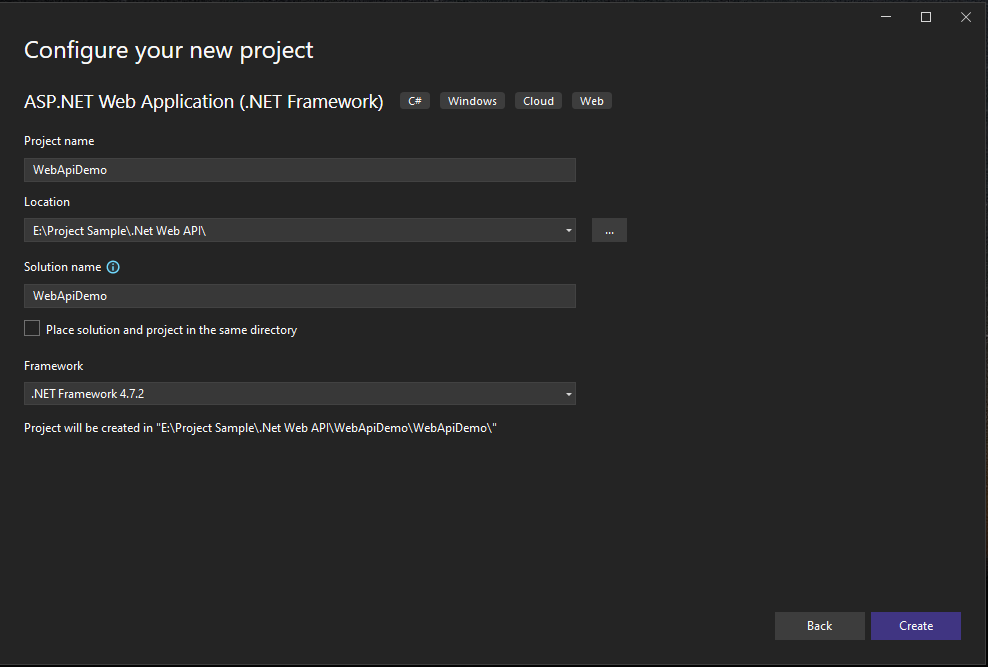
5. Click “Create” to create the project.
II. Creating a Web API Controller
Now, let’s create our web API controller. To do that, follow the steps below.
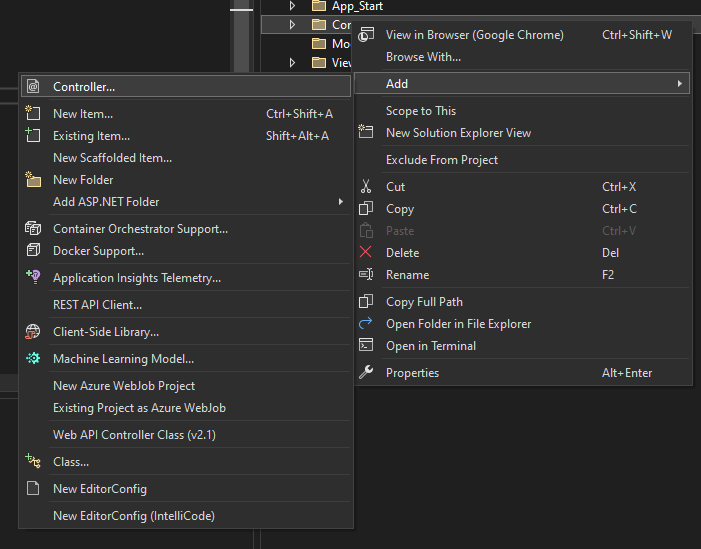
1. Right-click on the “Controllers” folder in the Solution Explorer.
2. Select “Add” and then choose “Controller.”
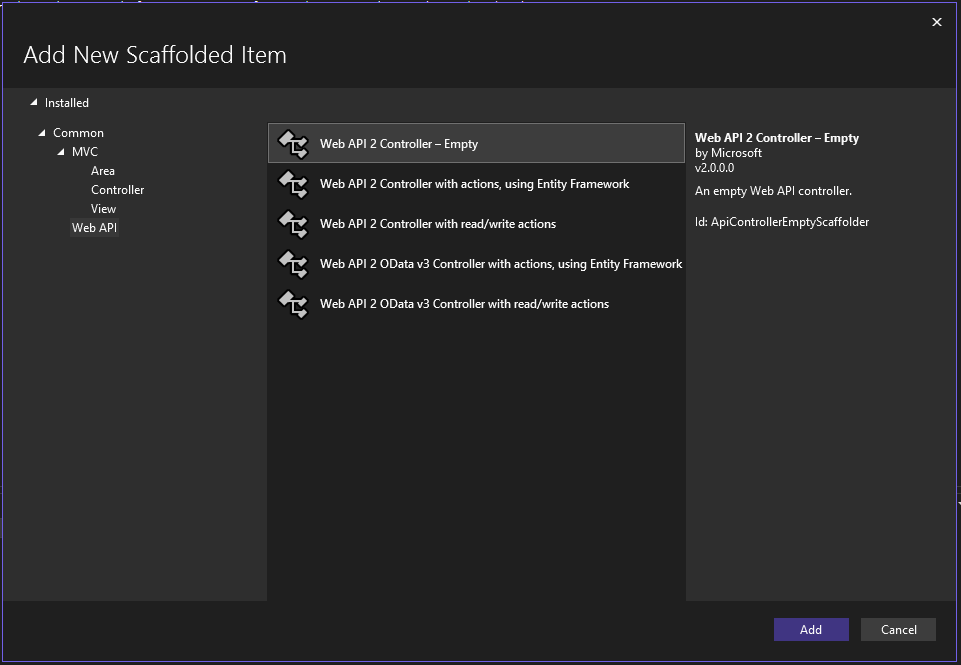
3. In the “Add Scaffold” dialog, choose “Web API 2 Controller – Empty.”
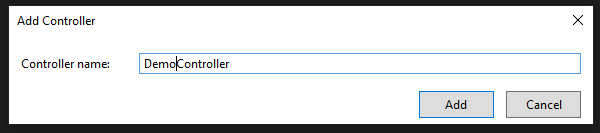
4. Click “Add” to create the Web API controller and name it DemoController.
III. Implementing GET Methods for Web API Development
1. Open the ASP.NET MVC Web API controller class you created.
2. Define a method with the HTTP GET verb, such as:
        [HttpGet]
        public IEnumerable<string> Get()
        {
            // Code to retrieve data from the database or any other source
        }
3. Customize the method according to your requirements, fetching data from a database or any other source.
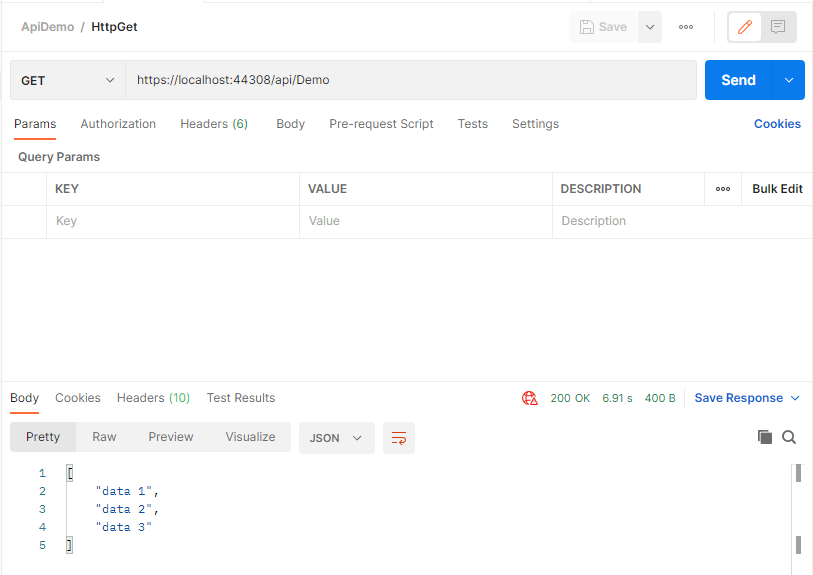
4. Return the data in the desired format, such as JSON or XML. But for the sake of this tutorial I will return a sample IEnumerable<string> “Demo Data”.
        [HttpGet]
        public IEnumerable<string> Get()
        {
            var demoData = new string[] { "data 1", "data 2", "data 3" };
            return demoData;
        }
IV. Adding POST, PUT, and DELETE Methods to Your ASP.NET MVC Web API
1. To implement the POST method, define a method with the HTTP POST attribute, such as:
[HttpPost]
public HttpResponseMessage Post([FromBody] string value)
{
// Code to save the provided value in the database or any other destination
return Request.CreateResponse(HttpStatusCode.OK, "Saved: " + value);
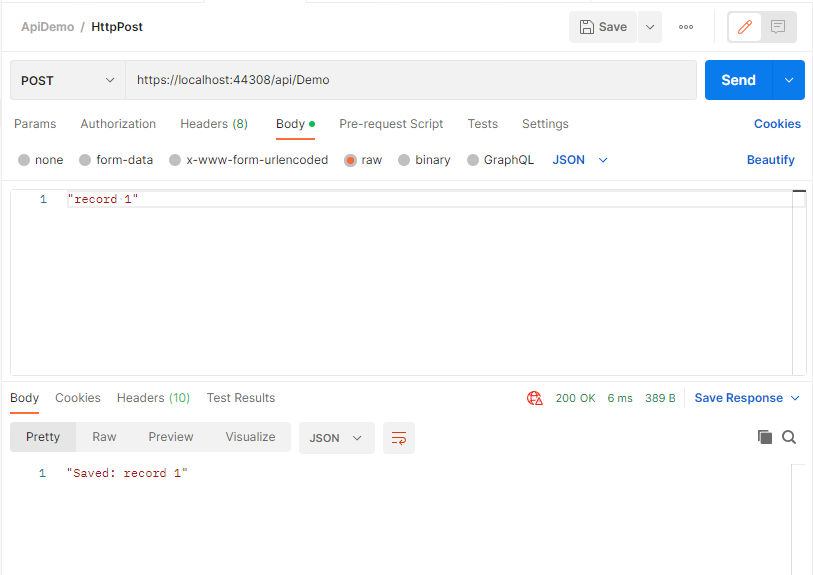
}HttpPost method is used for function that require inserting new record on the database.
2. To implement the PUT method, define a method with the HTTP PUT attribute, such as:
[HttpPut]
public HttpResponseMessage Put(int id, [FromBody] string value)
{
// Code to update the resource with the specified ID using the provided value
return Request.CreateResponse(HttpStatusCode.OK, "Updated: " + id);
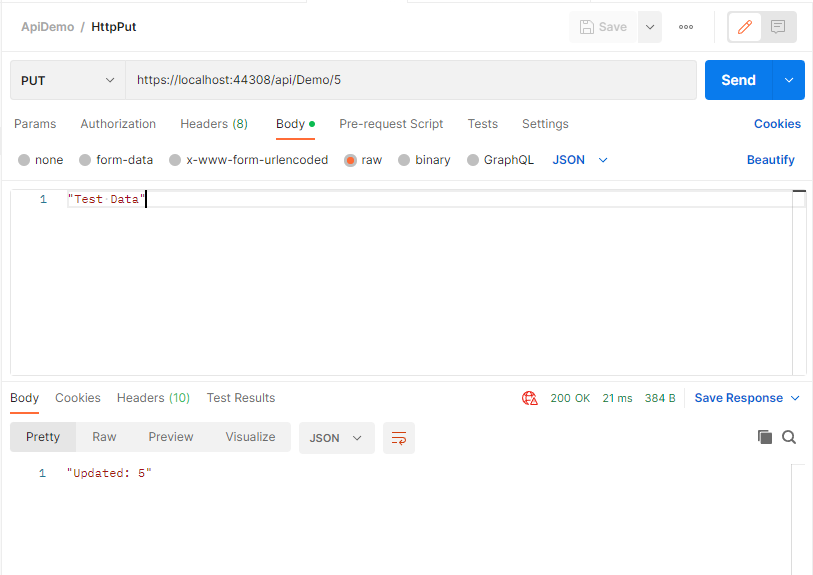
}HttpPost method is used for function that require updating record on the database
3. To implement the DELETE method, define a method with the HTTP DELETE attribute, such as:
[HttpDelete]
public HttpResponseMessage Delete(int id)
{
// Code to delete the resource with the specified ID
return Request.CreateResponse(HttpStatusCode.OK, "Deleted: " + id);
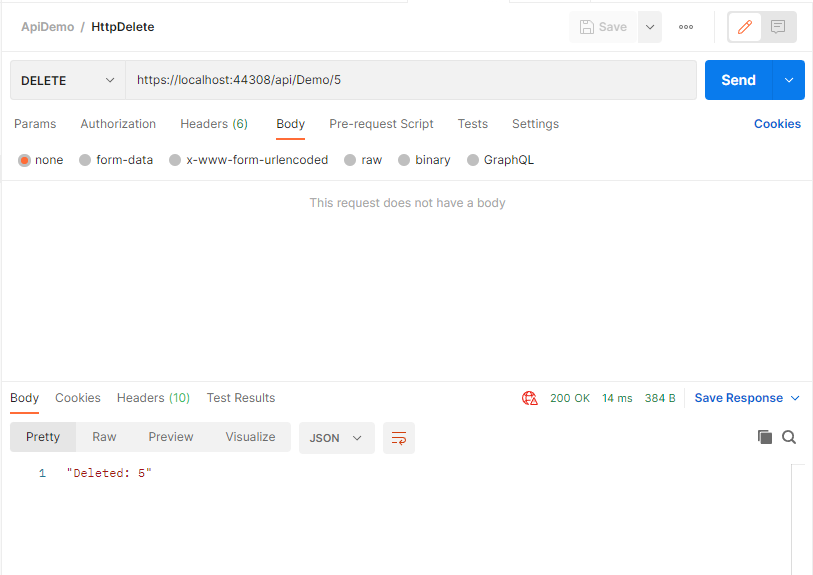
}V. Web API Routing in ASP.NET MVC
To check default web API Route, Open WebApiConfig class inside App_Start.
            config.Routes.MapHttpRoute(
                name: "DefaultApi",
                routeTemplate: "api/{controller}/{id}",
                defaults: new { id = RouteParameter.Optional }
            );
By default, base on the configuration above the default URL of our DemoController API is “localhost:{port}/api/{Controller Name}/{id}”. If you are using the source code from this tutorial , the URL is as follows.
| URL | Description | Attribute |
| https://localhost:44308/api/Demo | Get Records | HttpGet |
| https://localhost:44308/api/Demo | Post New record | HttpPost |
| https://localhost:44308/api/Demo/5 | Update record by ID | HttpPut |
| https://localhost:44308/api/Demo/5 | Delete Record by ID | HttpDelete |
To ensure that the Web API route is Implemented make sure that WebAPIConfig is registered on Global.asax.cs.
using System.Web.Http;
using System.Web.Routing;
namespace WebApiDemo
{
    public class MvcApplication : System.Web.HttpApplication
    {
        protected void Application_Start()
        {
            //AreaRegistration.RegisterAllAreas();
            GlobalConfiguration.Configure(WebApiConfig.Register);
            RouteConfig.RegisterRoutes(RouteTable.Routes);
        }
    }
}
VI. Testing the Web API for Seamless Integration:
There are several tools available that we can use to test our Web API but for this tutorial, we are going to use Postman. You can download it here. Once you download postman, just copy the screenshot below to start your testing. Don’t forget to run your application. 🙂
HTTPGET
HTTPPOST
HTTPPUT
HTTPDELETE
Source Code
You can download the source code from my Github @coderbugzz.
Summary
In this tutorial, we have explored the process of creating a Web API in ASP.NET MVC, giving you the ability to create effective, scalable APIs that easily connect with other programs and services. You now have a basic grasp of how to build a Web API controller, use different HTTP methods like GET, POST, PUT, and DELETE, and test your API for smooth functionality after carefully following the step-by-step instructions.
If you are interested to expand your knowledge on Web API you should take a look on different implementation on web API Authentication. Explore freecodespot.com for more.
Now, all you need to focus on is how to add additional security for your web API. You can start with basic authentication.
Now, take what you have learned and start building your own Web APIs, connecting your applications with external systems, and unlocking the power of seamless integration and collaboration in the world of web development. Keep Coding!