In this article, we will learn How to implement Real-time notification using SignalR in ASP.NET Core 6.0. We will implement a simple chat application and integrate SignalR to handle the communication.
What is SignalR Core
SignalR Core is a library for .NET developers that simplifies the process of adding real-time web functionality to your applications. What is “real-time web” functionality? It’s the ability to have server-side code push content to the connected clients as it happens, in real-time rather than waiting for a client to request data.
What can it be used for?
Pushing data from the server to the client (not just browser clients) has always been a tough problem. SignalR makes it dead easy and handles all the heavy lifting for you.
An example of SignalR in action is anytime time a user refreshes a web page to see new data. Examples include dashboards and monitoring applications, collaborative applications (such as simultaneous editing of documents), job progress updates, and real-time forms.
This is the summary of what you will learn in this tutorial.
- Create an asp.net core web application
- Adding SignalR client library
- Configuring the web App to use SignalR
- Write code to send notifications from any client to all connected clients
- Test the web application
Requirements
- Visual Studio 2022
I. Create an asp.net core web application
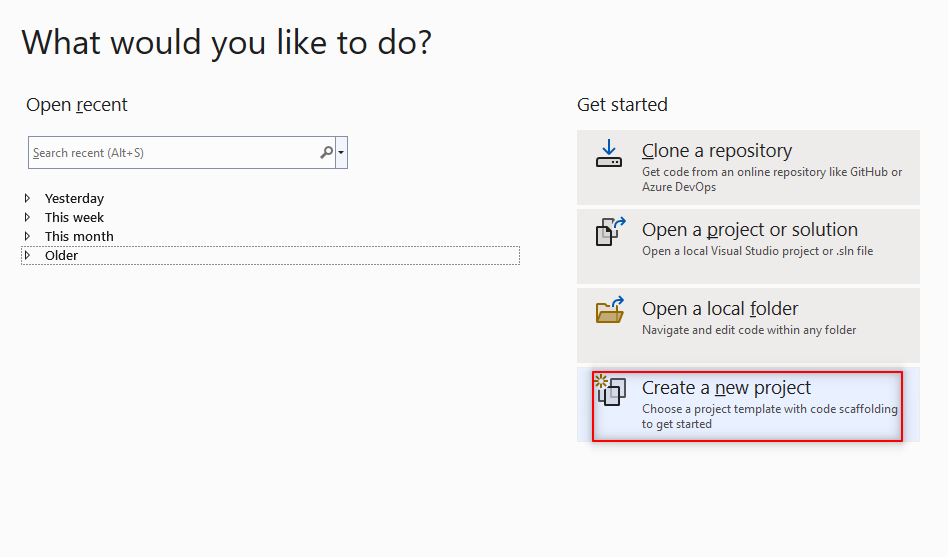
- Launch Visual Studio and click Create a new project.
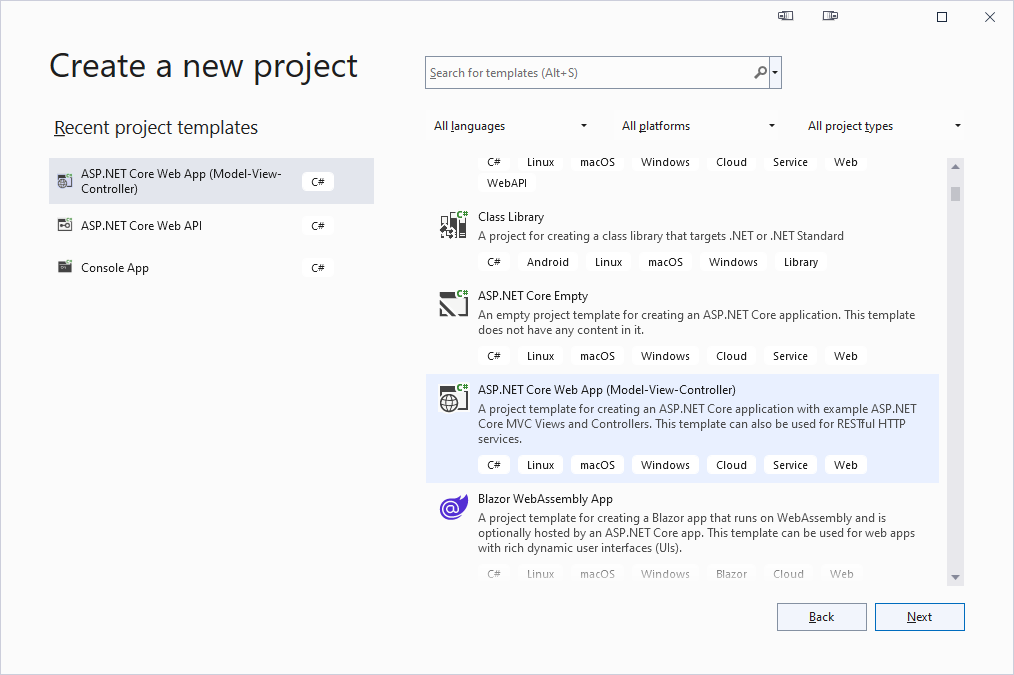
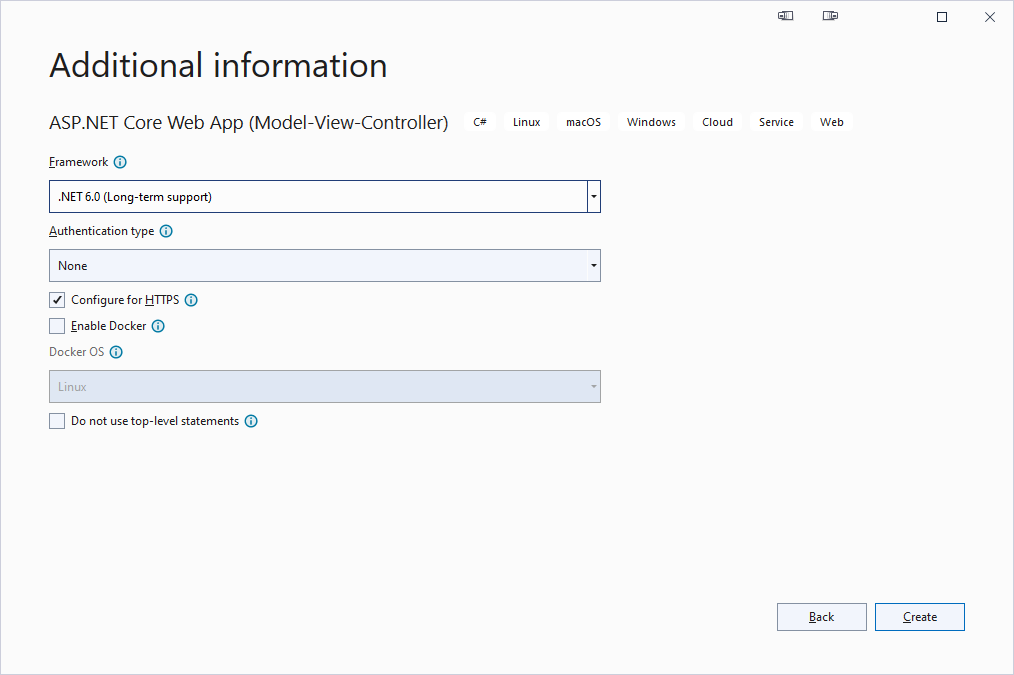
2. Select ASP.NET Core Web App (Model-View-Controller).
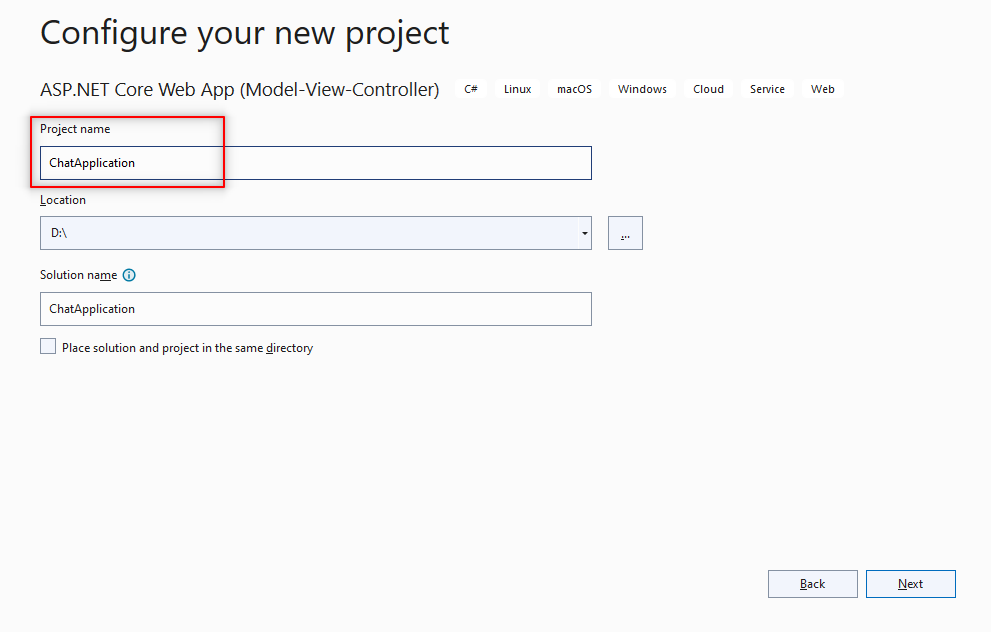
3. Give your project the name ChatApplication and click Next.
4. Select .NET 6.0(Long-term support) and click Create to finish the installation.
II. Adding SignalR client library
Once the project is successfully created let’s add the SignalR library.
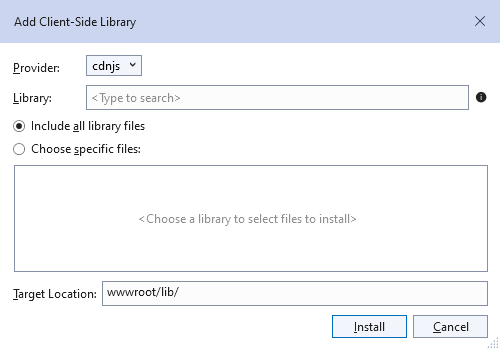
- To do this right on Solution explorer->Add->Client-Side Library

A pop-up screen similar to the one below appears
2. In the Provider section Select unpkg
3. In the Library section add @microsoft/signalr@latest
4. Select choose specific files, expand dist/browser folders and check signalr.js and signalr.min.js.
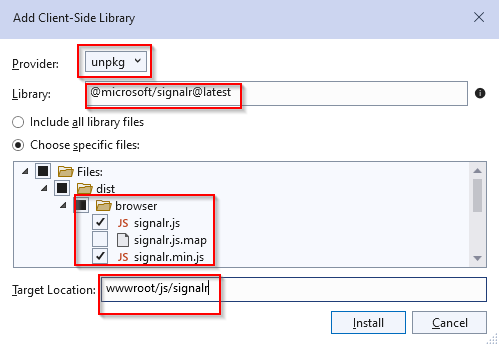
5. Ensure the Target Location is set to wwwroot/js/signalr/ then click Install.
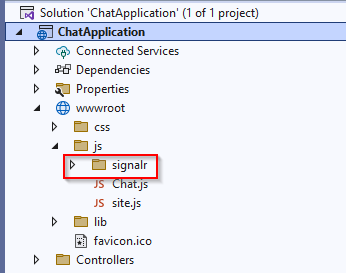
On a successful install, a signalr folder is created in the wwwroot/js folder.
III. Create a SignalR hub
A Hub is a high-level pipeline that allows a client and server to call each other methods directly. In other words, a Hub is a communication base between client and server while using SignalR.
SignalR hub class inherits from Microsoft.ASpNetCore.SignalR.Hub.
To create a hub, use the following steps
- In our chatApplication project create a new folder called Hubs.
- In the Hubs folder add a class called ChatHub, then paste the following code.
namespace ChatApplication.Hubs
{
    public class ChatHub : Hub
    {
        public async Task SendMessage(string user, string message)
        {
            await Clients.All.SendAsync("ReceiveMessage ", user, message);
        }
    }
}
IV. Configuring the web App to use SignalR
The SignalR server must be configured to pass requests to SignalR. To do this add the following code to Program.cs class.
using ChatApplication.Hubs;
builder.Services.AddSignalR();
app.MapHub<ChatHub>("/chatHub");
The above code adds SignalR to the Asp.net Core dependency injection.
V. Write SignalR code
After configuring SignalR next we are going to create a user interface
To achieve this, we are going to modify the index.cshtml page.
- Go to Views->Home->Index.cshtml
- Paste the following code
@page
<div class="container">
<div class="row"> </div>
<div class="row">
<div class="col-2">User</div>
<div class="col-4"><input type="text" id="userInput" /></div>
</div>
<div class="row">
<div class="col-2">Message</div>
<div class="col-4"><input type="text" id="messageInput" /></div>
</div>
<div class="row"> </div>
<div class="row">
<div class="col-6">
<input type="button" id="sendButton" value="Send Message" />
</div>
</div>
</div>
<div class="row">
<div class="col-12">
<hr />
</div>
</div>
<div class="row">
<div class="col-6">
<ul id="messagesList"></ul>
</div>
</div>
<script src="~/js/signalr/dist/browser/signalr.js"></script>
<script src="~/js/chat.js"></script>
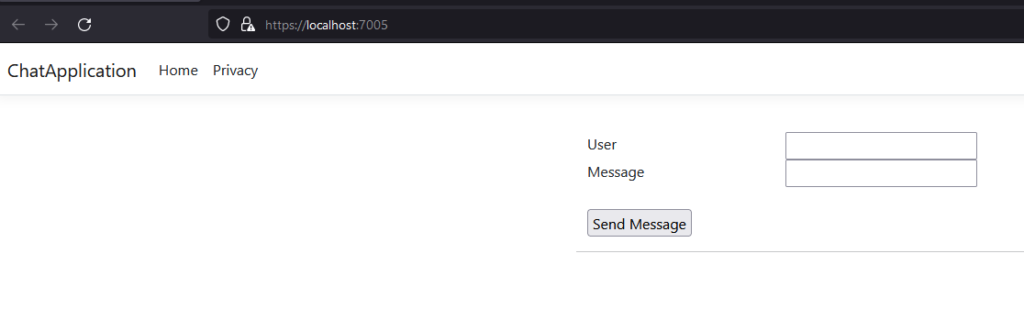
The above code creates two textboxes and a Submit button. One textbox will capture the name of the user while the other will capture the message. The submit button will then send to the user.
<ul id="messagesList"></ul> Creates a list for displaying messages that are received from the SignalR hub.
3. Expand wwwroot folder right click on the js folder then select Add ->New Item
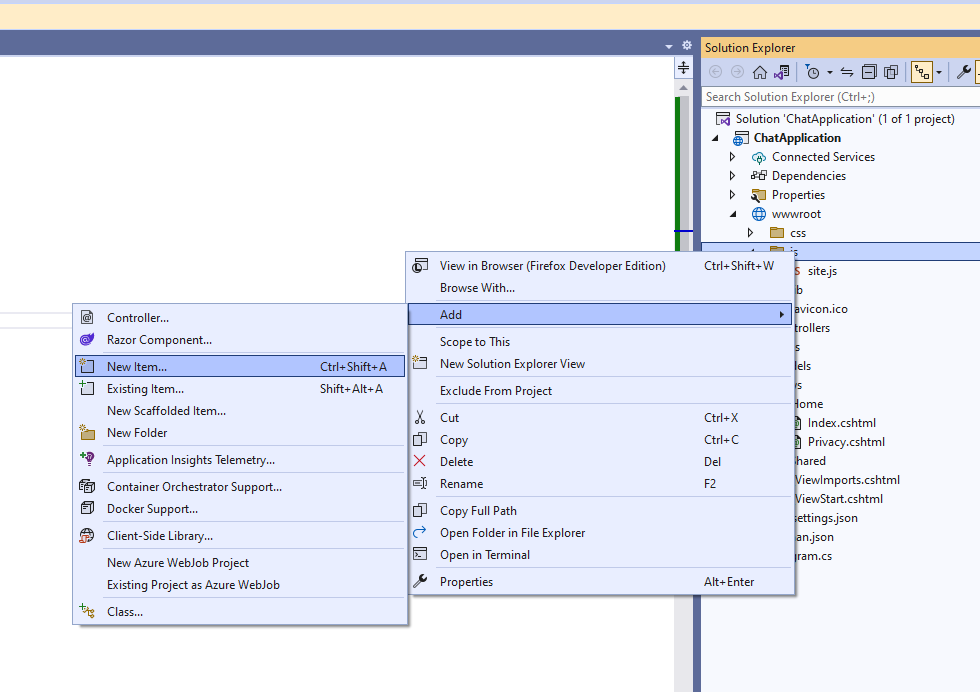
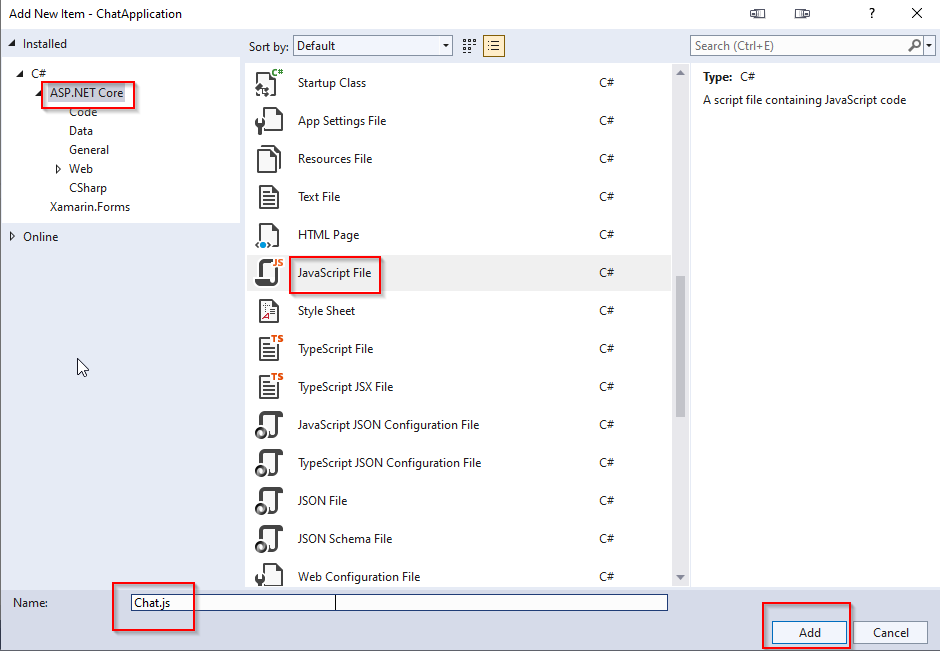
4. In the window that pops up select ASP.NET Core, scroll, and select JavaScript File. Give your JavaScript file the name Chat.js then click Add to create the file.
In Chat.js paste the following code.
"use strict";
var connection = new signalR.HubConnectionBuilder().withUrl("/chatHub").build();
document.getElementById("sendButton").disabled = true;
connection.on("newMessage", function (user, message) {
    var li = document.createElement("li");
    document.getElementById("messagesList").appendChild(li);

    li.textContent = `${user} says ${message}`;
});
connection.start().then(function () {
    document.getElementById("sendButton").disabled = false;
}).catch(function (err) {
    return console.error(err.toString());
});
document.getElementById("sendButton").addEventListener("click", function (event) {
    var user = document.getElementById("userInput").value;
    var message = document.getElementById("messageInput").value;
    connection.invoke("SendMessage", user, message).catch(function (err) {
        return console.error(err.toString());
    });
    event.preventDefault();
});
The above code creates and starts a connection then adds to the submit button a handler that sends messages to the hub, and a connection object handler that receives messages from the hub is also added.
VI. Testing the web application
- Run the application. A default page similar to the one shown below launches.
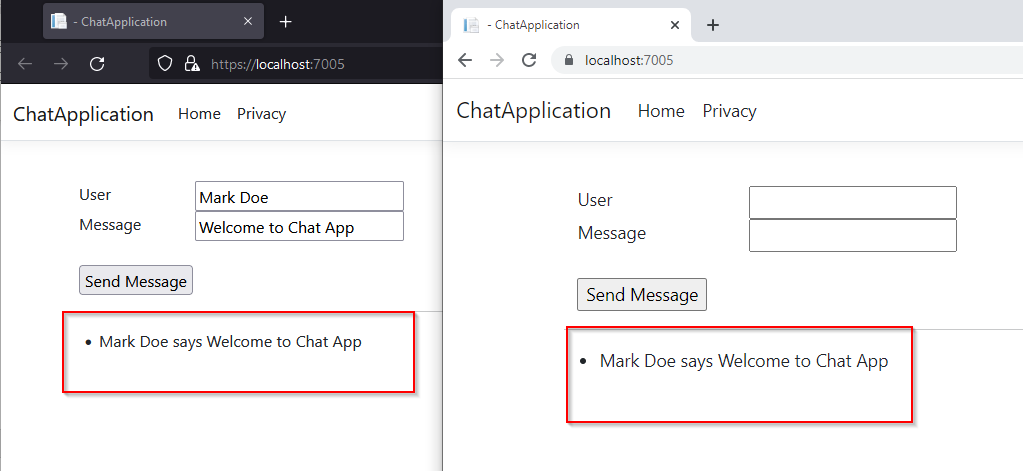
2. Copy the URL and paste it into another browser or Tab.
3. Choose either browser/Tab, Type a name and a message then click Send Message
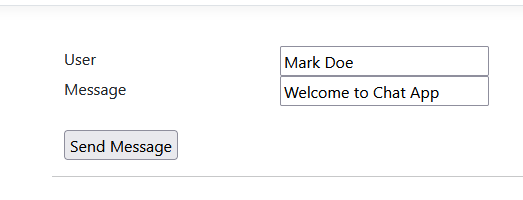
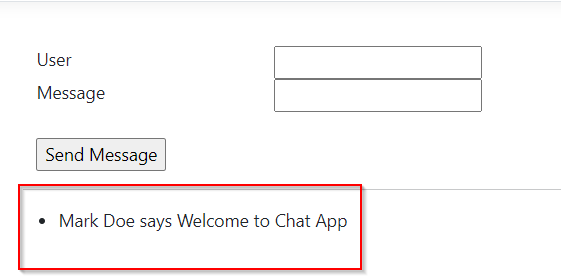
It is also important to note that the name and message are displayed on both pages.
You may also download the source code from my Github Account:
Summary
In this tutorial, we have learned how to implement Real-time notification using SignalR and an asp.net core app web application. We developed an asp.net core web application that sends and receives data using SignalR. Hopefully, this tutorial will help you with your future projects.
KEEP CODING!
For more tutorials like this visit the blog page here.