
In this tutorial, we will learn How to Use RabbitMQ in ASP NET Core. To do that we will create a simpleASP.NET Core web API and a Console app for the client Application.
- Introduction
- I. Create a SQL database
- II. Create an ASP.NET Producer Application
- III. Add Dependencies (Nuget Packages)
- IV. JSON Configuration(appsettings)
- V. Data class » Student.cs
- VI. StudentDb Context
- VII. IStudentDb Context
- VIII. Data Transfer Object(DTO class)
- IX. Services
- X. RabbitMQProducer Class
- XI. Controller Class
- XII. Consumer Application
- XIII. Testing the application
- Summary
Introduction
What is a message broker?
To understand what a message broker is let’s take an example of a post office. A post office is a broker whose main function is to broker messages between publishers and subscribers. A message broker works in a similar way.
What is RabbitMQ?
RabbitMQ is an open-source message broker that implements an Advanced Message Queuing Protocol (AMQP).
AMQP standardizes messaging using Producers, Brokers, and Consumers.
Producer: This is an application that is responsible for sending messages.
Consumer: This is an application that is listening for messages
Queue: This is where messages are stored by the broker
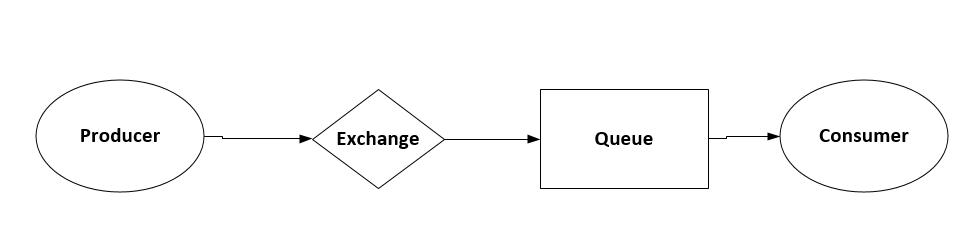
The producer sends a message to the queue; however, it never uses the queue directly, the message is sent to the exchange then the exchange sends the message to the queue. The consumer then picks the message from the queue and consumes it.
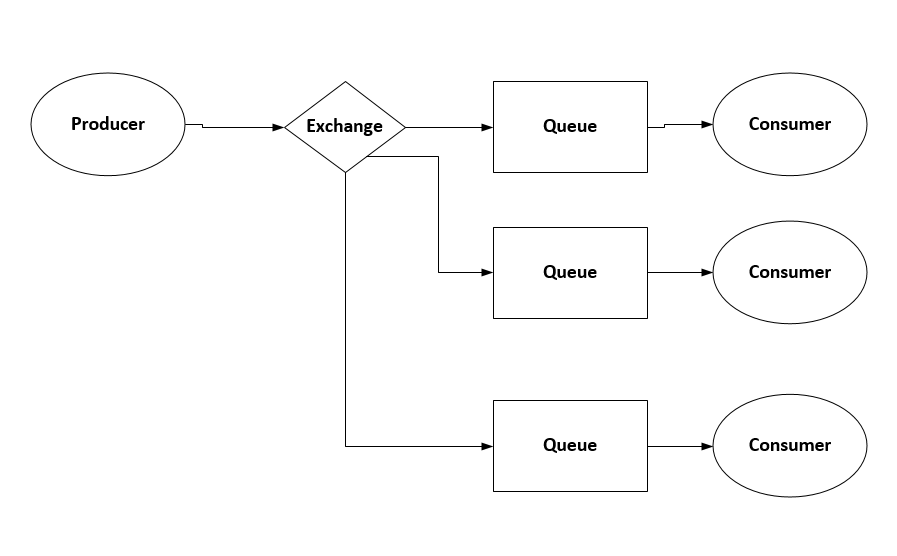
In a much more complex application, we can have multiple queues as shown below.
In this tutorial, we are going to create two applications, a Producer application, which is a Web API, and a Consumer application, which is a console application.
Before we begin, please ensure you have installed the following software:
- Visual Studio 2022
- SQL Server
- Docker » download link
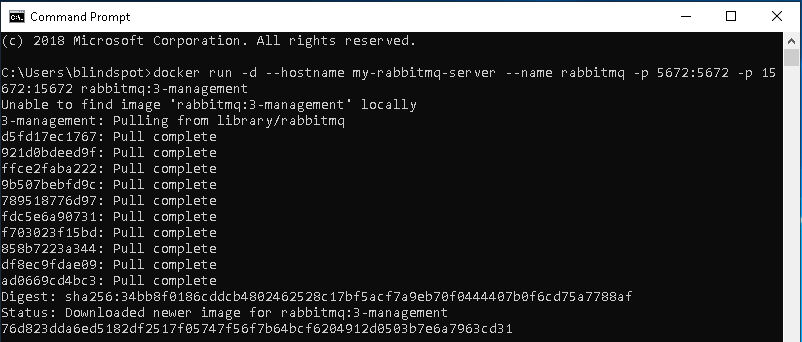
After installing make sure docker is running then run the following code on the command prompt or Powershell to install the RabbitMq image on docker.
docker run -d --hostname my-rabbitmq-server --name rabbitmq -p 5672:5672 -p 15672:15672 rabbitmq:3-managementThe command above will find a local image of RabbitMQ and if not found this download the RabitMQ. See the image below.
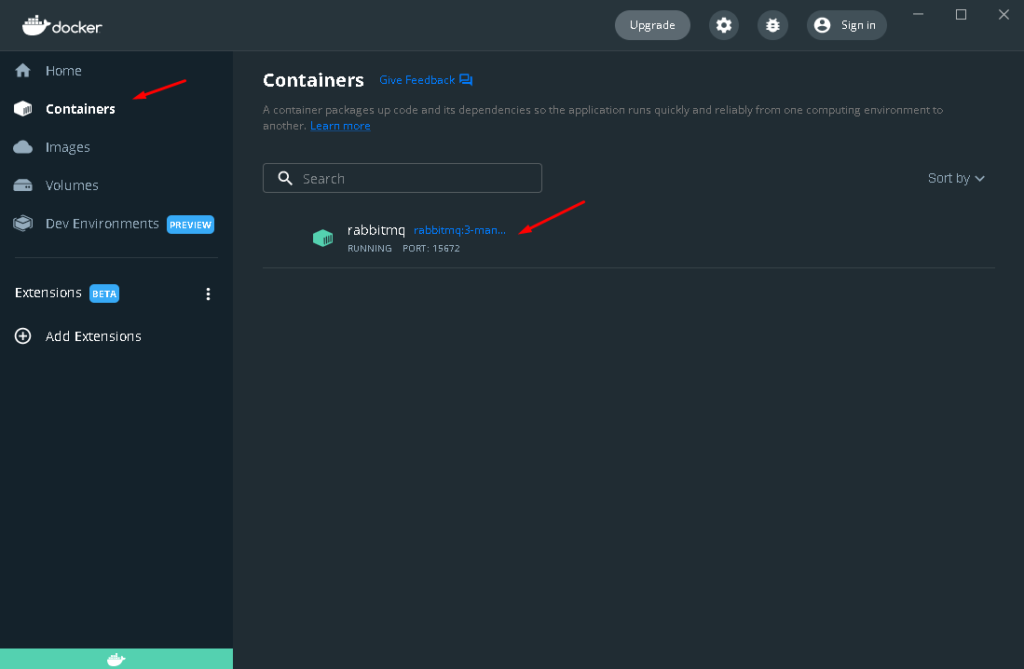
To verify, if the download is complete and RabbitMQ is running, you may open your docker and go to the Container tab. See the image below.
I. Create a SQL database
For this tutorial, we require a database to store our data.
To do this Launch SQL Server and create a new database with the name StudentDb
In the database run the following query to create the table and columns that will hold our data.
CREATE TABLE [dbo].[Student](
	[studentId] [int] IDENTITY(1,1) NOT NULL,
	[StudentName] [nchar](100) NULL,
	[Age] [nchar](100) NULL,
	[CourseTitle] [nchar](100) NULL,)
II. Create an ASP.NET Producer Application
In the previous part, we installed RabbitMQ. Now it’s time to create a producer application that will be used to send messages.
To do this follow the steps below:
- Launch Visual Studio 2022
- Create a new project
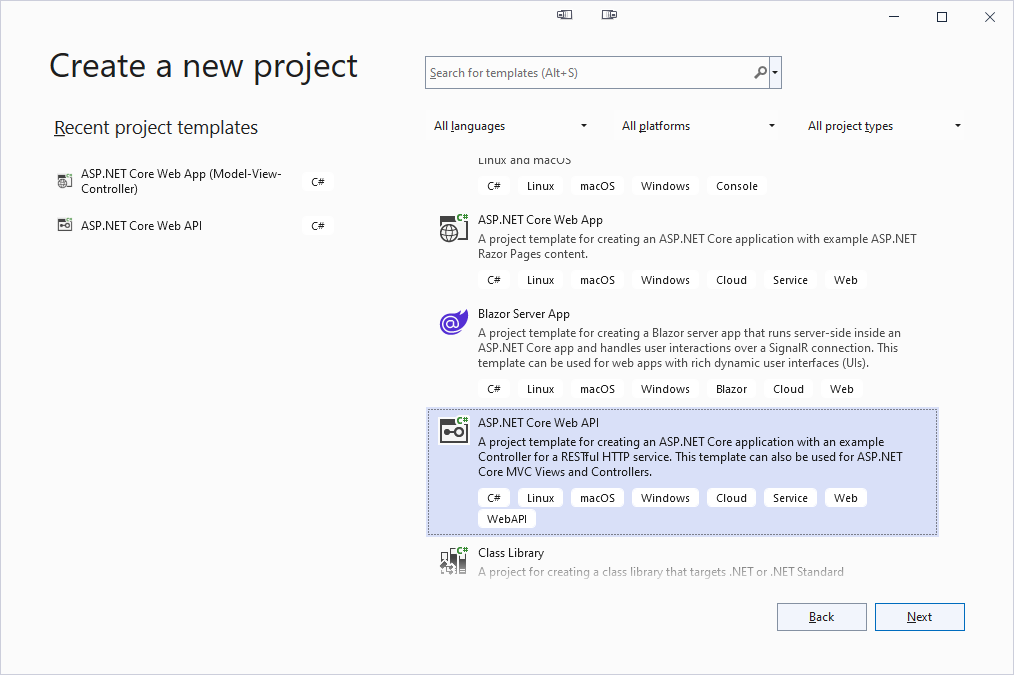
3. Select ASP.NET Core Web API
4. Give your project the name “Student Records”, or you may choose a different name.
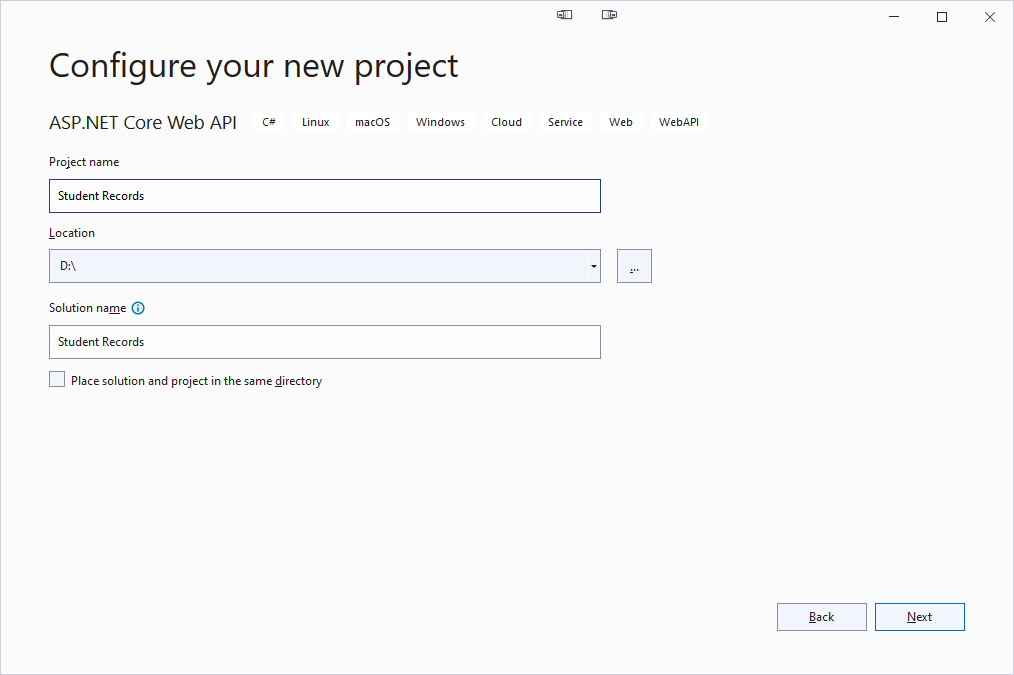
5. Select .NET 6.0 framework (Long-term support) then click “Create” to automatically set up the project.

III. Add Dependencies (Nuget Packages)
After the successful creation of our application, we need to install two packages which are, the RabbitMQ.client driver to enable our ASP.NET Core application to communicate with RabbitMQ and microsoft.entityframeworkcore.sqlserver driver for communication with SQL database.
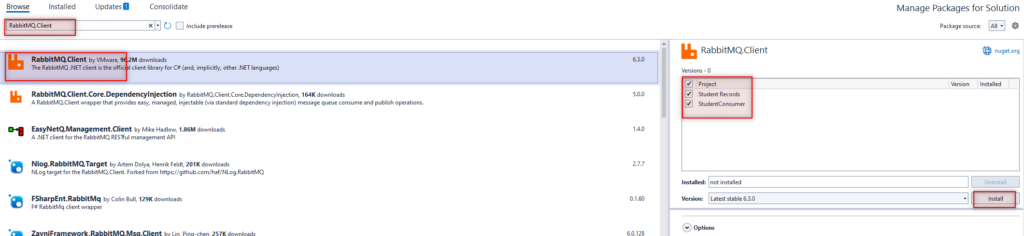
To install a package right-click on project solution then select“Manage NuGet Packages for solution”
- On the Browse tab search for “RabbitMQ.client” and click on it then install. This will prompt you to accept the terms and conditions, and click agree to finish installing the package.
“ driver
IV. JSON Configuration(appsettings)
We are going to modify appsettings.json by adding the Database connection string as shown below:
"ConnectionStrings": {
    "StudentDbContext": "Data Source=YOUR_CONNECTION_NAME;Initial Catalog=StudentDb;Trusted_Connection=True;MultipleActiveResultSets=True"
  }
From the above json file, the following are the key terms we need to note:
- Data Source refers to the name of the server you are connecting to.
- The initial catalog refers to the database you are going to be using.
V. Data class » Student.cs
Create a new folder and call it Data.
In the Data, folder add a new class called Student.cs, and inside paste the following code
namespace Student_Records.Data
{
    public class Student
    {
        [Key]
        public int Id { get; set; }

        public string StudentName { get; set; }

        public int Age { get; set; }
        public string CourseTitle { get; set; }
    }
}
VI. StudentDb Context
Inside the Data, folder add another class and call it StudentDbContext.cs. Paste the following code inside the class.
namespace Student_Records.Data
{
    public class StudentDbContext : DbContext, IStudentDbContext
    {
        public StudentDbContext(DbContextOptions<StudentDbContext> options)
            : base(options)
        {
        }
        public DbSet<Student> Student { get; set; }
        public Task<int> SaveChangesAsync()
        {
            return base.SaveChangesAsync();
        }
    }
}
VII. IStudentDb Context
Create a new class called IStudentDbContext.cs and paste the following code.
namespace Student_Records.Data
{
    public interface IStudentDbContext
    {
        DbSet<Student> Student { get; set; }

        Task<int> SaveChangesAsync();
    }
}
VIII. Data Transfer Object(DTO class)
Let’s add some properties we will use for this tutorial.
- Right-click on the solution and add a DTO folder
- Right-click on the DTO Folder and add a new class “StudentDTO.cs”.In the Class, we are going to declare all the Student information that we require. Some of the information we need is the Student’s Name, Course Title, and Age.
- You can add as many properties as you like but, in our case, I used the properties shown below.
namespace Student_Records.DTO
{
    public class StudentDto
    {
        public string StudentName { get; set; }

        public int Age { get; set; }
        public string CourseTitle { get; set; }
    }
}
IX. Services
Create a new folder called Services. Inside the services, we are going to create 2 classes that will contain the code to connect to RabbitMQ.
To do this add a class and name it ImessageProducer.cs. Paste the following code inside.
public void SendMessage<T>(T message)
        {
            var factory = new ConnectionFactory
            {
                HostName = "localhost"
            };
            var connection = factory.CreateConnection();
            using var channel = connection.CreateModel();
            channel.QueueDeclare("students", exclusive: false);

            var json = JsonConvert.SerializeObject(message);
            var body = Encoding.UTF8.GetBytes(json);

            channel.BasicPublish(exchange: "", routingKey: "students", body: body);
        }
X. RabbitMQProducer Class
Create another folder called RabbitMQProducer.cs. Inside the class paste the following code.
public void SendMessage<T>(T message)
        {
            var factory = new ConnectionFactory
            {
                HostName = "localhost"
            };

            var connection = factory.CreateConnection();
            using var channel = connection.CreateModel();

            channel.QueueDeclare("students", exclusive: false);

            var json = JsonConvert.SerializeObject(message);
            var body = Encoding.UTF8.GetBytes(json);

            channel.BasicPublish(exchange: "", routingKey: "students", body: body);
        }
In the above code, we connect to a RabbitMQ node through the hostname localhost, next we create a channel for protocol operations.
To send data we declared a queue Students then published a message with the data from the API in json format.
XI. Controller Class
Create and Open the Student Controller class and add the following code
namespace Student_Records.Controllers
{
    [ApiController]
    [Route("[controller]")]
    public class StudentController : Controller
    {
        private readonly IStudentDbContext _context;
        private readonly IMessageProducer _messagePublisher;

        public StudentController(IStudentDbContext context, IMessageProducer messagePublisher)
        {
            _context = context;
            _messagePublisher = messagePublisher;
        }
        [HttpPost]
        public async Task<IActionResult> CreateNewStudent (StudentDto studentDto)
        {
            Student student = new()
            {
                StudentName = studentDto.StudentName,
                Age = studentDto.Age,
                CourseTitle = studentDto.CourseTitle
            };

            _context.Student.Add(student);

            await _context.SaveChangesAsync();

            _messagePublisher.SendMessage(student);

            return Ok(new { id = student.Id });
        }

    }
}
The above method creates a new student and then publishes a message to RabbitMQ.
Now, let’s register the interfaces and implementation we created in the previous step. Open Program.cs and add the following code.
var connectionString = builder.Configuration.GetConnectionString("StudentDbContext");
builder.Services.AddDbContext<StudentDbContext>(options => options.UseSqlServer(connectionString));
builder.Services.AddScoped<IStudentDbContext, StudentDbContext>();
builder.Services.AddScoped<IMessageProducer, RabbitMQProducer>();
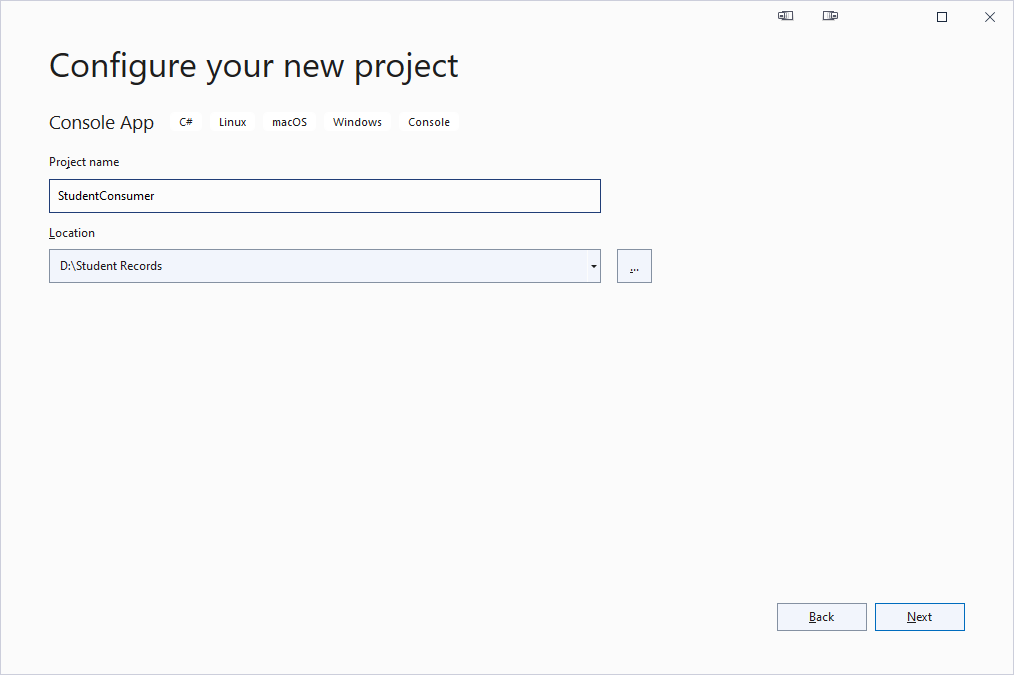
XII. Consumer Application
Create a new console app project and name it “consumer”
Follow the steps we used previously in this tutorial to add “RabbitMQ.Client” nuget package driver
Open Program.cs and add the following code.
var factory = new ConnectionFactory
{
    HostName = "localhost"
};
var connection = factory.CreateConnection();
using var channel = connection.CreateModel();
channel.QueueDeclare("students", exclusive: false);

var consumer = new EventingBasicConsumer(channel);
consumer.Received += (model, eventArgs) =>
{
    var body = eventArgs.Body.ToArray();
    var message = Encoding.UTF8.GetString(body);

    Console.WriteLine($"Message received: {message}");
};

channel.BasicConsume(queue: "students", autoAck: true, consumer: consumer);

Console.ReadKey();
In the above code, the setup is the same as the producer application. Note that we first declare the Queue since we might run the consumer before the producer. Next, we tell the server to deliver the message from the queue using the EventingBasicConsumer handler.
XIII. Testing the application
Now it’s time to experiment with how to Use RabbitMQ in ASP NET Core by testing the application. Run the following address to open the rabbitMQ login page
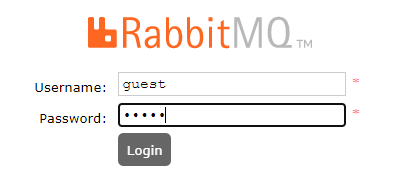
By default, rabbitMQ uses the username: guest and password: guest as the default login details.
On successful login, a default page is similar to the one shown below.

Click on the Queues tab
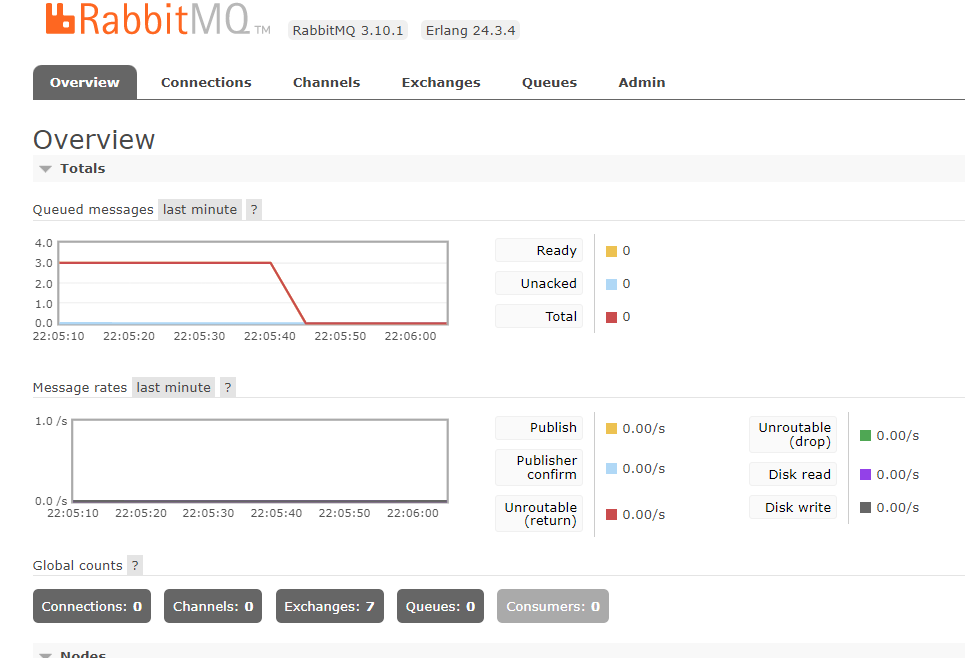
From the above diagram, there are no queues in our application.
To add a queue, go to the project we created in visual studio and run the application.
A default page like the one shown appears
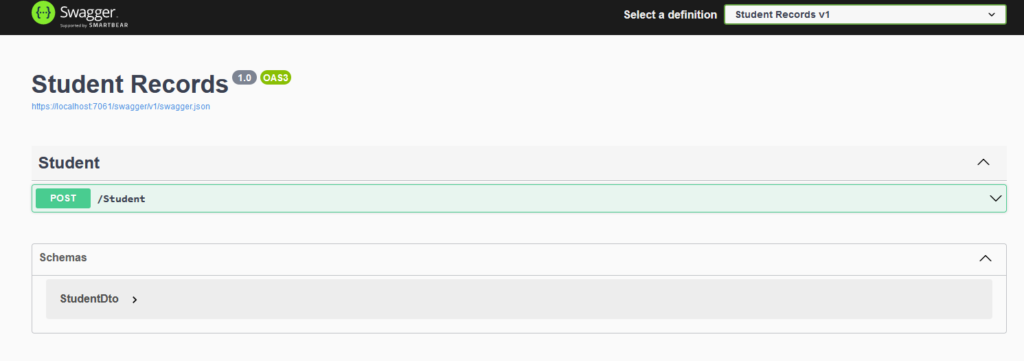
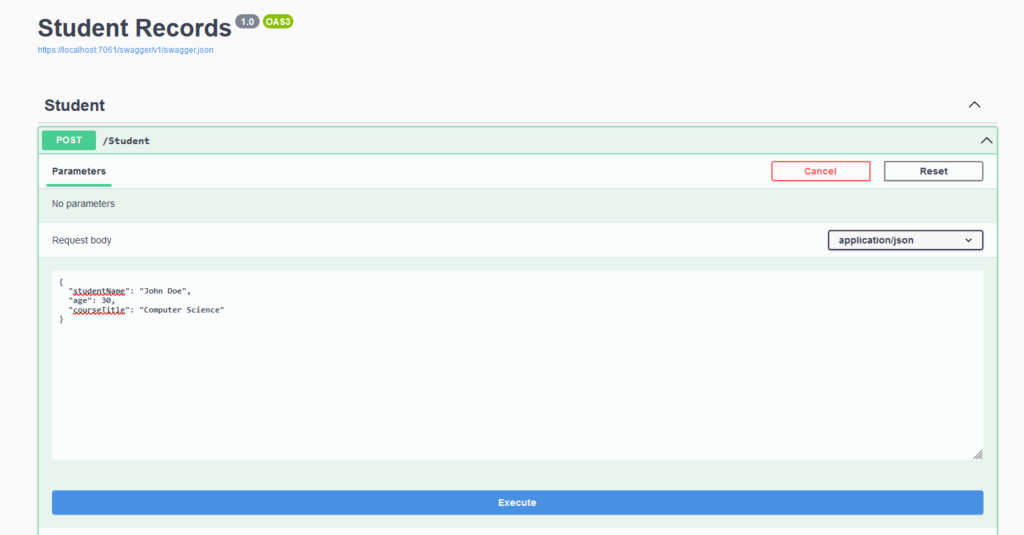
Open the Post/Student tab then click “try it out”
In the body, section edits the parameters and enter the student information you would like to push to the database and rabbitMQ then click execute.
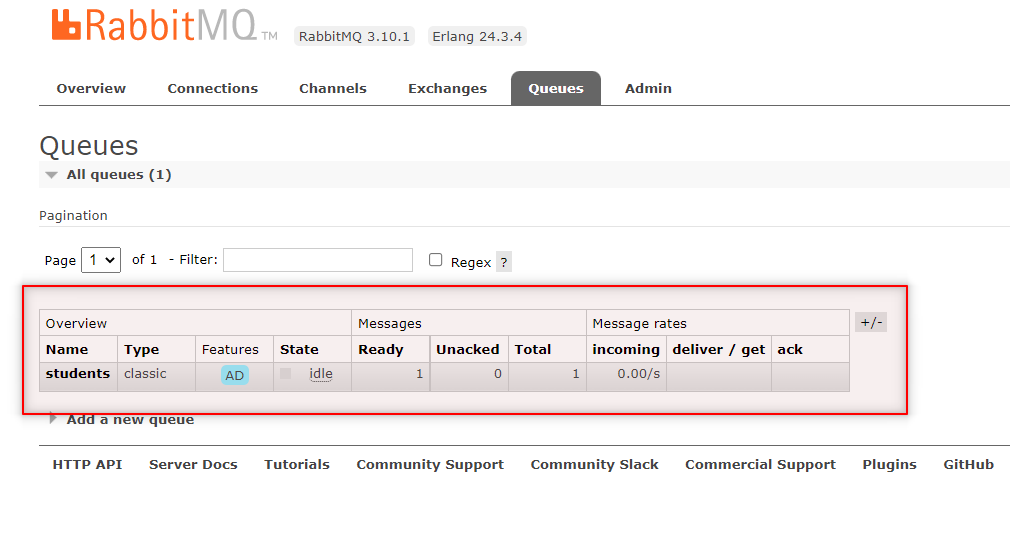
1. A new queue is created in RabbitMQ.
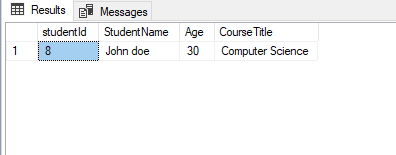
2. The data is stored in the StudentDb database we created.
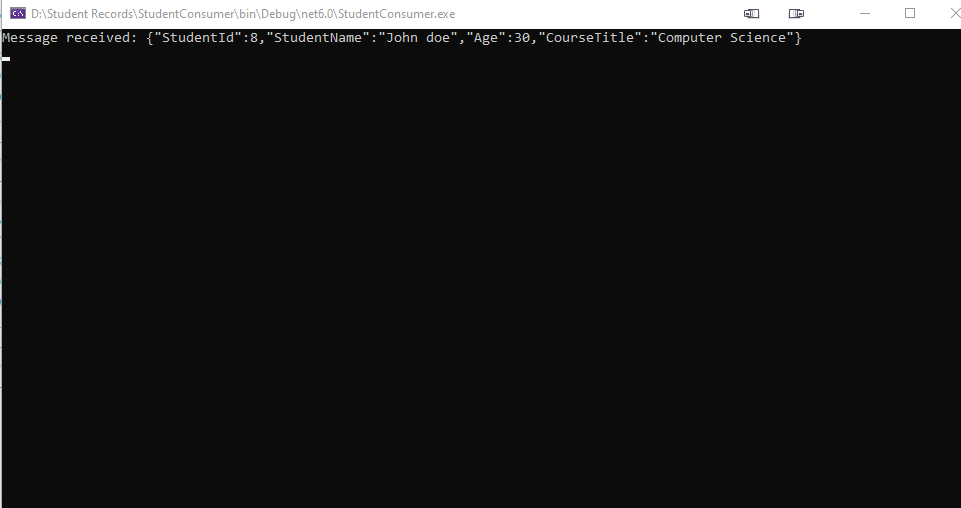
3. Run the consumer application from the visual studio. On a successful run, the data is received as shown below.
You may also download the actual source code file for this tutorial from my GitHub account.
Summary
In this tutorial, we have learned how to Use RabbitMQ in ASP NET Core. We created two applications a producer application for sending data to RabbitMQ and a consumer application to receive data from RabbitMQ. Hopefully, this tutorial will help you with your future projects.
KEEP CODING!
For more ASP.NET Core you may check out the blog page here.