
In this tutorial, we’ll explore the restful Web Services and consume it with a client web application. In my previous article on how to create Web API in ASP.NET. We have created an API method that will return Hello + the name input by the user. Now in this article, let’s consume that API using a client application.
To start our exploration of Restful Web Services, proceed on the steps below.
Before you begin, make sure you have the following prerequisites in place:
- The latest version of Visual Studio
1. Create a new ASP.NET MVC Web Application Project.
- To Create a new MVC project visit this thread How to Start with ASP.NET Web Application
2. Default Controller
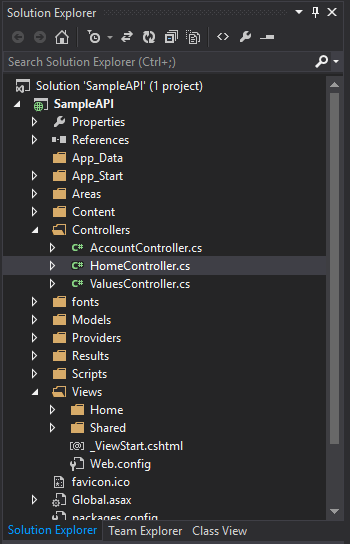
I assume you have already created a project. Now we will use again the default Controller of MVC which is HomeController. Open HomeController by navigating to Solution explorer->Controller folder and open HomeController.
3. Consume Web API using WebClient
From your Index function inside your HomeController, let’s create additional code connected to the API we created from the previous blogs ASP.NET WEB API using ASP.NET MVC.
Add the below code to your index.
- using System.Net » For Webclient(). Which is used to connect to our Web API
- using System.Data » For DataTable()
- using Newtonsoft.Json » JSON
- Viewbag.Name = response » dynamically share values from our controller to our view.
- John » Parameter value. It could be anything you want to supply.
Code:
public ActionResult Index()
{
string url = "http://localhost:41480/Home/HelloWorld?name=" + "John";
using (var client = new WebClient())
{
string response = client.DownloadString(url);
ViewBag.Name = response;
}
return View();
}
Visit this article to get more ideas on how to call an API using a Web client.
The image below is the screenshot of my HomeController code.

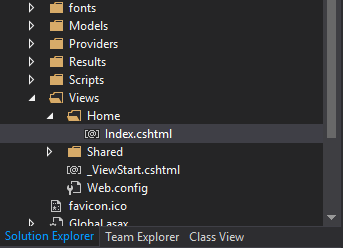
4. Locate index.cshtml
Now to display this in our view and to make it as simple as possible I use ViewBag Property to pass data to our view. Now navigate to your View (index.cshtml) under Views->Home folder and open index.cshtml.
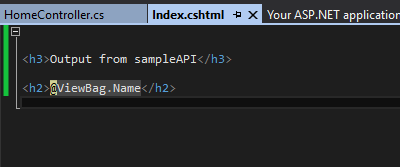
5. Display API Message on UI
Replace the code from your actual index.cshtml using the code shown in the image below. This display whatever we save to our ViewBag.Name Property.
7. Run Project
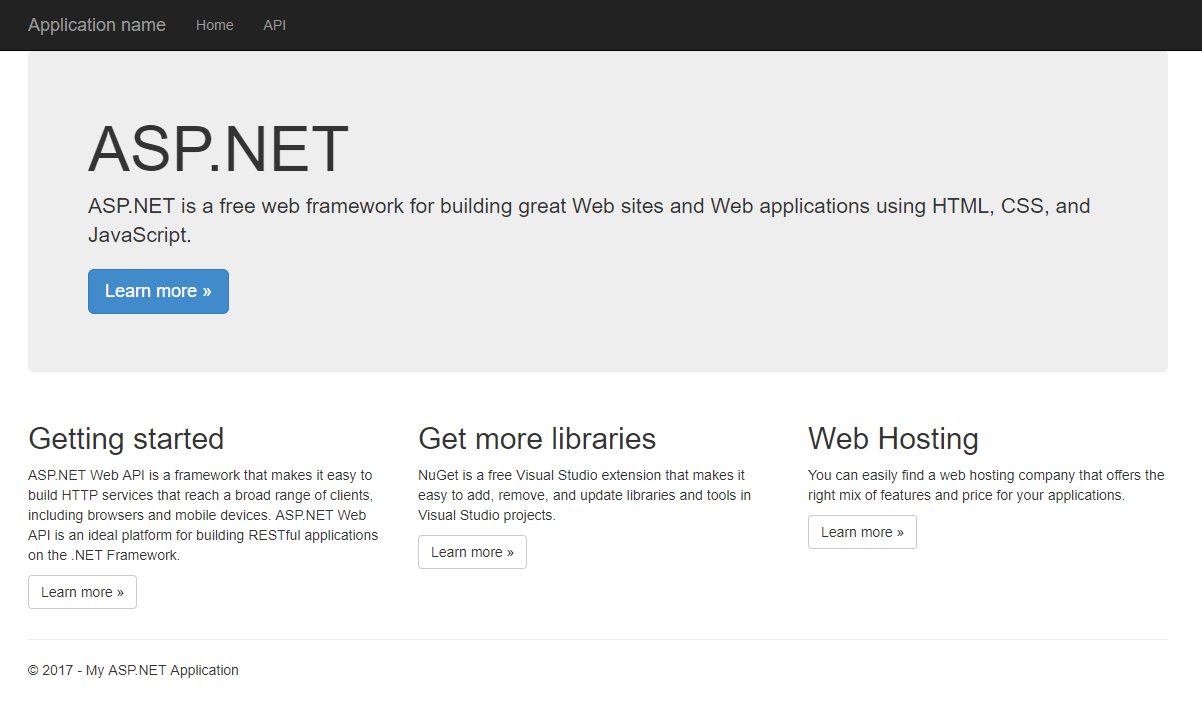
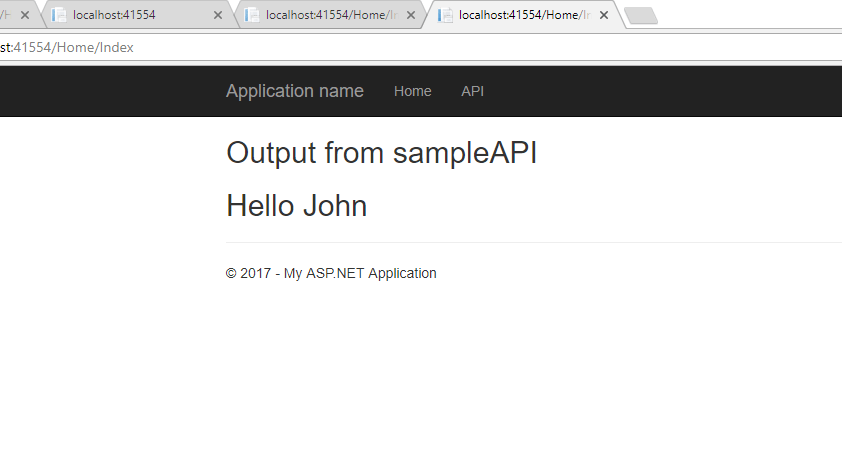
Lastly, Run your project using f5 to run your project in debugging mode or CTRL + f5 to run project without debugging mode. This should output parameter name we declare in this code from our index() method in HomeController.
- string url = “http://localhost:41480/Home/HelloWorld?name=” + “John”;
If we replace the name parameter John into Regie from the code above the output should now be Hello Regie. But because I use John in my code the image below shows Hello John output.
Note: Because we are using a local project, you need to run both API and client applications to access both projects. You can also publish your API in your local IIS. Read this thread How to Host ASP.NET Web App in IIS.
Congratulation! You have created your first Client Web application that consumes a simple web API method. This may be a very simple tutorial, and one of many possible ways to call a web API but hopefully you get the idea. After this, you can explore more options on how you can manipulate data using an API and how you can consume it on your application.
Thank you for reading. Keep Coding!
You might want to revisit this blog Create Web API in ASP.NET.
Comments are closed.